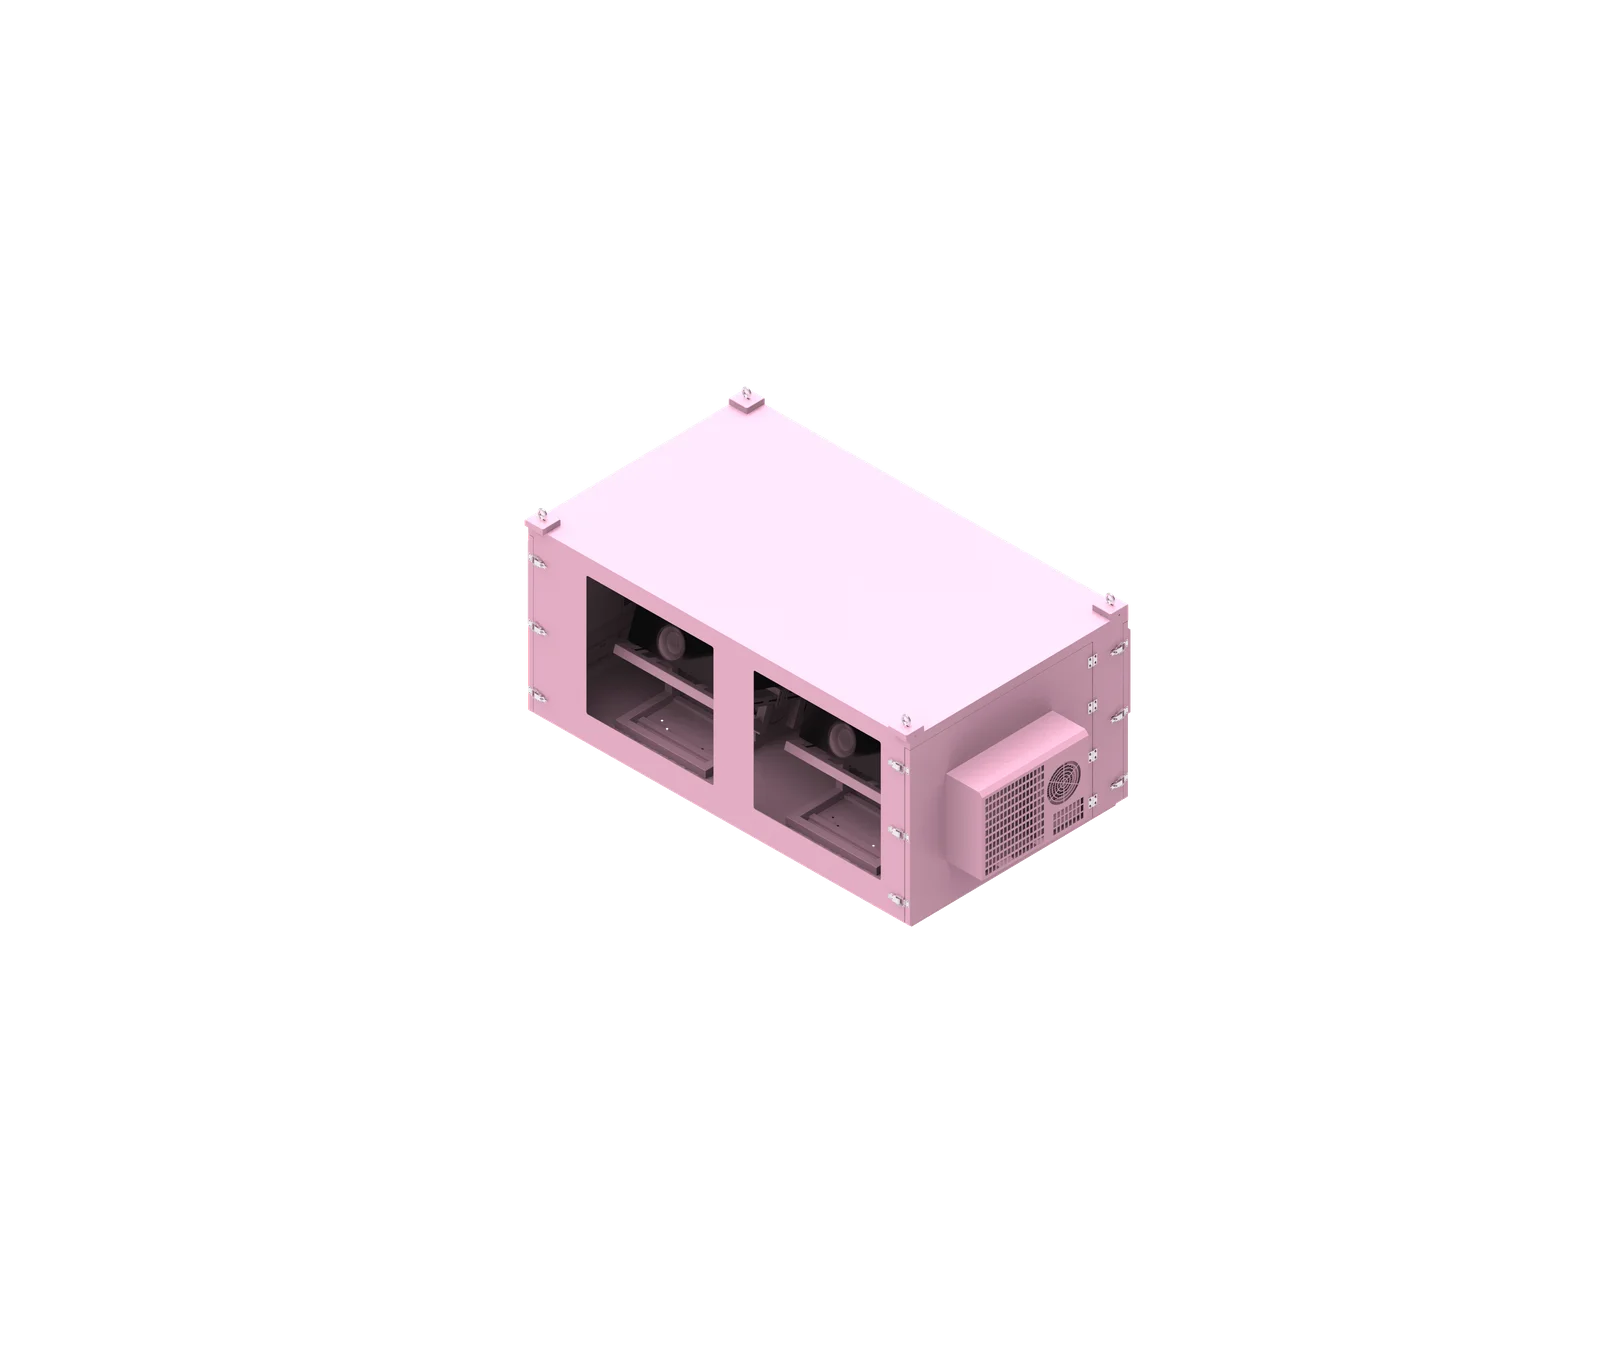
Outdoor projector installation is an engineering risk-assessment task, not just placing a projector under a roof or inside a metal box. Rain, heat, dust, humidity, low temperature, wind, vibration, and electrical exposure can all affect reliability, image quality, maintenance, and project continuity. Outdoor projector protection is a system-design problem, not simply a waterproof-box problem.
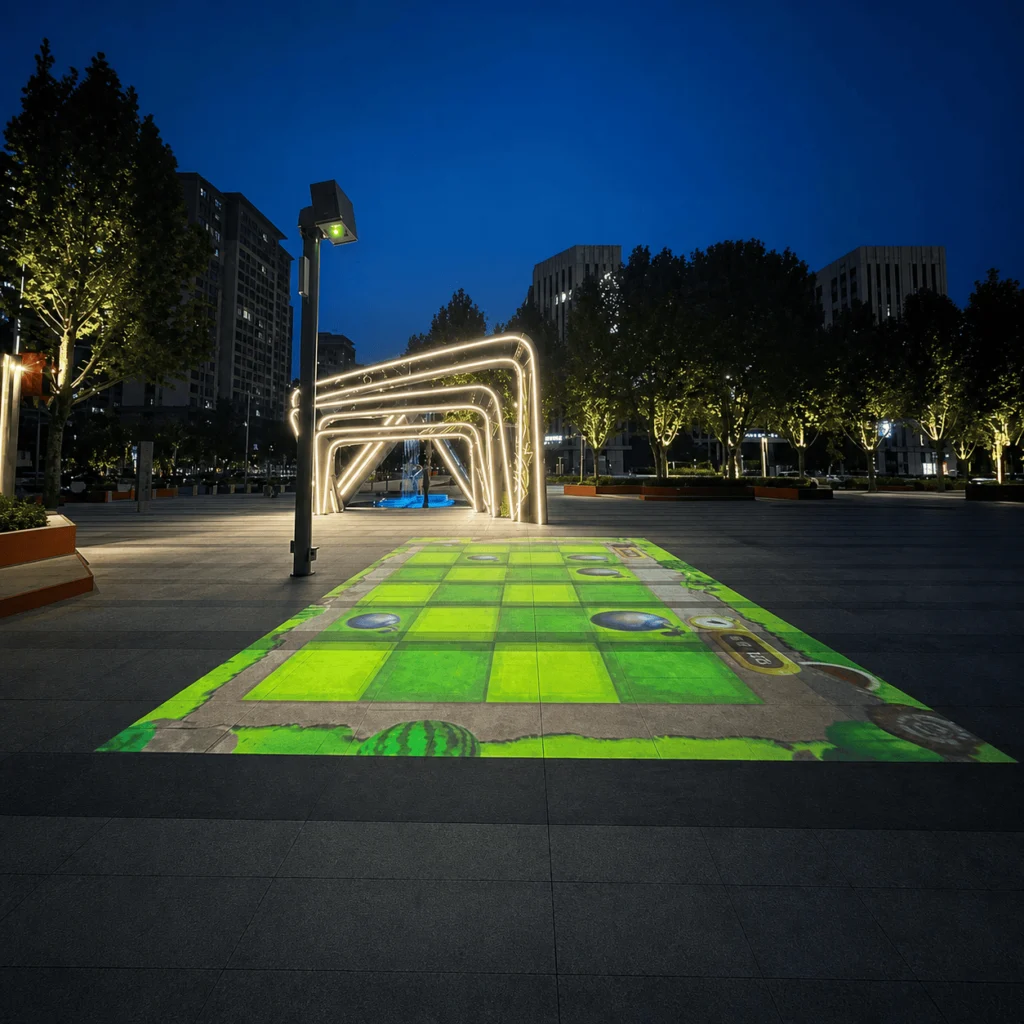
What is outdoor projector installation?
Outdoor projector installation is the planning, protection, mounting, powering, cooling, and long-term maintenance of a projector used in an exposed or semi-exposed environment. A reliable outdoor projection system must evaluate environmental, thermal, structural, optical, and electrical risks before deciding the enclosure design, mounting method, and service strategy.
Seven-Risk Engineering Scope
Outdoor projector installation covers much more than physical placement. For AV integrators, projection contractors, cultural-tourism projects, projection-mapping projects, and permanent outdoor display buyers, the main question is not “Can the projector fit?” but “Can the full system survive and operate reliably in this environment?”
Based on our internal data and market analysis, here is the breakdown:
| Risk | Main Problem | Design Response |
|---|---|---|
| Rain | Water ingress | Sealing, drainage strategy, protected cable entry |
| Heat | Projector overheating outdoors | Thermal calculation, airflow design, cooling selection |
| Dust/Sand | Contamination | Sealing, filtration, or sealed thermal management |
| Humidity | Condensation | Temperature and humidity control |
| Low Temperature | Startup and thermal cycling | Heating, control logic, rated components |
| Wind/Vibration | Structure and alignment | Structural review, stable mounting, vibration control |
| Electrical | Surge, grounding, cable risk | Power planning, bonding, cable sealing, surge strategy |
A standard professional projector is generally not designed for direct rain, wind-driven water, dust, insects, humidity swings, or outdoor electrical exposure. A weatherproof projector enclosure must therefore work as a complete environmental system, including the optical window, cable entry, access doors, cooling interface, internal airflow, and maintenance access.
ShiRui designs outdoor projector protection by first reviewing the projector model, lens model, installation location, ambient temperature range, humidity, rain exposure, dust conditions, mounting method, wind exposure, power supply, and operating schedule. This prevents the common mistake of treating every outdoor projector enclosure as the same product.
ShiRui Pro Tip: I always tell project teams to define the risk environment before selecting the enclosure. If the site has strong sun, dust, humidity, or difficult maintenance access, the enclosure design must change accordingly.
How Does outdoor projector installation Work?
Outdoor projector installation works by combining projector selection, enclosure design, thermal management, optical alignment, structural support, cable routing, electrical protection, and maintenance planning into one coordinated system. Each design decision should be based on the actual projector, lens, climate, mounting position, and operating schedule—not on a universal enclosure assumption.
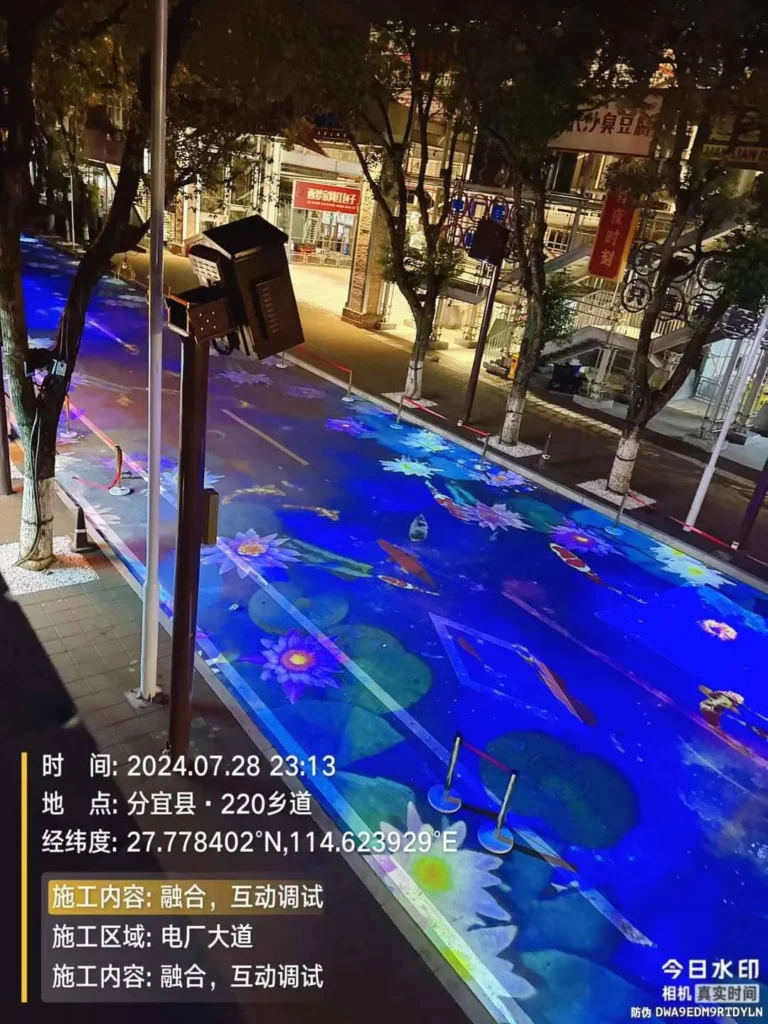
System Workflow from Site Survey to Commissioning
A practical outdoor projector installation begins with data collection. The projector’s power consumption, airflow direction, lens position, lens shift, dimensions, and weight all influence the enclosure. The site climate determines rain protection, cooling, heating, condensation control, and corrosion considerations.
A recommended workflow is:
- Confirm the exact projector model.
- Confirm the exact lens model, throw ratio, lens center, and lens shift.
- Review projector power consumption and manufacturer thermal requirements.
- Survey the project location, projection direction, and mounting structure.
- Evaluate rain, splash, wind-driven water, and cable water-run risks.
- Review maximum ambient temperature, solar exposure, and operating hours.
- Evaluate dust, sand, pollen, insects, or industrial contamination.
- Assess humidity, nighttime cooling, shutdown conditions, and condensation risk.
- Review minimum temperature and large day-night temperature changes.
- Evaluate wind exposure, vibration, mounting height, center of gravity, and bracket offset.
- Plan AC power, signal cables, control cables, grounding, bonding, and surge protection.
- Determine enclosure requirements, thermal design, optical design, structural design, and maintenance access.
- Produce technical drawings and verify the installation method before fabrication.
- Test enclosure fit, airflow, access, cable entry, and optical alignment before final installation.
The key is integration. A waterproof shell without thermal management can overheat the projector. A ventilated enclosure without proper filtration can introduce dust. A sealed enclosure without condensation control can create internal moisture problems. A strong enclosure on a weak support structure can still lose alignment or create safety risk.
ShiRui Pro Tip: In our projects, I prefer to review airflow, lens position, cable entry, and service access on the same drawing. Many failures happen because these items are designed separately instead of as one outdoor projection system.
What are the benefits of outdoor projector installation?
A properly engineered outdoor projector installation enables large-format visual display in plazas, parks, façades, scenic areas, resorts, museums, theme parks, and projection-mapping sites. When protection, cooling, structure, optics, and electrical planning are handled correctly, the system can support stable operation, easier maintenance, and better long-term project continuity.
Practical Value for Long-Term Outdoor Projection
Outdoor projection allows projects to create large visual impact without building a conventional LED screen structure. It can support temporary shows, seasonal events, cultural-tourism attractions, architectural mapping, advertising, immersive landscapes, and public-space storytelling.
However, these benefits are only achieved when outdoor projector risks are controlled. Poor protection can lead to image failure, emergency maintenance, shortened projector life, condensation damage, misalignment, or electrical problems.
Key benefits of a well-designed installation include:
- Larger image scale: Projection can cover façades, rock surfaces, stages, domes, water screens, and irregular structures.
- Flexible creative design: Projection mapping can follow architecture, sculpture, landscapes, and themed environments.
- Reduced visual obstruction: The projector can be positioned away from the viewing surface when the optical path allows it.
- Serviceable system layout: A properly designed outdoor projector enclosure can provide access for lens adjustment, filter replacement, window cleaning, and component service.
- Improved equipment protection: A custom enclosure can reduce exposure to rain, dust, solar heating, condensation, and electrical entry risks.
- Project continuity: Better risk planning reduces unexpected shutdowns during shows or public events.
- Custom integration: Enclosure design can match the exact projector, lens, mounting method, and environmental exposure.
Outdoor projection is especially useful where the display surface already exists. But it should never be treated as a simple equipment-placement decision. The benefits depend on whether the enclosure, cooling, structure, optical window, and power system are engineered together.
ShiRui Pro Tip: I recommend discussing maintenance access early, not after installation. If technicians cannot safely open the enclosure, remove the projector, clean the optical window, or service the cooling system, the project becomes expensive to maintain.
How to maintain an outdoor projector installation?
Maintaining an outdoor projector installation requires regular inspection of the enclosure, optical window, cable entries, cooling system, filters, seals, drainage path, mounting structure, grounding, and internal environmental controls. The maintenance plan should match the projector model, enclosure design, site exposure, operating hours, and local environmental conditions.
Maintenance Points That Prevent Long-Term Failure
Outdoor projector maintenance is risk-based. A dusty desert site, a humid coastal site, a rooftop mapping project, and a shaded garden installation will not require the same service approach. Maintenance should be planned around actual exposure and access conditions rather than a universal schedule.
Important maintenance tasks include:
- Inspect enclosure doors, gaskets, hinges, locks, and sealing surfaces.
- Check cable-entry points for looseness, gaps, water tracking, or field-drilled openings.
- Clean the optical window using suitable materials and procedures to avoid scratching or coating damage.
- Inspect the window for condensation, water marks, dust buildup, or optical obstruction.
- Check projector filters according to the projector manufacturer’s guidance and site dust conditions.
- Inspect fans, air paths, heat exchangers, air-conditioning components, or other thermal equipment used in the enclosure.
- Confirm that hot air is not recirculating into the projector intake or enclosure intake.
- Check internal temperature and humidity records if monitoring is installed.
- Inspect anti-condensation heating, internal circulation, sensors, and control systems where used.
- Confirm that mounting bolts, brackets, poles, platforms, or frames remain stable and aligned.
- Check grounding, bonding, surge-protection components, and electrical cabinet condition according to applicable project requirements.
Maintenance access is an engineering issue. Technicians should be able to open the enclosure, remove the projector, adjust the lens, clean the optical window, replace filters, service fans or air conditioning, and access electrical components safely. If the enclosure is mounted too high, too close to a wall, or without service clearance, maintenance difficulty increases significantly.
ShiRui Pro Tip: I like to mark the projector removal path and door-opening clearance directly on the enclosure drawing. If the service route is not visible on the drawing, it is often forgotten on site.
What is the price of outdoor projector installation?
The price of outdoor projector installation depends on the projector, lens, enclosure type, thermal-management method, optical window, mounting structure, electrical design, cable routing, site access, corrosion exposure, monitoring requirements, and installation labor. A reliable quotation requires project data, not only projector brightness or enclosure dimensions.
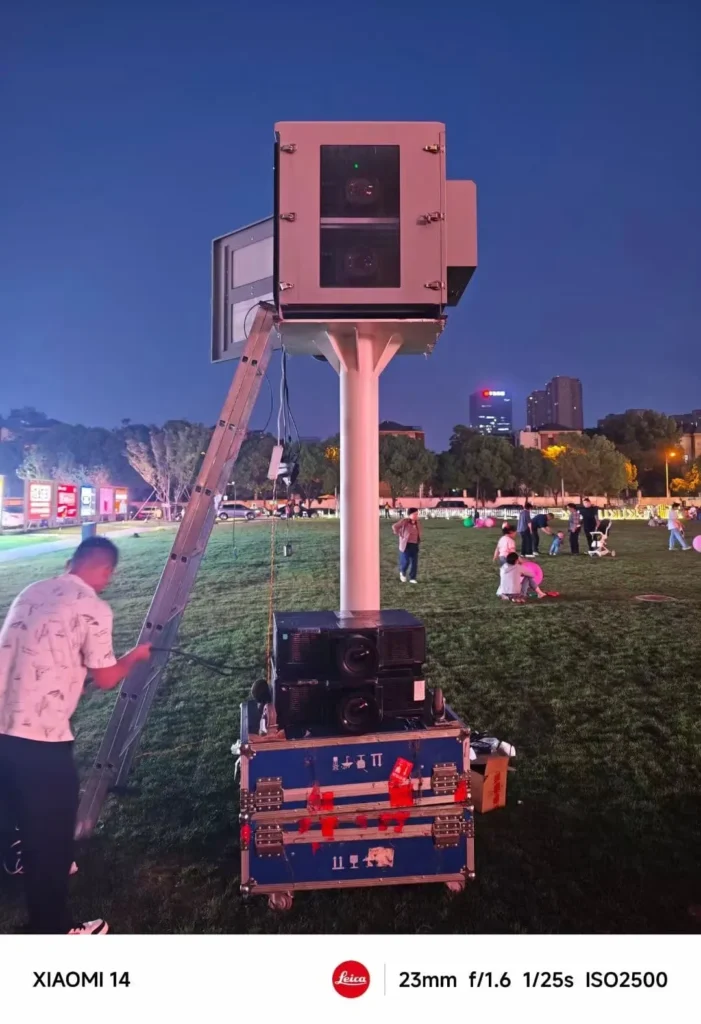
Cost Drivers Behind a Reliable Outdoor System
There is no universal price for an outdoor projector installation because the protection requirements change by projector and site. A small shaded installation, a hot rooftop projection-mapping system, a dusty scenic-area project, and a coastal installation may all require different enclosure materials, cooling methods, sealing details, and maintenance layouts.
Based on our internal data and market analysis, here is the breakdown:
| Cost Factor | Why It Affects Price | Information Needed |
|---|---|---|
| Projector model | Determines size, heat load, airflow, service clearance | Brand, exact model, dimensions, weight |
| Lens model | Determines optical window position and clear aperture | Lens type, throw ratio, lens shift |
| Thermal management | May require forced air, industrial AC, heating, or custom solution | Power consumption, ambient temperature, sun exposure |
| Environmental protection | Rain, dust, sand, humidity, and corrosion change enclosure design | Rain exposure, dust level, coastal or industrial conditions |
| Mounting structure | Height, offset, vibration, and wind affect structural design | Pole, façade, rooftop, tower, frame, platform |
| Electrical system | Power, grounding, surge, sensors, and controls affect complexity | Voltage supply, load list, cable route, local standards |
| Maintenance access | Service doors, clearances, platforms, and safety access affect design | Site photos, technician access route, mounting height |
| Quantity | Multiple units may share design logic but still need site verification | Number of projectors and locations |
Buyers should send project information before requesting a custom outdoor projector protection solution:
- Projector brand and exact projector model.
- Exact lens model.
- Quantity.
- Power consumption and manufacturer thermal information.
- Installation location and site photos.
- Maximum and minimum ambient temperature.
- Humidity and condensation concerns.
- Dust, sand, pollen, insects, or industrial contamination.
- Coastal environment, salt spray, or corrosion risk if applicable.
- Rain exposure, splash risk, and wind-driven rain conditions.
- Solar exposure and whether the enclosure will receive direct sunlight.
- Installation method, mounting height, and supporting structure.
- Operating hours and shutdown conditions.
- Power supply, signal cables, control cables, network, or fiber requirements.
- Required protection level and any project specifications.
- Site drawings, mounting drawings, or façade drawings where available.
ShiRui Pro Tip: When a buyer only sends projector brightness, I cannot design the enclosure properly. I need the exact projector model, lens, power consumption, airflow direction, site climate, and mounting method to evaluate protection and cooling.
Key Features & Comparison
A professional outdoor projector enclosure should protect against rain, heat, dust, humidity, condensation, low temperature, wind-related structural exposure, and electrical entry risks while preserving optical performance and serviceability. The best configuration depends on the projector model, lens, site climate, mounting method, operating schedule, and maintenance requirements.
Outdoor Enclosure Design Features Compared
A weatherproof projector enclosure is not only a box. It is a coordinated system that may include sealing, drainage, cooling, heating, internal circulation, filtration, optical glass, cable glands, electrical compartments, monitoring, and structural mounting interfaces.
Based on our internal data and market analysis, here is the breakdown:
| Feature | Simple Shelter | Generic Metal Box | Engineered Outdoor Projector Enclosure |
|---|---|---|---|
| Rain protection | Partial overhead protection only | Depends on sealing quality | Designed around doors, cable entry, window, cooling interfaces |
| Thermal management | Usually uncontrolled | Often limited or project-dependent | Based on projector power, airflow, ambient temperature, and solar exposure |
| Dust control | Limited | May reduce large particles | Uses sealing, filtration, or sealed thermal strategy depending on environment |
| Condensation control | Usually absent | Often overlooked | May include monitoring, heating, circulation, controlled cooling, or dehumidification |
| Optical window | Often not included | May be incorrectly positioned | Designed around lens center, lens shift, angle, aperture, and anti-reflective performance |
| Cable entry | Exposed or field modified | Common weak point | Planned for power, signal, network, fiber, and control cables |
| Structural integration | Project-specific | May not consider total system weight | Considers projector, enclosure, cooling unit, center of gravity, and mounting method |
| Maintenance access | Often difficult | Variable | Designed for projector removal, lens adjustment, window cleaning, and component service |
| Corrosion consideration | Rare | Material-dependent | Can consider salt spray, humidity, surface treatment, fasteners, and cooling parts |
| Suitability | Temporary or low-risk use only | Limited applications | Permanent or long-term outdoor projector installation |
The optical window deserves special attention. Outdoor protection should not create a new image-quality problem. The window position should consider the lens center, lens shift, projection angle, throw ratio, clear aperture, anti-reflective optical performance, and condensation risk. It should not simply be placed at the center of the enclosure.
Corrosion is also important for coastal and industrial environments. Salt spray, humidity, fastener selection, surface treatment, material choice, and cooling-system components may all require review. An IP rating does not describe corrosion resistance, so it should not be treated as a complete environmental specification.
ShiRui Pro Tip: I always check the lens position before enclosure layout. If the optical window is designed after the box is built, the project can suffer from vignetting, reflection, restricted lens shift, or difficult alignment.
Cost & Buying Factors
Buying an outdoor projector protection solution should start with engineering inputs, not only enclosure size. The main factors are projector model, lens, heat load, airflow direction, climate, rain exposure, dust level, humidity, corrosion environment, structure, power system, service access, and whether custom thermal management is required.
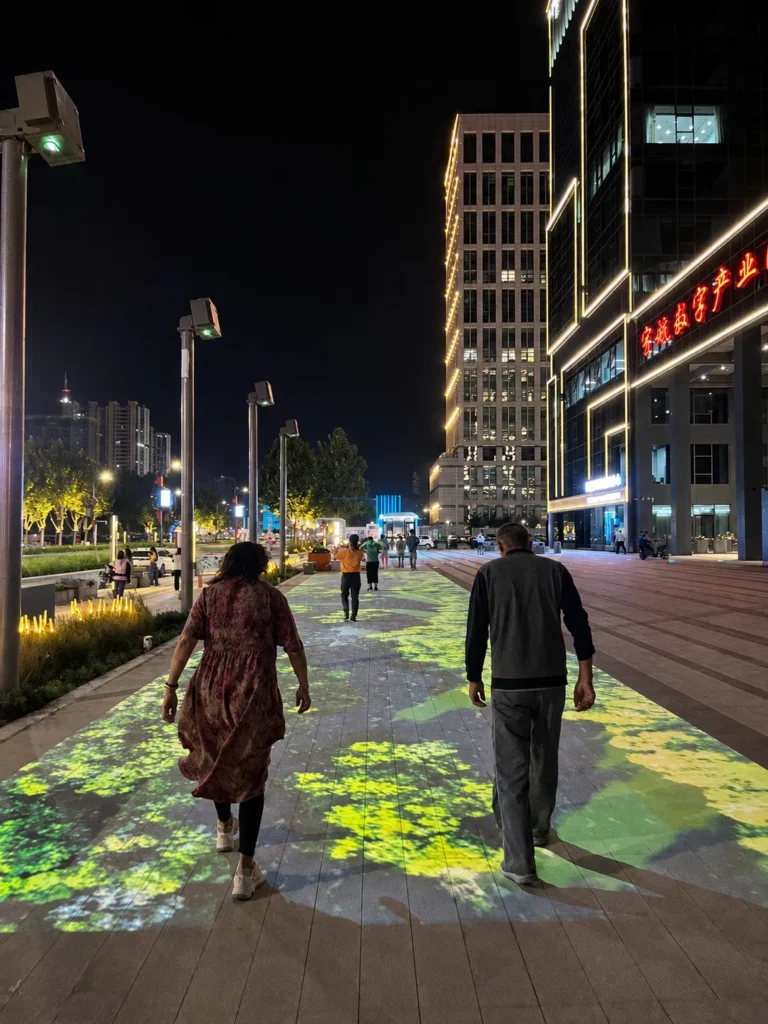
Pricing Guide for Decision Makers
For AV integrators and project buyers, the lowest initial enclosure price is not always the lowest project cost. A poorly matched enclosure may cause overheating, condensation, water ingress, alignment drift, frequent maintenance, or emergency replacement. The buying decision should compare system reliability, not only purchase price.
Key buying factors include:
- Projector and lens compatibility The enclosure should be designed around the exact projector model, exact lens model, projector dimensions, projector weight, airflow direction, lens center, lens shift, and service clearance.
- Thermal-management method Outdoor projector overheating is driven by projector electrical power, ambient temperature, direct sunlight, internal electronics, poor airflow, and hot-air recirculation. Lumens describe light output, not thermal load. Thermal design should use projector power consumption and manufacturer thermal information.
- Rain and cable-entry design Water can enter through doors, poorly sealed cable entries, optical windows, cooling interfaces, field-drilled holes, and cables that guide water into the enclosure. Placing a projector under a simple roof does not automatically provide sufficient protection.
- Dust and sand strategy Dust can affect projector filters, cooling airflow, electronics, optical components, and cooling-system efficiency. In dusty or sandstorm environments, continuously bringing untreated outdoor air into the enclosure may increase contamination risk.
- Humidity and condensation control Waterproofing does not automatically prevent condensation. Condensation can form when a surface temperature falls below the dew point of surrounding air, especially during nighttime cooling, shutdown, or humid maintenance access.
- Low-temperature operation Cold-weather installations may face low-temperature startup, slow warm-up, condensation after temperature changes, and thermal cycling. Requirements should follow the projector manufacturer’s actual operating limits and site climate.
- Structural and wind exposure Poles, rooftops, towers, façades, steel platforms, and custom frames must be evaluated as part of the total projector-enclosure system. Wind and vibration can affect both safety and projection alignment.
- Electrical planning Outdoor systems may include projector power, cooling power, heater power, sensors, controllers, monitoring equipment, network cables, signal cables, and fiber. Grounding, bonding, surge protection, and site lightning strategy should follow project requirements and local standards.
For complex outdoor projection projects, the buying process should include site drawings, photos, equipment data, environmental information, and maintenance requirements before final enclosure selection.
ShiRui Pro Tip: I do not recommend selecting an enclosure only from external dimensions. Two projectors with similar size can have different airflow paths, power consumption, lens positions, and service needs.
Conclusion
Before installing a projector outdoors, evaluate rain, overheating, dust, humidity, condensation, low temperature, wind, vibration, mounting structure, cable entry, grounding, and surge risks. Then design the enclosure around the exact projector, lens, climate, installation method, operating schedule, and maintenance requirements.
Final Engineering Checklist
A reliable outdoor projector installation requires environmental protection, thermal management, condensation control, structural design, optical planning, and electrical safety to work together. It should never be assumed that a projector is safe outdoors simply because it fits under a roof or inside a metal enclosure.
Use this final checklist before design approval:
- Confirm exact projector model and lens model.
- Review projector dimensions, weight, power consumption, airflow direction, intake, exhaust, and service access.
- Evaluate direct rain, wind-driven rain, splashing, cable water-run, door sealing, optical window sealing, and cooling-interface sealing.
- Review maximum ambient temperature, direct sunlight, internal heat sources, airflow path, and hot-air recirculation risk.
- Evaluate dust, sand, pollen, insects, and industrial contamination.
- Review humidity, dew-point-related condensation risk, nighttime cooling, shutdown conditions, and maintenance opening conditions.
- Confirm minimum ambient temperature, low-temperature startup requirements, heating needs, and thermal cycling concerns.
- Evaluate mounting height, structure type, enclosure weight, projector weight, cooling-unit weight, center of gravity, bracket offset, vibration, and wind exposure.
- Plan power supply, cable entry, signal routing, control cables, network, fiber, grounding, bonding, surge protection, and applicable local electrical requirements.
- Consider corrosion if the project is coastal, humid, or industrial.
- Confirm optical window position, clear aperture, projection angle, anti-reflective performance, lens shift, and condensation control.
- Verify that technicians can open the enclosure, remove the projector, adjust the lens, clean the optical window, and service cooling or electrical components.
ShiRui recommends a pre-installation site survey for permanent or long-term outdoor projector installations. The survey should collect site photos, projector location, projection direction, mounting structure, cable route, power supply, rain exposure, sun exposure, wind exposure, nearby structures, and maintenance access.
ShiRui Pro Tip: My final rule is simple: do not design the enclosure after the projector is already installed outdoors. Design the outdoor projection system first, then install the projector inside a protection solution built for that exact site.