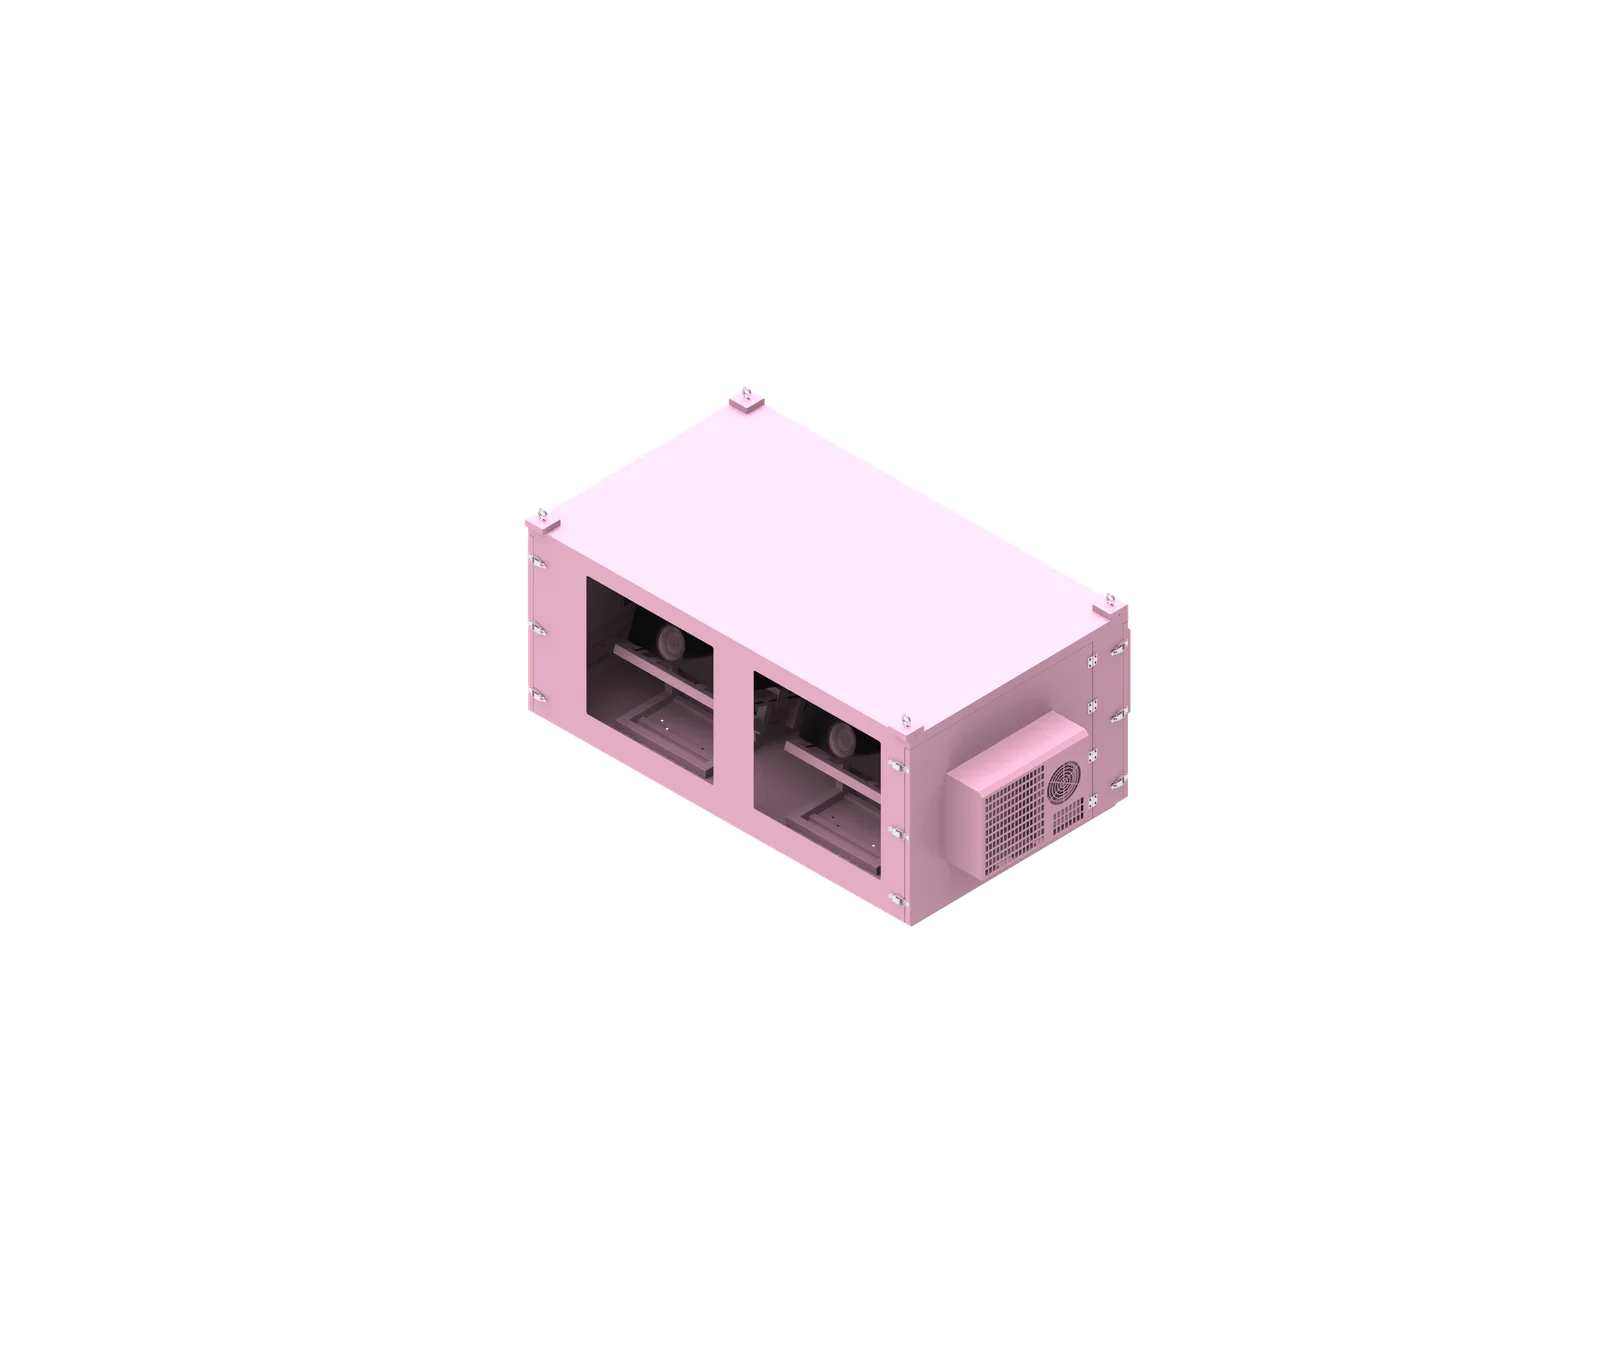
Power distribution inside an outdoor projector enclosure should be planned as part of the complete enclosure engineering system, not as a simple projector power connection. A professional design must account for the projector, cooling, heating, controls, sensors, cable entry, waterproofing, grounding, maintenance access, and destination electrical requirements before fabrication begins.
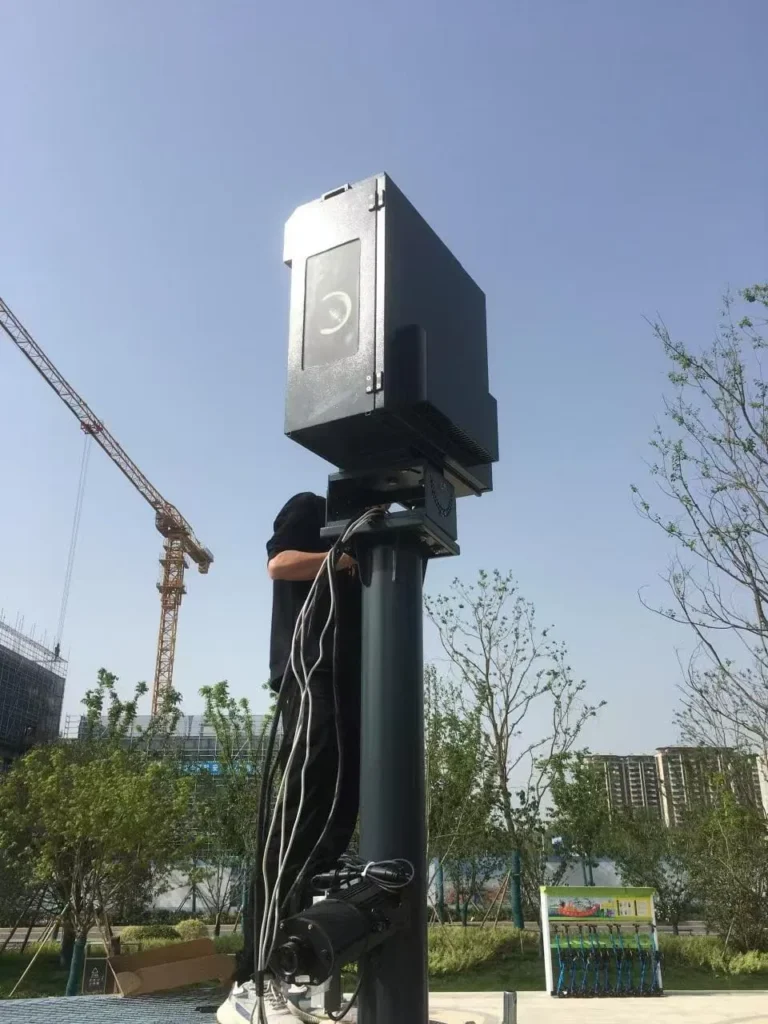
What is outdoor projector enclosure power distribution?
Outdoor projector enclosure power distribution is the planned internal electrical architecture that supplies and protects every powered device inside the enclosure. It includes projector power, thermal-control equipment, auxiliary power supplies, sensors, monitoring devices, and service interfaces while coordinating wiring, cable entry, safety, environmental sealing, and maintenance access.
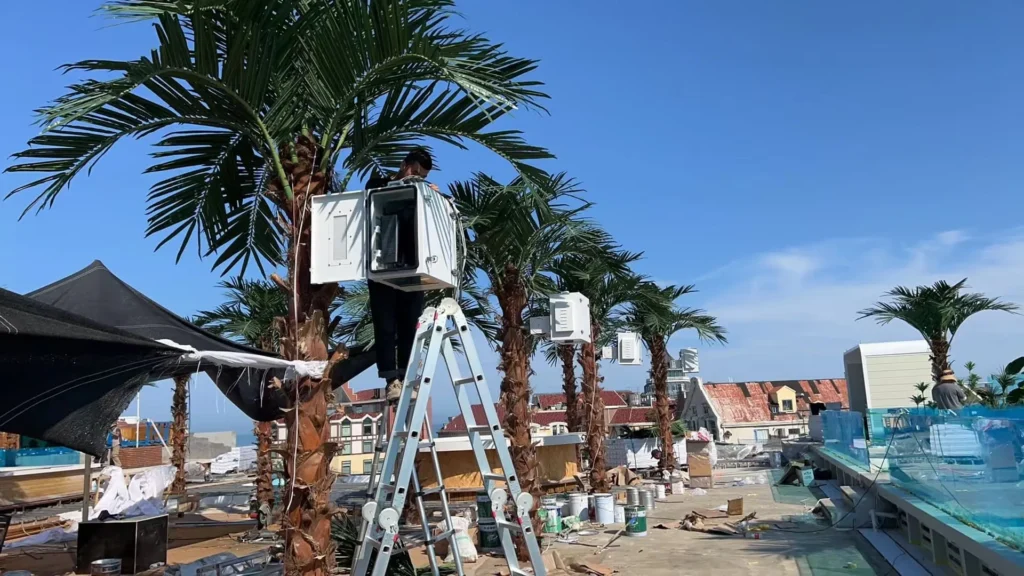
System-Level Definition
Outdoor projector enclosure power distribution is not limited to connecting a projector to mains power. In a custom projector enclosure, the electrical system must support the entire operating environment around the projector. This is especially important when the enclosure includes air conditioning, heaters, fans, humidity control, remote monitoring, or multiple projectors.
Based on our internal data and market analysis, here is the breakdown:
| Component | Electrical Design Consideration |
|---|---|
| Projector | Rated power and supply requirements |
| Industrial AC | Operating and startup requirements |
| Heater | Heating load and control logic |
| Cooling Fans | Power supply, switching, and control |
| Temperature Controller | Control circuit and sensor coordination |
| Sensors | Low-power monitoring and signal routing |
| Power Supply | Auxiliary equipment power conversion |
| Remote Monitoring | Network, 4G, Wi-Fi, or communication equipment |
| Service Outlet | Only when required by the project |
The key principle is simple: design around the complete enclosure system. If the electrical design is based only on projector wattage, the enclosure may lack capacity, serviceability, or proper coordination with cooling and heating equipment.
SuiRui Pro Tip: I always ask buyers to confirm the exact projector model before enclosure electrical planning starts, because two projectors with similar brightness can have very different power, heat, airflow, and service-access requirements.
How Does outdoor projector enclosure power distribution Work?
Outdoor projector enclosure power distribution works by receiving site power, routing it through appropriate isolation and protection, then supplying each internal load through organized circuits or branches. The system must coordinate projector operation, cooling, heating, controls, sensors, and monitoring equipment according to the actual project design and local electrical requirements.
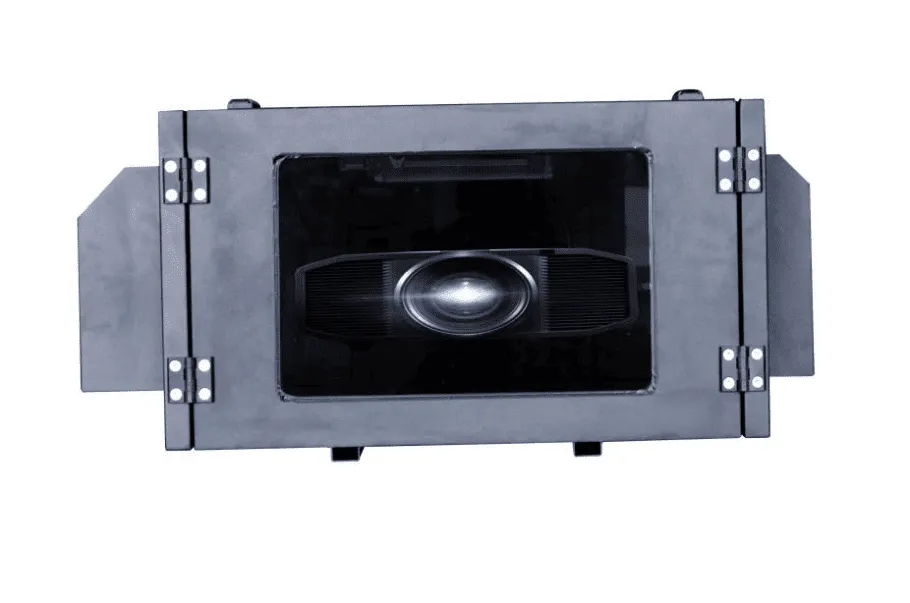
Operating Flow Inside the Enclosure
A professional projector enclosure electrical system usually follows a structured flow from incoming supply to controlled equipment operation. The exact circuit arrangement depends on the equipment, voltage, frequency, installation country, and applicable standards.
A typical engineering workflow is:
- Confirm the exact projector model and electrical requirements.
- Identify all internal electrical loads, including cooling, heating, controls, sensors, and accessories.
- Confirm incoming supply voltage, frequency, available capacity, grounding or earthing arrangement, and destination market.
- Evaluate total connected load and likely simultaneous operating load.
- Review starting or transient current requirements for compressors, motors, and certain power supplies.
- Organize loads into appropriate branches where the project design requires it.
- Select protection, isolation, terminals, and connection methods through qualified electrical design.
- Plan power and signal cable routing before enclosure fabrication.
- Coordinate electrical placement with airflow, drainage, condensation control, and maintenance access.
- Inspect the assembled system according to the approved project configuration.
The control system may switch fans, heaters, air conditioners, alarms, or monitoring devices based on sensor input. However, universal temperature thresholds, breaker sizes, wire gauges, or protection ratings should not be assumed; they must be determined from real equipment data and local requirements.
SuiRui Pro Tip: I recommend reviewing the electrical layout together with the thermal layout. A neatly wired cabinet can still fail if cables block projector exhaust, restrict air-conditioning airflow, or place controls in a condensation-risk area.
How to hide projector power cord?
In an outdoor projector enclosure, the projector power cord should be hidden through planned internal cable routing, secure cable management, and sealed cable-entry design. The goal is not only appearance; it is to protect wiring from water, airflow obstruction, fan contact, service interference, and accidental damage during projector maintenance.
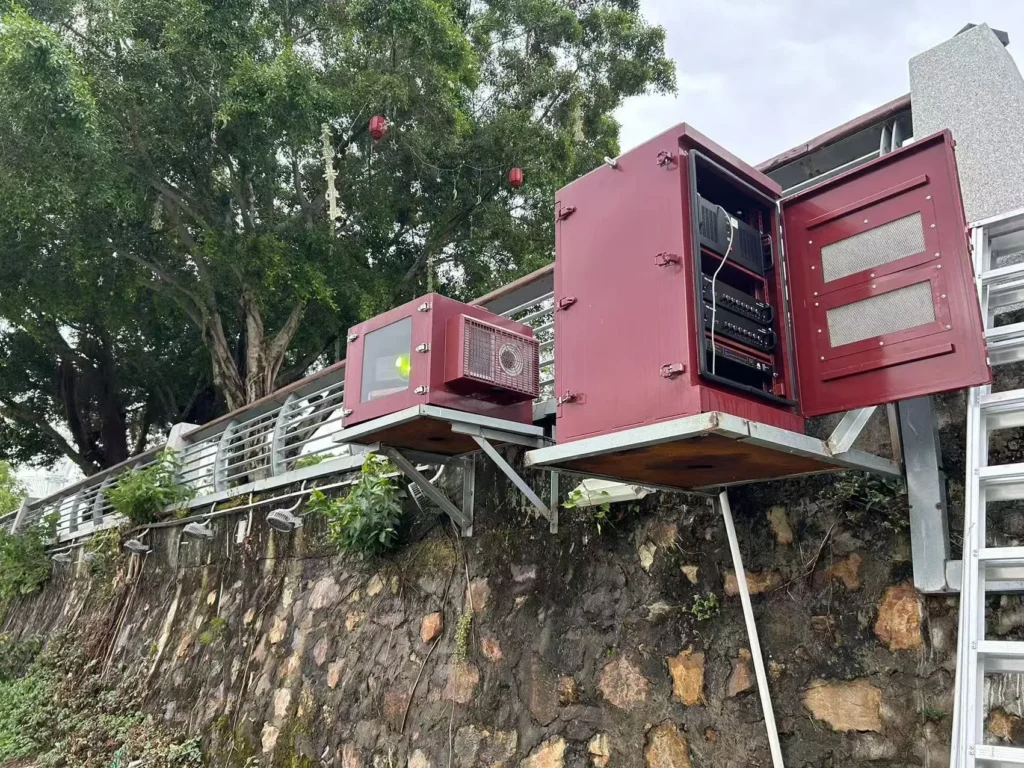
Cable Routing Without Compromising Protection
Hiding the projector power cord inside a professional outdoor projector enclosure requires planning before sheet-metal fabrication. The power cord should not be loosely placed across the projector bay, fan area, service opening, or lens adjustment path.
Good cable-management practice includes:
- Route the projector power cord along defined internal paths.
- Keep wiring away from fan blades, hot surfaces, moving parts, and drainage areas.
- Avoid placing cables where they block projector intake or exhaust airflow.
- Use suitable cable supports, clamps, ducts, or routing channels according to the enclosure design.
- Separate power cables from HDMI, Ethernet, fiber, control, and sensor wiring where required by equipment recommendations or project standards.
- Plan cable length so the projector can be removed or serviced without pulling on terminals or connectors.
- Maintain the enclosure’s required environmental protection at all power and signal cable entries.
For outdoor installations, hiding the cable must never compromise waterproofing. Cable glands, sealed connectors, gland plates, or sealed conduit interfaces may be used depending on the project, but the assembled enclosure must be evaluated as a complete system.
SuiRui Pro Tip: I prefer routing the projector power cord so technicians can disconnect or remove the projector without dismantling the main electrical area. That small design choice can save significant service time on high-mounted outdoor installations.
How to power an outdoor projector?
An outdoor projector should be powered through a properly designed enclosure electrical system that matches the projector’s manufacturer specifications and the site supply. For professional installations, power planning must also include cooling, heating, controls, sensors, monitoring devices, grounding, protection, cable entry, and qualified electrical review.
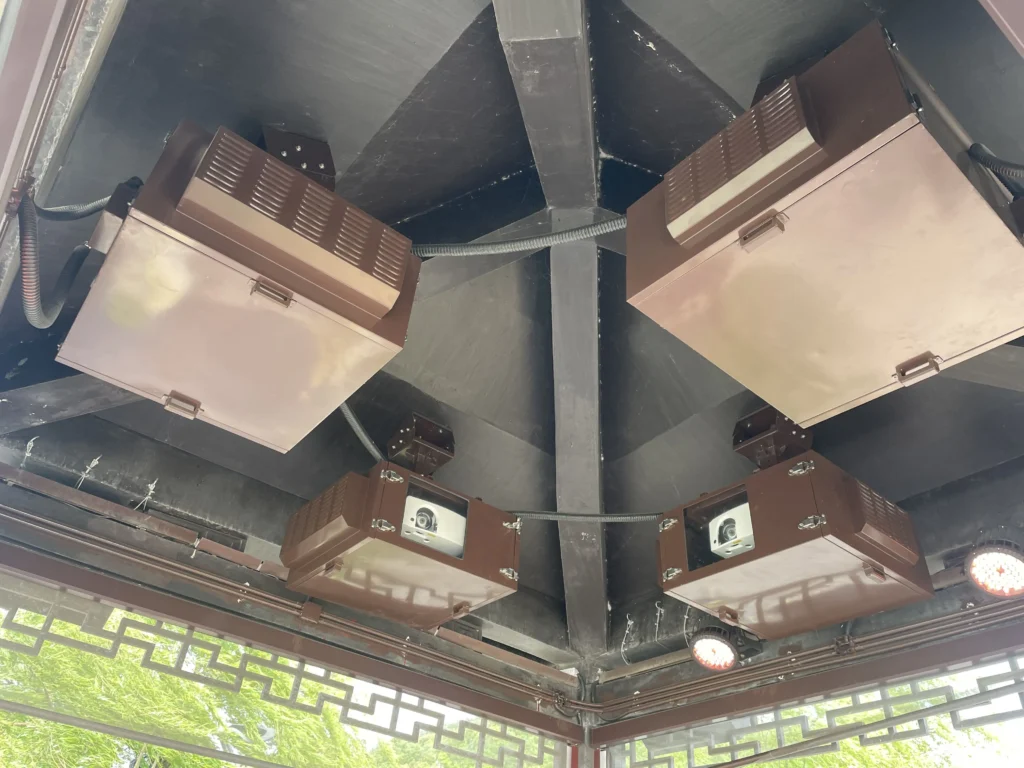
Professional Power Planning Steps
Powering an outdoor projector is not the same as using an indoor extension cord. In a custom outdoor projector enclosure, the projector operates inside a controlled mechanical and environmental system, so the power supply design must support all equipment safely and reliably.
Recommended planning steps include:
- Confirm the exact projector brand, model, rated power, and supply requirements.
- Confirm site voltage, frequency, phase configuration where relevant, available capacity, and grounding arrangement.
- Identify whether the enclosure includes an industrial air conditioner, fans, heater, control board, sensors, auxiliary power supplies, remote monitoring, or service outlet.
- Review manufacturer data for startup or peak current requirements, especially for compressors, motors, and power supplies.
- Determine the control logic for heating, cooling, fans, alarms, and monitoring.
- Plan isolation and protection according to the actual electrical design and applicable local standards.
- Coordinate cable entry with cable quantity, diameter, connector size, entry direction, and sealing method.
- Arrange electrical components so they remain accessible for inspection and replacement.
- Have the electrical design and installation reviewed or performed by appropriately qualified personnel.
A reliable outdoor projector enclosure power supply should be designed before manufacturing, not corrected after installation.
SuiRui Pro Tip: For international projects, I never assume the power system. Voltage, frequency, plug expectations, grounding method, and local electrical rules can vary by country, so these details should be confirmed before production begins.
How many lumens is best for an outdoor projector?
The best lumen level for an outdoor projector depends on screen size, ambient light, projection distance, content type, and viewing expectations. However, lumen output should not be used to estimate enclosure power distribution. Electrical planning must be based on the exact projector model’s manufacturer specifications, not brightness alone.
Brightness Selection Versus Electrical Design
Lumens help determine image visibility, but they do not reliably determine electrical load or heat output. Two projectors with similar brightness may use different light sources, cooling systems, optical designs, and power architectures. That means they can require different enclosure sizes, airflow strategies, and electrical configurations.
Based on our internal data and market analysis, here is the breakdown:
| Planning Question | Why It Matters |
|---|---|
| What is the screen size? | Larger screens usually need higher brightness. |
| Is there ambient light? | Outdoor light pollution increases brightness demand. |
| What is the projection distance? | Longer throw and optical losses may affect perceived brightness. |
| What content will be shown? | Advertising, mapping, cinema, and events have different requirements. |
| What is the exact projector model? | Electrical and thermal design must use manufacturer data. |
| Is the enclosure air-conditioned? | Cooling equipment may become a major electrical load. |
| Is cold-weather heating required? | Heater load and control logic affect total power planning. |
For power distribution, the critical data is the projector’s actual rated power, supply requirement, startup behavior where relevant, and heat rejection characteristics. Brightness is part of optical selection, not a substitute for electrical engineering.
SuiRui Pro Tip: I ask clients to choose the projector first, then design the enclosure around it. Starting with only a lumen target can lead to wrong assumptions about power consumption, cooling capacity, and internal space.
Key Features & Comparison
A well-designed outdoor projector enclosure electrical system includes organized load planning, appropriate circuit architecture, serviceable component placement, environmental sealing, cable management, grounding and bonding consideration, and coordination with thermal control. The strongest designs are engineered before fabrication, not improvised during installation.
Feature Comparison for Professional Enclosure Electrical Design
Based on our internal data and market analysis, here is the breakdown:
| Feature | Basic Approach | Professional Outdoor Enclosure Approach |
|---|---|---|
| Load Planning | Projector power only | Projector, AC, heater, fans, controls, sensors, monitoring, accessories |
| Projector Data | Estimated from brightness | Confirmed from manufacturer specifications |
| Incoming Power | Assumed standard supply | Confirmed voltage, frequency, capacity, grounding, and destination market |
| Circuit Organization | Single unmanaged feed | Branches or grouped loads where appropriate |
| Protection | Generic component selection | Selected by qualified personnel based on actual design and standards |
| Cable Entry | Cut on site as needed | Planned before fabrication with sealing strategy |
| Waterproofing | Relies on individual parts | Evaluates the complete assembled enclosure |
| Power and Signal Routing | Mixed or random routing | Organized routing with separation where required |
| Thermal Coordination | Electrical parts placed wherever space exists | Layout coordinated with airflow, AC, heater, sensors, and projector path |
| Maintenance Access | Components may block service | Electrical area remains visible, accessible, and replaceable |
| Documentation | Limited or absent | Schematics, wiring diagrams, component information, and records where agreed |
| Batch Consistency | Each unit wired differently | Standardized layouts when configurations are compatible |
Important features to prioritize include:
- A complete load list before electrical design.
- Confirmed projector and air-conditioner electrical data.
- Main power isolation or disconnecting method where required by project rules.
- Proper grounding and bonding consideration for metal enclosures.
- Organized terminal and connection planning.
- Clear separation between power wiring and low-voltage signal wiring where required.
- Component locations that avoid water-risk and condensation-prone areas.
- Serviceable wiring that does not block projector removal.
SuiRui Pro Tip: In SuiRui custom enclosure projects, I prefer standardizing the electrical layout only after confirming the projector, cooling system, heater option, and monitoring configuration are truly the same across the batch.
Cost & Buying Factors
The cost of outdoor projector enclosure power distribution depends on the projector model, number of electrical loads, cooling method, heater requirements, monitoring options, documentation needs, installation country, and applicable standards. A lower-cost enclosure may become expensive if electrical access, waterproofing, or serviceability is poorly planned.
What Affects Electrical System Cost
Pricing for a custom projector enclosure electrical system is project-specific because the enclosure may range from a simple ventilated design to a fully air-conditioned, heated, monitored, multi-projector system. Costs should be evaluated by function and risk, not only by the number of components.
Based on our internal data and market analysis, here is the breakdown:
| Buying Factor | Cost Impact | Engineering Reason |
|---|---|---|
| Projector quantity | Medium to High | More projectors require more load planning, signal routing, and service space. |
| Industrial air conditioner | High | AC may require dedicated planning, startup review, control coordination, and service access. |
| Heater | Medium | Adds load, control logic, placement, and safety review. |
| Monitoring equipment | Low to Medium | Adds power supplies, communication wiring, antennas, or network interfaces. |
| Sensors | Low to Medium | Requires wiring, placement, and controller coordination. |
| Cable-entry complexity | Medium | More cables, larger connectors, and higher sealing requirements increase fabrication planning. |
| Destination market | Medium to High | Voltage, frequency, standards, documentation, and qualified review may differ. |
| Maintenance-access design | Medium | Service doors, layout space, labels, and removable paths affect manufacturing. |
| Documentation requirements | Low to Medium | Schematics, diagrams, component lists, and inspection records require engineering time. |
| Batch standardization | Can reduce unit cost | Only effective when configurations are genuinely compatible. |
Buyers should provide the following before quotation or design confirmation:
- Exact projector brand and model.
- Projector quantity.
- Projector electrical specifications.
- Supply voltage and frequency.
- Installation country or region.
- Cooling configuration.
- Heater requirement.
- Remote monitoring requirement.
- Operating schedule.
- Installation method.
- Required electrical interfaces.
- Applicable project standards.
The most cost-effective solution is usually the one engineered correctly at the beginning. Retrofitting cable entries, relocating electrical components, or correcting airflow interference after fabrication is more expensive and less reliable.
SuiRui Pro Tip: When comparing quotations, I suggest checking whether the enclosure supplier has included the full electrical-load concept. A quote that only considers projector power may miss AC, heater, controls, and monitoring requirements.
Conclusion
A reliable outdoor projector enclosure requires more than a socket for the projector. Power distribution should support the complete enclosure system, including cooling, heating, controls, sensors, and optional monitoring, while preserving waterproofing, airflow, safety, accessibility, and maintainability throughout manufacturing, installation, and long-term service.
Final Engineering Checklist
Power distribution inside an outdoor projector enclosure should be designed early and reviewed as part of the enclosure’s mechanical, thermal, and environmental protection strategy. The best results come from coordinating all project information before production begins.
Use this workflow as a practical checklist:
- Confirm projector model and quantity.
- Identify every electrical load inside the enclosure.
- Confirm voltage, frequency, capacity, grounding, and destination market.
- Review actual manufacturer data for projector, air conditioner, heater, fans, and power supplies.
- Evaluate connected load and operating logic.
- Consider startup and peak loads where relevant.
- Organize circuits or branches according to the approved electrical design.
- Plan isolation, protection, grounding, and bonding through qualified personnel.
- Separate and manage power and signal routing.
- Coordinate cable entry, sealing, and environmental protection.
- Keep electrical components away from water-risk and condensation-prone areas.
- Coordinate wiring with airflow, temperature sensors, heaters, and AC operation.
- Preserve projector removal and maintenance access.
- Prepare electrical documentation according to the project agreement.
- Inspect the finished enclosure according to the actual configuration.
SuiRui can support custom outdoor projector enclosure projects where electrical layout, thermal management, cable entry, and maintenance access need to be planned together. Exact electrical specifications should always be determined from real equipment data, project requirements, and applicable local standards.
SuiRui Pro Tip: My final check is always practical: can the technician isolate power, identify circuits, remove the projector, inspect controls, and maintain sealing without fighting the enclosure design? If yes, the power distribution plan is much stronger.