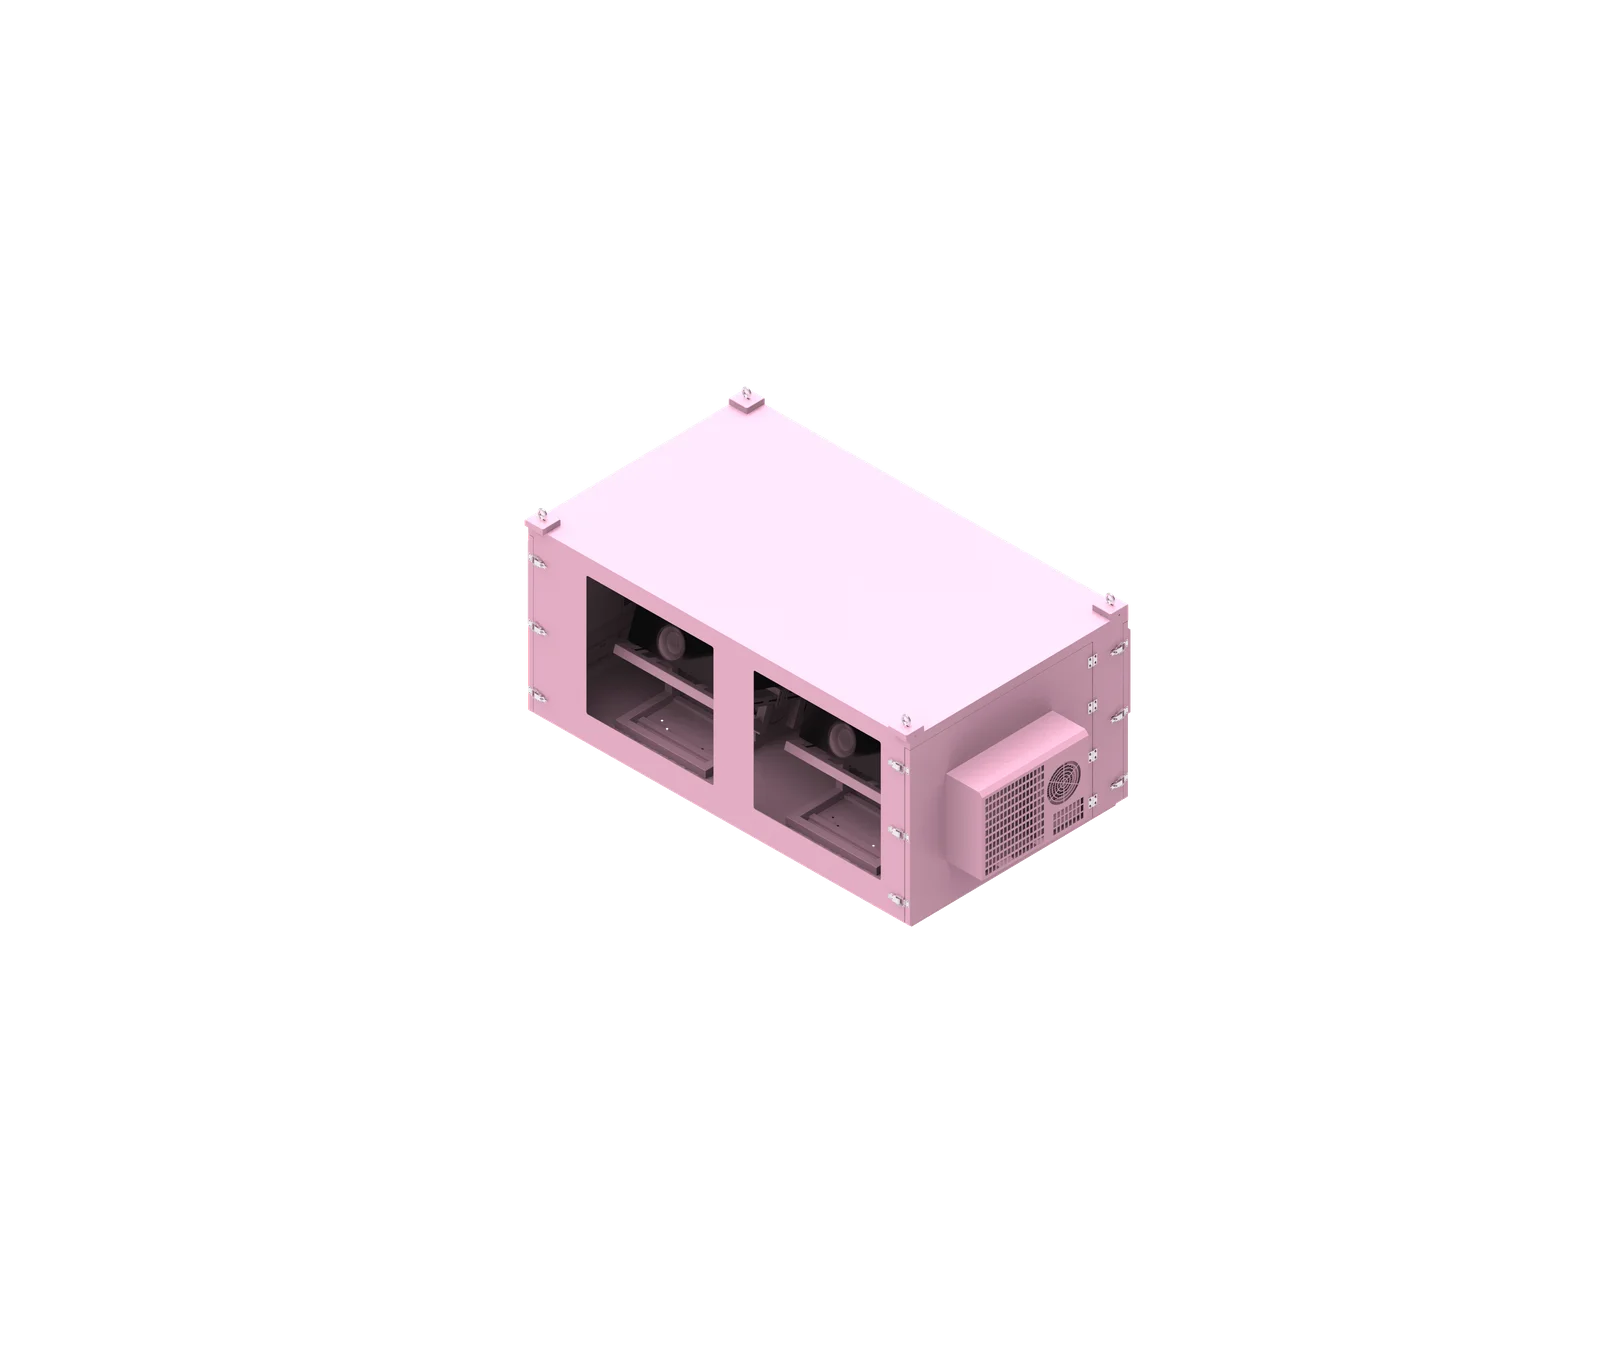
Design a rear exhaust projector enclosure by mapping the projector’s original intake and exhaust path first, then building the outdoor projector enclosure around that airflow. The enclosure must remove hot rear exhaust, prevent hot-air recirculation, protect against weather, preserve optical alignment, and allow service access without using universal clearances or fan values.
Engineering Principle for a Rear Exhaust Projector Enclosure
A rear-exhaust professional projector should not be treated as a device placed inside a larger sealed metal box. The enclosure must be designed around the projector’s airflow architecture: cooler air enters the projector intake, heat is removed inside the projector, and hot air exits from the rear into a dedicated heat-removal path.
The core airflow concept is:
- Confirm the exact projector brand and model.
- Read the manufacturer ventilation requirements.
- Identify all intake and rear exhaust locations.
- Map cable connectors, lens position, and service zones.
- Create a clear rear hot-air removal path.
- Prevent exhaust air from returning to the projector intake.
- Select forced-air, filtered-air, isolated cooling, or air-conditioning architecture based on the actual project.
- Position temperature sensors where they represent real enclosure conditions.
- Verify airflow, thermal behavior, and maintenance access before fabrication.
| Design Area | Poor Design | Better Design |
|---|---|---|
| Rear clearance | Exhaust blocked | Clear exhaust path based on projector requirements |
| Intake air | Mixed with hot exhaust | Cooler intake zone |
| Cable routing | Across exhaust vents | Routed away from exhaust |
| Fans | Random positions | Follow projector airflow |
| Air conditioning | Only cools cabinet | Supports complete airflow loop |
| Temperature sensor | Inside cold-air outlet | Representative location |
| Maintenance | Rear inaccessible | Service path planned |
| Cabinet size | Based only on projector body | Based on airflow + service space |
Rear exhaust changes the cabinet design because hot air is released directly behind the projector. If that zone is obstructed by a wall, cable bundle, electrical panel, bracket, or cooling component, heat can accumulate and move back toward the projector intake. That increases intake temperature even when the average cabinet temperature appears acceptable.
For this reason, ShiRui designs a rear exhaust projector enclosure from project-specific data, including projector dimensions, power consumption, intake position, exhaust position, connector layout, lens model, ambient temperature range, operating hours, cooling method, IP protection requirement, and installation environment.
ShiRui Pro Tip: In our lab tests at ShiRui, we found that the most dangerous failure is not always insufficient cooling capacity; it is uncontrolled recirculation. We check whether hot rear exhaust can return to the intake area before we finalize fans, air-conditioning layout, cable routing, or enclosure dimensions.
How to build an outdoor projector enclosure?
To build an outdoor projector enclosure, start with the exact projector model, not only brightness or body size. Confirm intake vents, rear exhaust vents, manufacturer clearance guidance, lens position, connector locations, and environmental exposure. Then design the cabinet for airflow, cooling, weather protection, cable access, and future maintenance.
Recommended Build Process
- Confirm the projector model
Two projectors with similar lumen output may have completely different intake and exhaust layouts. Use the datasheet and installation manual. - Verify rear exhaust direction
Do not assume airflow from appearance. Confirm whether exhaust is mainly rear, multiple rear vents, rear plus side vents, or another manufacturer-specific layout. - Create an airflow map
A basic rear-exhaust path is: cooler air → projector intake → projector cooling system → rear hot exhaust → enclosure heat-removal path. - Select the cooling architecture
Depending on heat load and environment, the enclosure may use filtered forced air, an isolated cooling design, or industrial air conditioning. Do not choose only by cabinet size. - Plan internal layout
Avoid placing electrical panels, cable bundles, brackets, temperature-control components, or AC hardware directly behind the rear exhaust. - Coordinate optical window and projector position
Lens center, lens shift, projection angle, lens-to-glass distance, and clear aperture must be correct. Airflow design should not force bad optical alignment. - Design maintenance access
Plan how technicians will disconnect cables, remove the projector, replace filters, inspect fans, access sensors, and service cooling equipment. - Verify before production
Check airflow direction, hot zones, projector intake temperature, exhaust-zone behavior, cooling-system operation, and functional access according to the actual project.
ShiRui Pro Tip: Our technicians often see DIY-style boxes fail because the projector was simply enclosed, not thermally integrated. We build around the projector’s original airflow path, then adjust the enclosure structure, cooling system, cable entry, and service doors as one complete system.
How to make a projector visible outside?
To make a projector visible outside, control ambient light, use a suitable screen, protect optical alignment, and choose a projector-screen combination appropriate for the viewing environment. The enclosure helps by maintaining projector performance, but visibility also depends on sunlight, screen gain, image size, viewing angle, and installation timing.
Outdoor Visibility Factors
| Factor | Why It Matters | Engineering Consideration |
|---|---|---|
| Ambient light | Sunlight can overpower the projected image | Use shade, evening operation, or controlled lighting |
| Screen type | Different screens handle contrast differently | Match screen to front or rear projection design |
| Image size | Larger images reduce perceived brightness | Size must match projector capability and environment |
| Projection distance | Affects image geometry and intensity | Coordinate lens model and throw ratio |
| Optical window | Poor glass design can reduce image quality | Use correct aperture, angle, and lens clearance |
| Enclosure temperature | Overheating can reduce projector reliability | Maintain intake air quality and cooling path |
For a rear-exhaust projector, visibility is indirectly affected by thermal design. If hot exhaust recirculates into the intake, the projector may run hotter, throttle, shut down, or require more maintenance. A projector cooling enclosure must therefore keep the optical path stable while also maintaining correct airflow.
Outdoor installations should also consider rain, dust, humidity, condensation, low temperature, high temperature, contaminants, and cleaning access. Waterproofing alone does not prevent condensation, especially when temperature-controlled cabinets operate near dew-point conditions.
ShiRui Pro Tip: Our technicians often see customers focus only on projector lumens. We always review screen type, ambient light, lens position, enclosure window design, and thermal stability together because outdoor visibility is an optical and environmental system, not only a brightness number.
What is the best outdoor rear projector screen?
The best outdoor rear projector screen is the one matched to the projector, image size, viewing angle, ambient light level, installation structure, and weather exposure. There is no single universal screen for every outdoor rear-projection project, especially when the enclosure, lens, throw distance, and audience position vary.
Rear Projection Screen Selection
| Screen Requirement | What to Check | Why It Matters |
|---|---|---|
| Rear-projection compatibility | Confirm the screen is designed for rear projection | Front-projection materials may perform poorly from behind |
| Ambient light behavior | Evaluate contrast under expected lighting | Outdoor light can wash out the image |
| Viewing angle | Match audience position | High-gain screens may narrow the viewing cone |
| Image size | Confirm uniformity across the screen | Large formats need careful brightness planning |
| Weather exposure | Consider outdoor durability | Moisture, wind, and contaminants affect service life |
| Structure | Check frame tension and mounting | Wrinkles or movement reduce image quality |
For professional outdoor systems, the screen and enclosure should be coordinated early. The projector’s lens position, optical window, throw distance, screen centerline, and rear-projection geometry must be confirmed before the enclosure is finalized.
A rear exhaust projector enclosure should not be resized casually after the screen layout is fixed. If the projector must shift forward, backward, or sideways for optical reasons, the airflow zones, rear exhaust path, cable bend radius, and maintenance access may also change.
ShiRui Pro Tip: Our technicians often see screen selection treated as a separate purchase. We prefer to review projector model, lens, enclosure window, throw distance, audience angle, and screen material together so the final image and thermal system both work correctly.
What is the best material for a rear projector screen?
The best material for a rear projector screen depends on image brightness, contrast target, viewing angle, outdoor exposure, installation size, and whether the screen is temporary or permanent. Common choices may include specialized rear-projection film, acrylic, glass-based systems, or engineered projection fabrics, but selection must be project-specific.
Material Comparison for Rear Projection
| Material Type | Potential Advantage | Key Limitation |
|---|---|---|
| Rear-projection film | Can be applied to transparent panels | Requires correct substrate and installation quality |
| Acrylic rear-projection panel | Rigid and clean appearance | Must consider scratches, expansion, and outdoor durability |
| Glass-based rear projection | Stable surface and premium appearance | Weight, safety, reflection, and mounting must be engineered |
| Projection fabric | Useful for larger or temporary setups | Tension, wind, and weather resistance are critical |
| High-gain rear material | Can improve apparent brightness | May reduce viewing angle or create hot spots |
For outdoor rear projection, material choice should not be separated from environmental protection. Rain, dust, humidity, wind load, cleaning method, UV exposure, and mounting structure all affect the final screen decision.
The enclosure optical window also matters. Even if the screen material is correct, poor lens-to-window spacing, insufficient clear aperture, reflections, or misalignment can reduce image quality. For rear-exhaust professional projectors, the projector position must satisfy both optical and airflow requirements.
ShiRui Pro Tip: Our technicians often see customers choose screen material before confirming lens geometry. We recommend confirming projector model, lens model, throw distance, screen size, viewing angle, and outdoor exposure before selecting the final rear-projection material.
What is the wholesale price for rear-exhaust projector outdoor enclosures?
The wholesale price for rear-exhaust projector outdoor enclosures depends on projector model, enclosure size, cooling method, IP protection level, material, quantity, control system, optical window, cable interface, monitoring options, and customization scope. A reliable quotation requires engineering details, not only projector brightness or approximate cabinet dimensions.
Pricing Factors for Bulk Projects
| Cost Factor | Why It Affects Price |
|---|---|
| Exact projector model | Determines internal layout, airflow path, support structure, and service access |
| Cooling architecture | Filtered fans, isolated cooling, and air conditioning have different cost structures |
| Environmental protection | Higher protection requirements may need more sealing, drainage, filtration, or hardware |
| Optical window | Size, material, coating, and mechanical integration affect cost |
| Electrical system | Power distribution, controllers, sensors, alarms, and monitoring add complexity |
| Quantity | Bulk production can reduce unit cost through standardized fabrication |
| Custom structure | Special mounting, rear doors, cable entries, or finish requirements affect pricing |
| Testing requirement | Thermal, functional, and inspection procedures influence production time |
For rear-exhaust projector enclosure pricing, ShiRui normally asks buyers to provide projector brand, exact model, datasheet, dimensions, weight, power consumption, intake and exhaust locations, lens model, project location, ambient temperature range, operating hours, installation method, required IP rating, and order quantity.
We do not recommend quoting from a universal enclosure size because the rear exhaust zone, cable routing, cooling equipment, maintenance access, and optical alignment can change significantly between projector models.
ShiRui Pro Tip: Our technicians often see buyers compare a custom projector enclosure with a simple metal cabinet. We quote based on airflow engineering, weather protection, cooling-system integration, and serviceability because those details determine whether the projector survives outdoors.
Can the enclosure design be customized for bulk orders?
Yes, a custom projector enclosure can be engineered for bulk orders when the projector model, installation environment, cooling requirement, protection level, optical layout, cable interface, and maintenance method are defined. Customization is especially important for rear-exhaust projectors because airflow, rear hot-air removal, and service access vary by model.
Bulk Customization Workflow
- Collect project information
Required data includes projector brand, exact model, datasheet, dimensions, weight, power consumption, intake locations, rear exhaust locations, manufacturer ventilation requirements, lens model, project site, ambient temperature range, operating hours, IP requirement, and quantity. - Verify airflow architecture
Confirm whether exhaust is rear-only, multi-rear, rear plus side, or another configuration. The enclosure ventilation should match the projector, not oppose it. - Create internal layout
Position the projector, cooling components, cable entry, electrical parts, sensors, optical window, and service panels without blocking the rear exhaust path. - Select cooling method
Depending on environment and heat load, the design may use engineered forced-air ventilation, filtered intake, isolated cooling, or air conditioning. More fans do not automatically mean better cooling. - Review maintainability
Plan access to connectors, filters, fans, temperature controllers, mounting fasteners, cable service loops, and projector removal path. - Finalize drawings and production standard
For bulk orders, technical drawings, enclosure finish, electrical configuration, packaging, and inspection process should be standardized before fabrication. - Verify thermal and functional performance
Depending on project requirements, testing may include airflow inspection, hot-zone review, projector intake temperature review, exhaust-zone review, cooling-system operation, and functional operation.
ShiRui Pro Tip: Our technicians often see bulk projects fail when one cabinet is copied across different projector models. We customize the rear exhaust projector enclosure around the verified airflow path, then standardize production only after the thermal layout is correct.
For a rear-exhaust professional projector, successful outdoor enclosure design requires coordinated airflow, cooling, cable routing, optical alignment, environmental protection, and maintenance access.