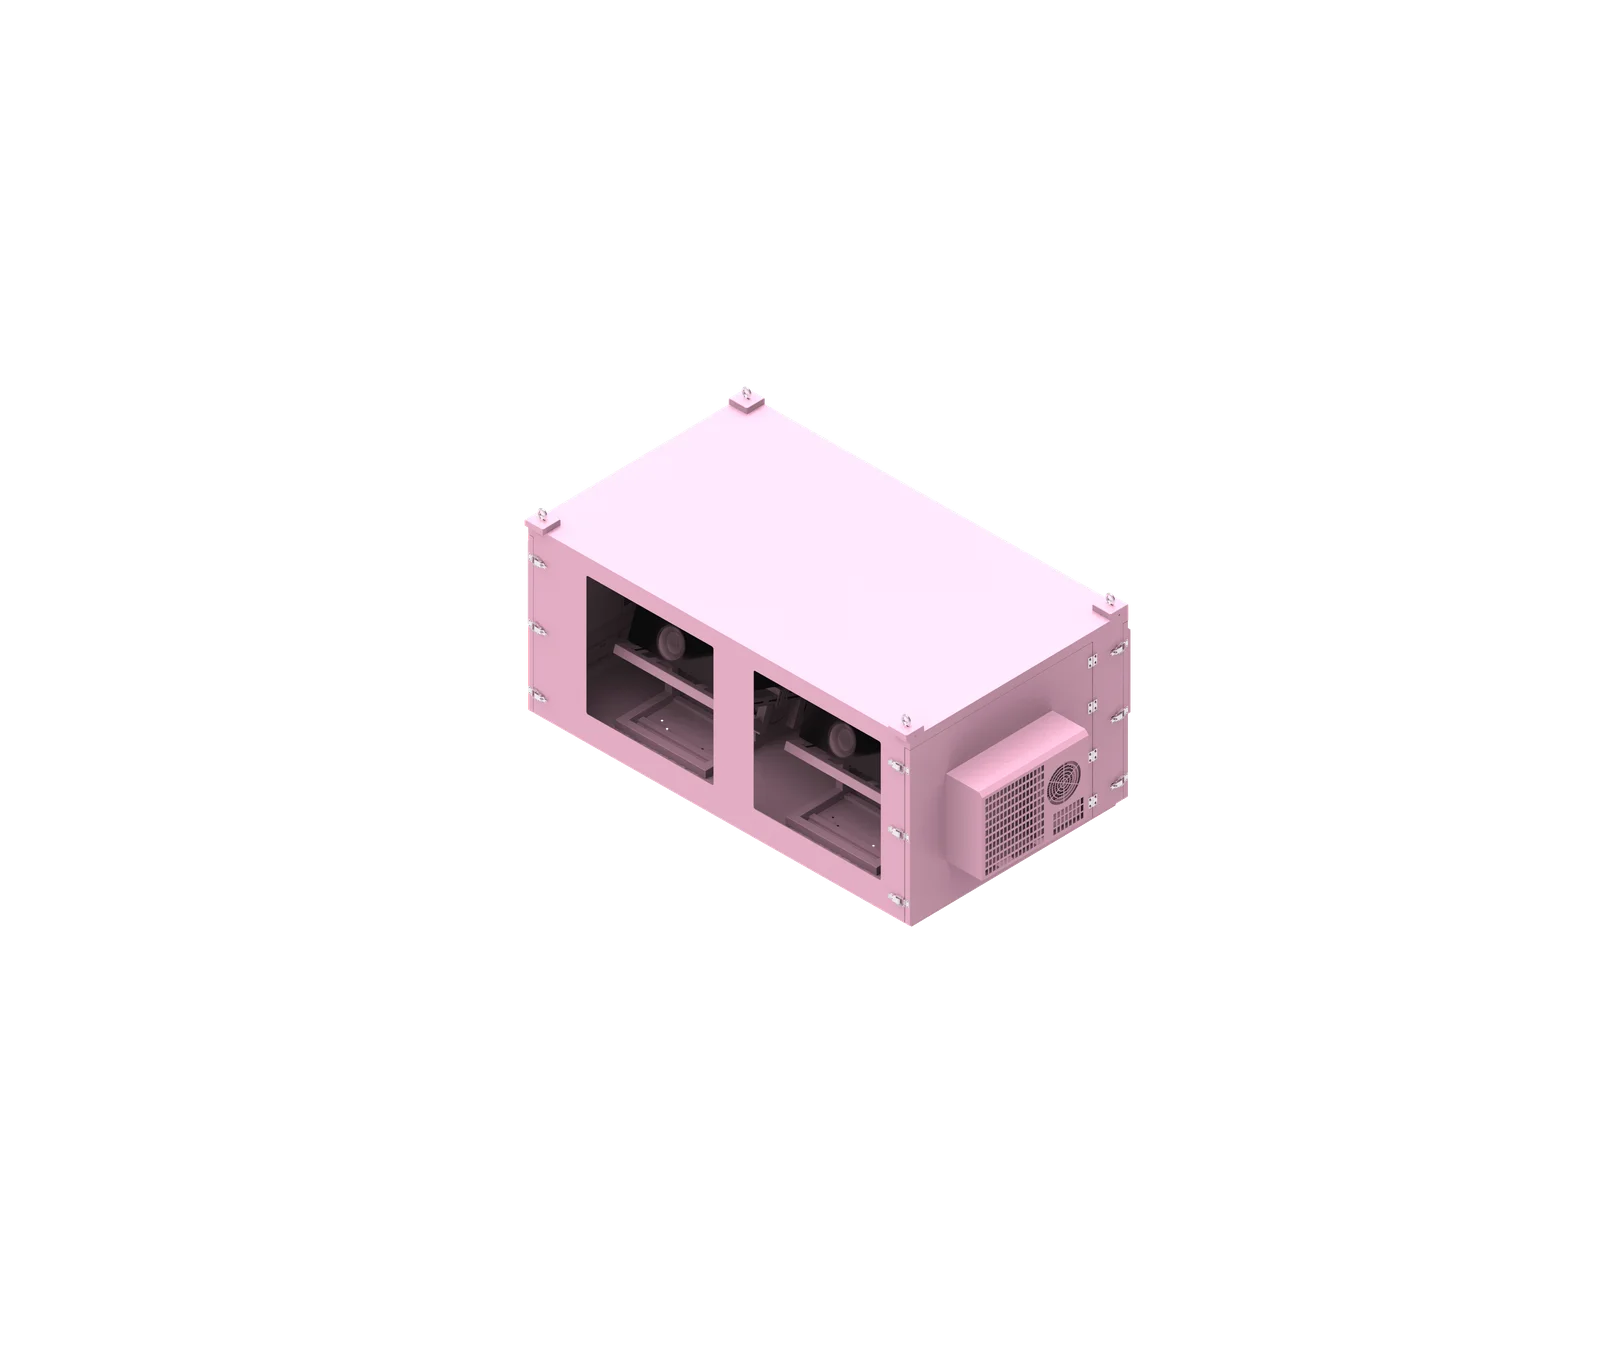
Outdoor network cabinet sizing is an engineering layout task, not a simple “choose a box slightly larger than the device” decision. The correct cabinet dimensions depend on the complete equipment list, rack requirements, equipment depth, connector clearance, cable routing, airflow, thermal management, power distribution, mounting method, maintenance access, and planned expansion. As an outdoor telecom cabinet manufacturer, ShiRui recommends sizing from actual datasheets and project conditions before finalizing width, height, and depth.
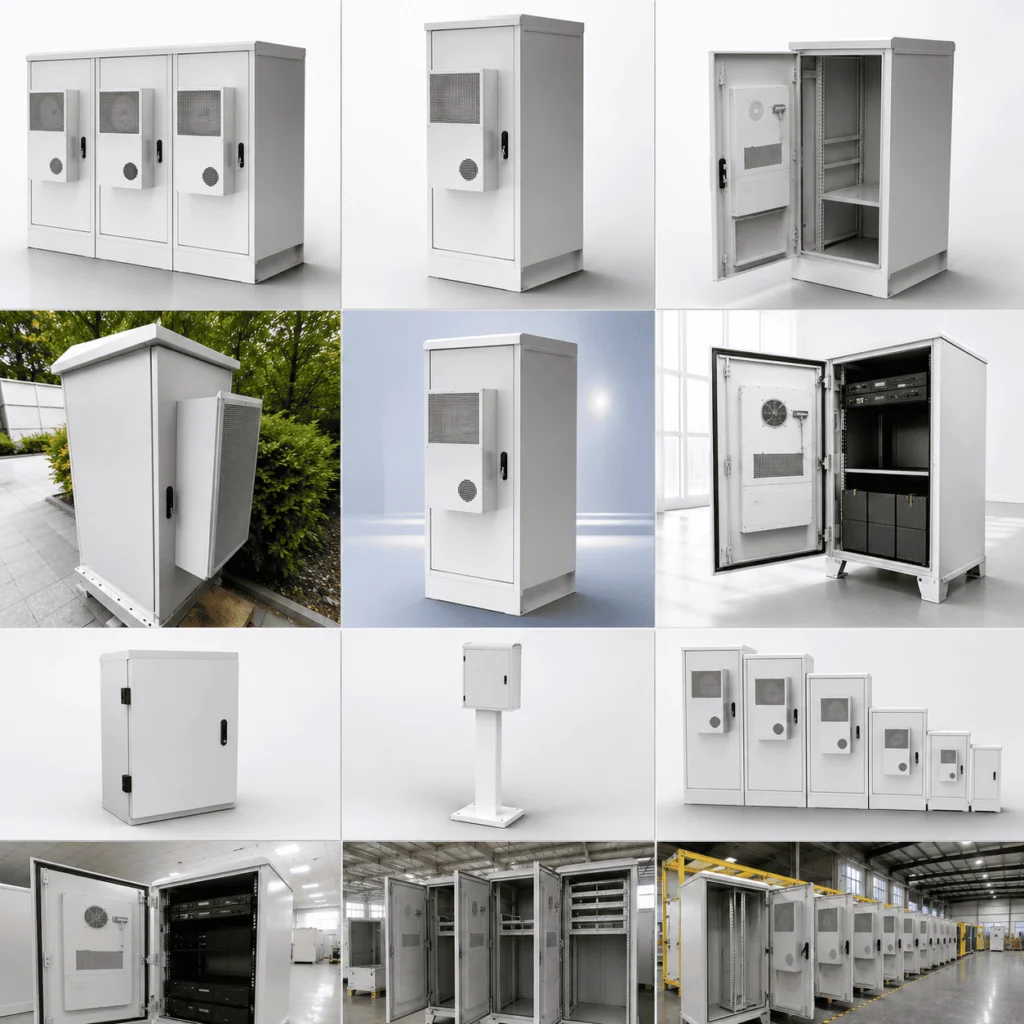
What is outdoor network cabinet sizing?
Outdoor network cabinet sizing is the process of determining the correct cabinet width, height, depth, internal layout, and mounting structure based on real equipment requirements. It includes devices, cables, airflow, cooling, power systems, UPS or batteries, cable entry, and service access—not only the visible size of the largest device.

Cabinet Sizing as an Equipment-Layout Problem
Outdoor network cabinet sizing should begin with a full equipment schedule. A cabinet may appear large enough from the outside but still fail if the equipment cannot be cabled, cooled, removed, or maintained properly.
The correct method is to evaluate the complete installed system:
- Equipment body dimensions
- Rack-unit requirements where applicable
- Equipment depth and mounting method
- Front and rear connector locations
- Cable bend and routing requirements based on actual cable specifications
- Internal airflow direction
- Cooling or heating component space
- Power distribution equipment
- UPS or battery space where applicable
- Cable entry area
- Door opening and service access
- Mounting method and structural requirements
- Planned future expansion based on the real project plan
A practical sizing formula is:
Equipment Size + Connector Clearance + Cable Space + Airflow Space + Cooling System + Power System + Maintenance Access + Planned Expansion = Required Cabinet Size
This is very different from choosing a cabinet by adding an arbitrary margin around the largest device.
ShiRui Pro Tip: When we review a custom outdoor network cabinet project, we first ask for the equipment list and datasheets. Without that information, any cabinet dimension is only a guess, not an engineering decision.
How Does outdoor network cabinet sizing Work?
Outdoor network cabinet sizing works by converting the equipment schedule into a physical internal layout. Engineers check height, width, depth, cable paths, airflow, thermal equipment, power components, cable entry, installation method, and maintenance access before confirming the final outdoor network cabinet dimensions.
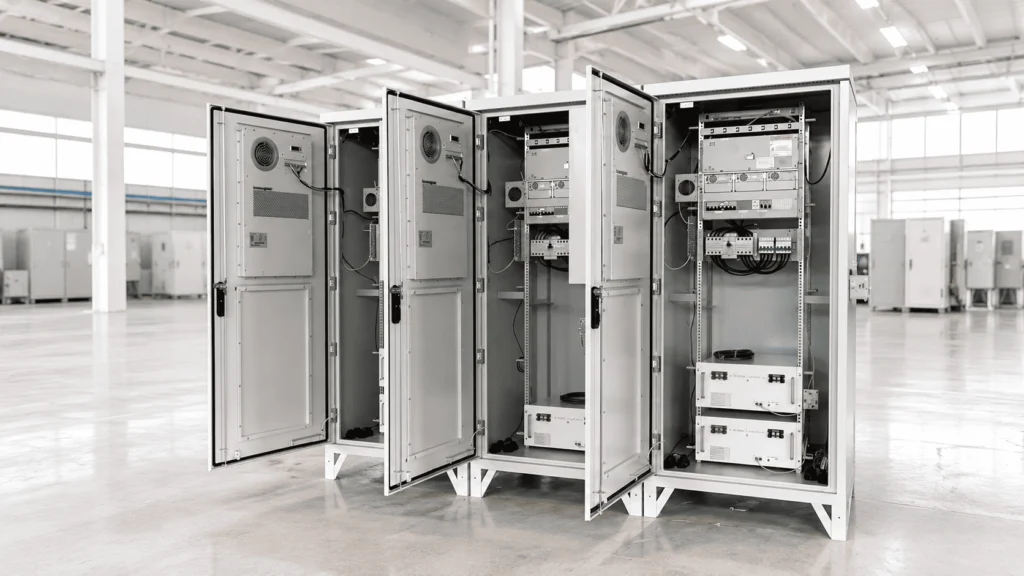
Step-by-Step Sizing Workflow
The recommended workflow is structured and evidence-based. Each step reduces the risk of an undersized or unnecessarily oversized weatherproof network cabinet.
- Prepare a complete equipment list.
- Record width, height, depth, weight, power consumption, airflow direction, and mounting method.
- Identify rack-mounted, shelf-mounted, or custom plate-mounted equipment.
- Confirm required rack units where applicable.
- Check equipment depth separately from rack height.
- Review connector locations and cable-routing requirements.
- Check cable bend radius using the cable manufacturer’s requirements.
- Plan front, rear, side, or bottom cable clearance.
- Confirm internal airflow and heat-producing equipment placement.
- Add cooling, heating, filtration, or humidity-control components.
- Add power distribution, protection, UPS, or battery requirements.
- Confirm cable entry method and gland plate space.
- Review mounting method: wall-mounted, pole-mounted, or ground-mounted.
- Check door opening, door swing, and maintenance access.
- Create an internal layout drawing.
- Review the layout technically before fabrication.
For custom outdoor network cabinet projects, ShiRui typically uses this workflow before defining the final cabinet width, height, and depth.
ShiRui Pro Tip: I never approve cabinet dimensions from rack units alone. A cabinet can have enough U-space and still be too shallow for connectors, fiber routing, rear cables, or service access.
What are the benefits of outdoor network cabinet sizing?
Proper outdoor network cabinet sizing improves equipment reliability, cable organization, airflow, thermal performance, installation efficiency, and maintenance access. It also helps avoid unnecessary cabinet weight, shipping volume, cooling demand, wind exposure, field modification, and cost caused by oversizing or undersizing.
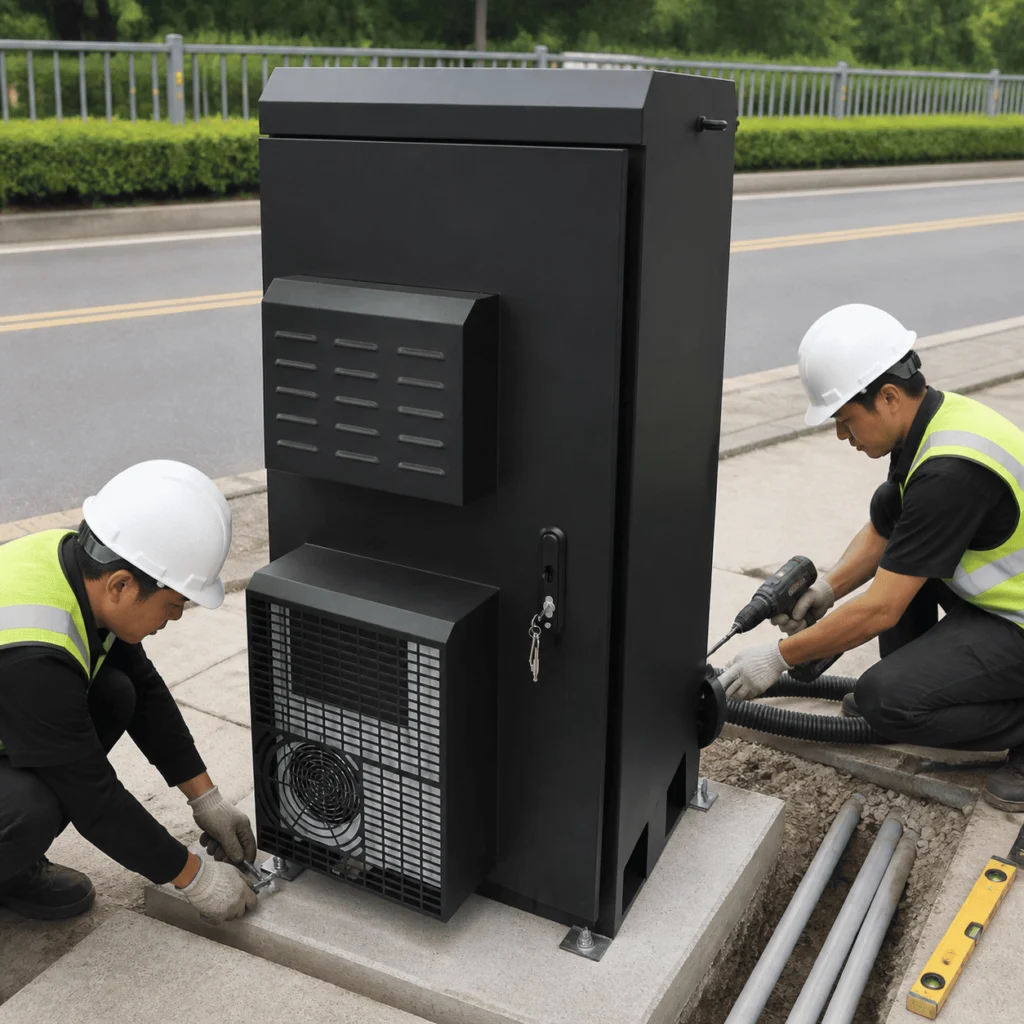
Reliability, Serviceability, and Cost Control
Correct outdoor network cabinet sizing supports the complete life cycle of the installation. The goal is not to select the largest enclosure. The goal is to provide enough usable internal space for the system while avoiding waste.
Based on our internal data and market analysis, here is the breakdown:
| Sizing Result | Typical Impact | Engineering Concern |
|---|---|---|
| Correctly sized cabinet | Good fit, airflow, cable access, and serviceability | Requires accurate equipment data and layout review |
| Undersized cabinet | Difficult wiring, blocked airflow, poor maintenance access | May cause overheating or field modification |
| Oversized cabinet | Higher material cost, weight, shipping volume, and mounting burden | May increase cooling/heating demand and wind area |
| Rack-height-only selection | Appears suitable on paper but may fail in depth or cabling | Ignores connectors, cable routing, and airflow |
| Layout-based selection | Better balance between compactness and service access | Requires planning before production |
Proper sizing can also improve technician safety because power distribution, grounding, UPS, and battery components can be placed with better access and separation.
ShiRui Pro Tip: In outdoor projects, I prefer a cabinet that is serviceable over one that is merely compact. If technicians cannot replace a switch, filter, UPS, or cable without struggle, the cabinet is functionally undersized.
How to maintain an outdoor network cabinet sizing?
Maintaining outdoor network cabinet sizing means preserving the space, airflow, cable routing, and access assumptions used in the original design. Any added device, cable bundle, UPS, battery, fan, filter, heater, or power component should be checked against the cabinet layout before installation.
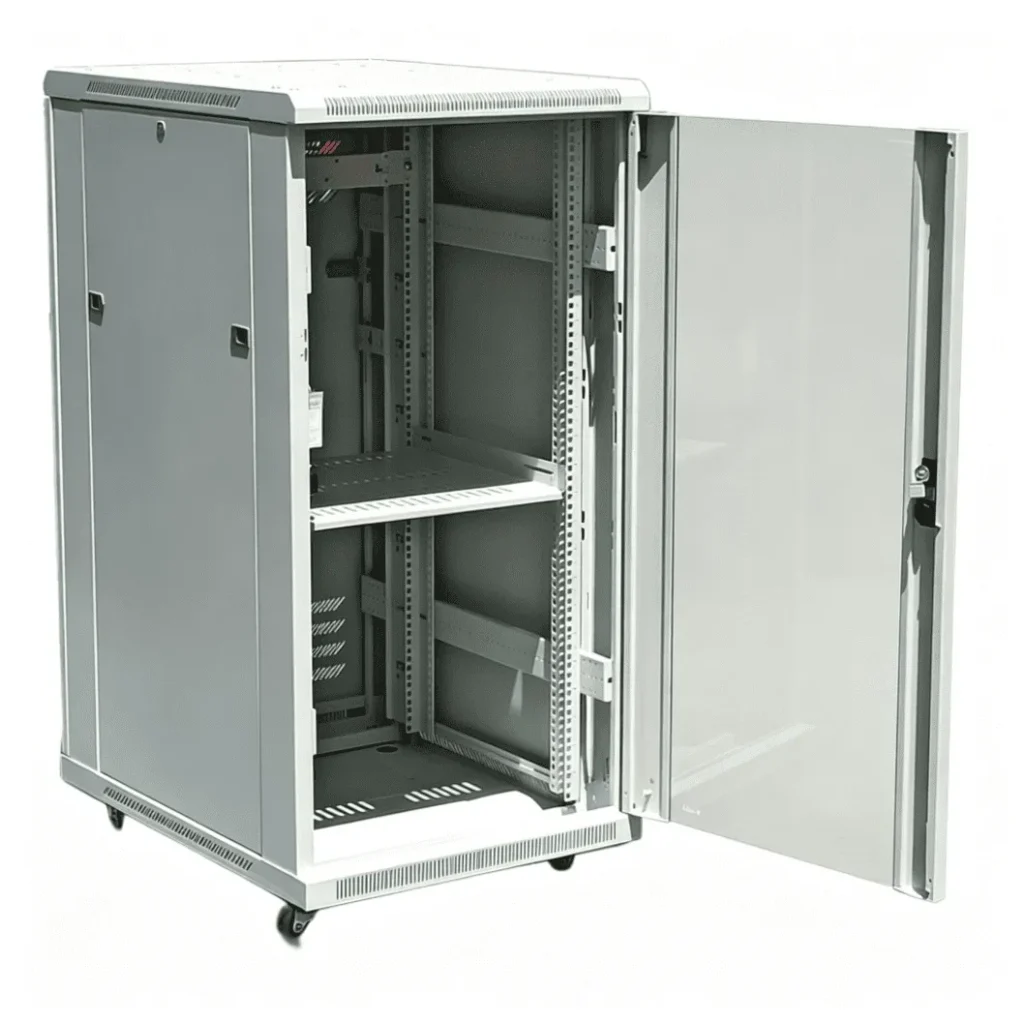
Maintenance Checks That Protect the Original Layout
A well-sized outdoor equipment cabinet can become crowded if later changes are not controlled. Maintenance should include both environmental inspection and layout discipline.
Recommended maintenance checks include:
- Confirm that cable bundles do not block fans, filters, vents, or air-conditioning airflow paths.
- Check that door seals, hinges, locks, and gland plates remain in good condition.
- Replace or clean filters according to the site environment and cooling design.
- Verify that added devices do not overload shelves, rails, mounting plates, or brackets.
- Check that fiber, power, and communication cables maintain routing space required by their manufacturers.
- Inspect grounding and bonding connections.
- Confirm that UPS or battery replacement paths remain accessible.
- Keep power components away from airflow-blocking positions.
- Review the internal layout before adding monitoring equipment, PoE switches, or communication modules.
- Make sure door opening direction and service clearance remain unobstructed after site changes.
Outdoor environments can introduce dust, humidity, heat, cold, corrosion risk, and vibration. Maintenance should therefore protect both the cabinet enclosure and the internal layout.
ShiRui Pro Tip: When customers add equipment after installation, I recommend updating the internal layout drawing. Small additions can create big problems if they block airflow, cable bend space, or access to power components.
What is the price of outdoor network cabinet sizing?
The price of outdoor network cabinet sizing depends on cabinet dimensions, material, IP rating, thermal-management method, mounting structure, internal accessories, power distribution, UPS or battery space, surface treatment, customization level, quantity, and project environment. Accurate pricing requires the actual equipment list and installation conditions.
What Drives the Final Cabinet Cost
Outdoor network cabinet pricing is affected by more than sheet-metal size. Two cabinets with similar external dimensions may have very different costs if one requires air conditioning, battery compartments, special materials, custom brackets, or complex cable-entry design.
Based on our internal data and market analysis, here is the breakdown:
| Cost Factor | Why It Matters | Buyer Should Provide |
|---|---|---|
| Cabinet dimensions | Affects material, fabrication, packaging, and shipping | Required width, height, depth, or equipment layout |
| Material and finish | Impacts corrosion resistance and outdoor durability | Environment, corrosion risk, coating requirement |
| IP rating | Influences sealing, cable entry, ventilation, and cooling design | Required protection level and site exposure |
| Cooling or heating | Can significantly change layout and cost | Heat load data, climate, cooling preference |
| Mounting method | Wall, pole, and ground mounting require different structures | Installation drawings or site details |
| Internal layout | Shelves, rails, plates, compartments, and brackets affect fabrication | Equipment list and mounting method |
| Power system | PDUs, breakers, power supplies, UPS, and batteries add complexity | Electrical requirements and component details |
| Quantity | Influences production planning and unit cost | Project quantity and delivery schedule |
For a custom outdoor network cabinet, pricing should be based on confirmed drawings, not only a requested outer size.
ShiRui Pro Tip: If you want a reliable quotation, send the equipment schedule first. It helps us quote the real cabinet you need, instead of estimating a size that may later require redesign.
Key Features & Comparison
A correctly sized outdoor network cabinet should provide enough space for network equipment, power components, cooling or heating systems, cable entry, airflow, grounding, maintenance, and future expansion. The best design balances usable internal space with structural strength, environmental protection, manufacturability, and installation practicality.
Feature Comparison for Outdoor Cabinet Selection
Based on our internal data and market analysis, here is the breakdown:
| Feature | Why It Affects Sizing | Design Consideration |
|---|---|---|
| Equipment height | Determines rack space or mounting plate area | Use actual rack units or device height from datasheets |
| Equipment depth | Often limits cabinet suitability | Include connectors, plugs, rails, cables, and door clearance |
| Cabinet width | Affects side cable routing, side airflow, compartments, and AC installation | Consider side-access devices and internal zoning |
| Cable entry | Requires gland plates, conduit space, and cable bending area | Plan bottom or rear entry before filling the cabinet |
| Airflow path | Prevents heat buildup and blocked cooling | Match cabinet layout to equipment airflow direction |
| Cooling system | Adds internal or external space requirements | Include fans, filters, AC, heat exchanger, heater, and controllers |
| Power distribution | Needs safe wiring and access | Avoid blocking airflow or maintenance zones |
| UPS and batteries | Add weight, heat, depth, and service requirements | Confirm actual battery or UPS manufacturer requirements |
| Maintenance access | Determines whether equipment can be installed and removed | Check door opening, service clearance, and replacement paths |
| Mounting structure | Changes allowable size, weight, and stability | Review wall, pole, or ground mounting conditions |
| Future expansion | Prevents premature replacement | Base spare capacity on the project plan, not arbitrary percentages |
Outdoor network cabinet dimensions should be selected after the internal arrangement is proven practical. The cabinet’s external size is the result of layout engineering, not the starting point.
ShiRui Pro Tip: In ShiRui custom designs, we often divide larger cabinets into zones for network equipment, power, batteries, thermal management, and cable entry. Zoning makes the cabinet easier to cool, wire, and maintain.
Cost & Buying Factors
When buying a custom outdoor network cabinet, the most important factor is not the lowest enclosure price but the fit between cabinet design and actual project requirements. A well-specified cabinet reduces installation risk, maintenance difficulty, thermal problems, and expensive site modifications.
Information Buyers Should Prepare
Before requesting a custom outdoor network cabinet quotation, prepare a complete technical package. This allows the manufacturer to size the cabinet correctly and avoid assumptions.
Buyers should provide:
- Complete equipment list
- Equipment quantities
- Equipment width, height, and depth
- Rack units where applicable
- Equipment weight
- Power consumption
- Airflow direction
- Connector locations
- Cable types and quantities
- Cable entry direction
- UPS requirements
- Battery requirements
- Cooling or heating requirements
- Required IP rating
- Installation method
- Project environment
- Future expansion requirements
- Required quantity
- Any site restrictions, such as wall, pole, fence, foundation, or door-swing limitations
A good buying process should move from equipment data to layout drawing, then to confirmed dimensions and fabrication. Avoid selecting a cabinet from outer dimensions alone.
ShiRui Pro Tip: I recommend asking for an internal layout drawing before confirming the order. It is the fastest way to identify conflicts between equipment depth, cables, airflow, cooling components, and maintenance access.
Conclusion
Outdoor network cabinet sizing should be based on actual equipment, datasheets, cable routing, airflow, thermal management, power distribution, mounting method, maintenance access, and planned expansion. The best cabinet is neither the smallest nor the largest—it is the one that supports the complete outdoor system reliably.
Final Engineering Recommendation
To size a weatherproof network cabinet correctly, start with the complete equipment list and manufacturer datasheets. Then design the cabinet around rack space, equipment depth, connector clearance, cable routing, cooling or heating, UPS or battery requirements, power distribution, cable entry, service access, and installation structure.
Avoid common sizing mistakes such as:
- Choosing cabinet size from one device only
- Looking only at rack U height
- Ignoring equipment depth
- Ignoring connectors and cable bend requirements
- Ignoring airflow direction
- Adding cooling equipment after the cabinet size is already fixed
- Ignoring UPS or battery space
- Blocking cable entry with equipment
- Forgetting door opening and service clearance
- Oversizing for vague future expansion
- Finalizing dimensions before confirming the equipment list
Outdoor network cabinet sizing is an equipment-layout problem, not simply a box-dimension problem. If you need a custom outdoor network cabinet, ShiRui can help review your equipment list, develop the internal layout, and manufacture the enclosure according to your project conditions.
ShiRui Pro Tip: Send us the equipment schedule, installation method, environmental conditions, and protection requirements first. With those details, we can recommend practical outdoor network cabinet dimensions instead of relying on unsafe assumptions.