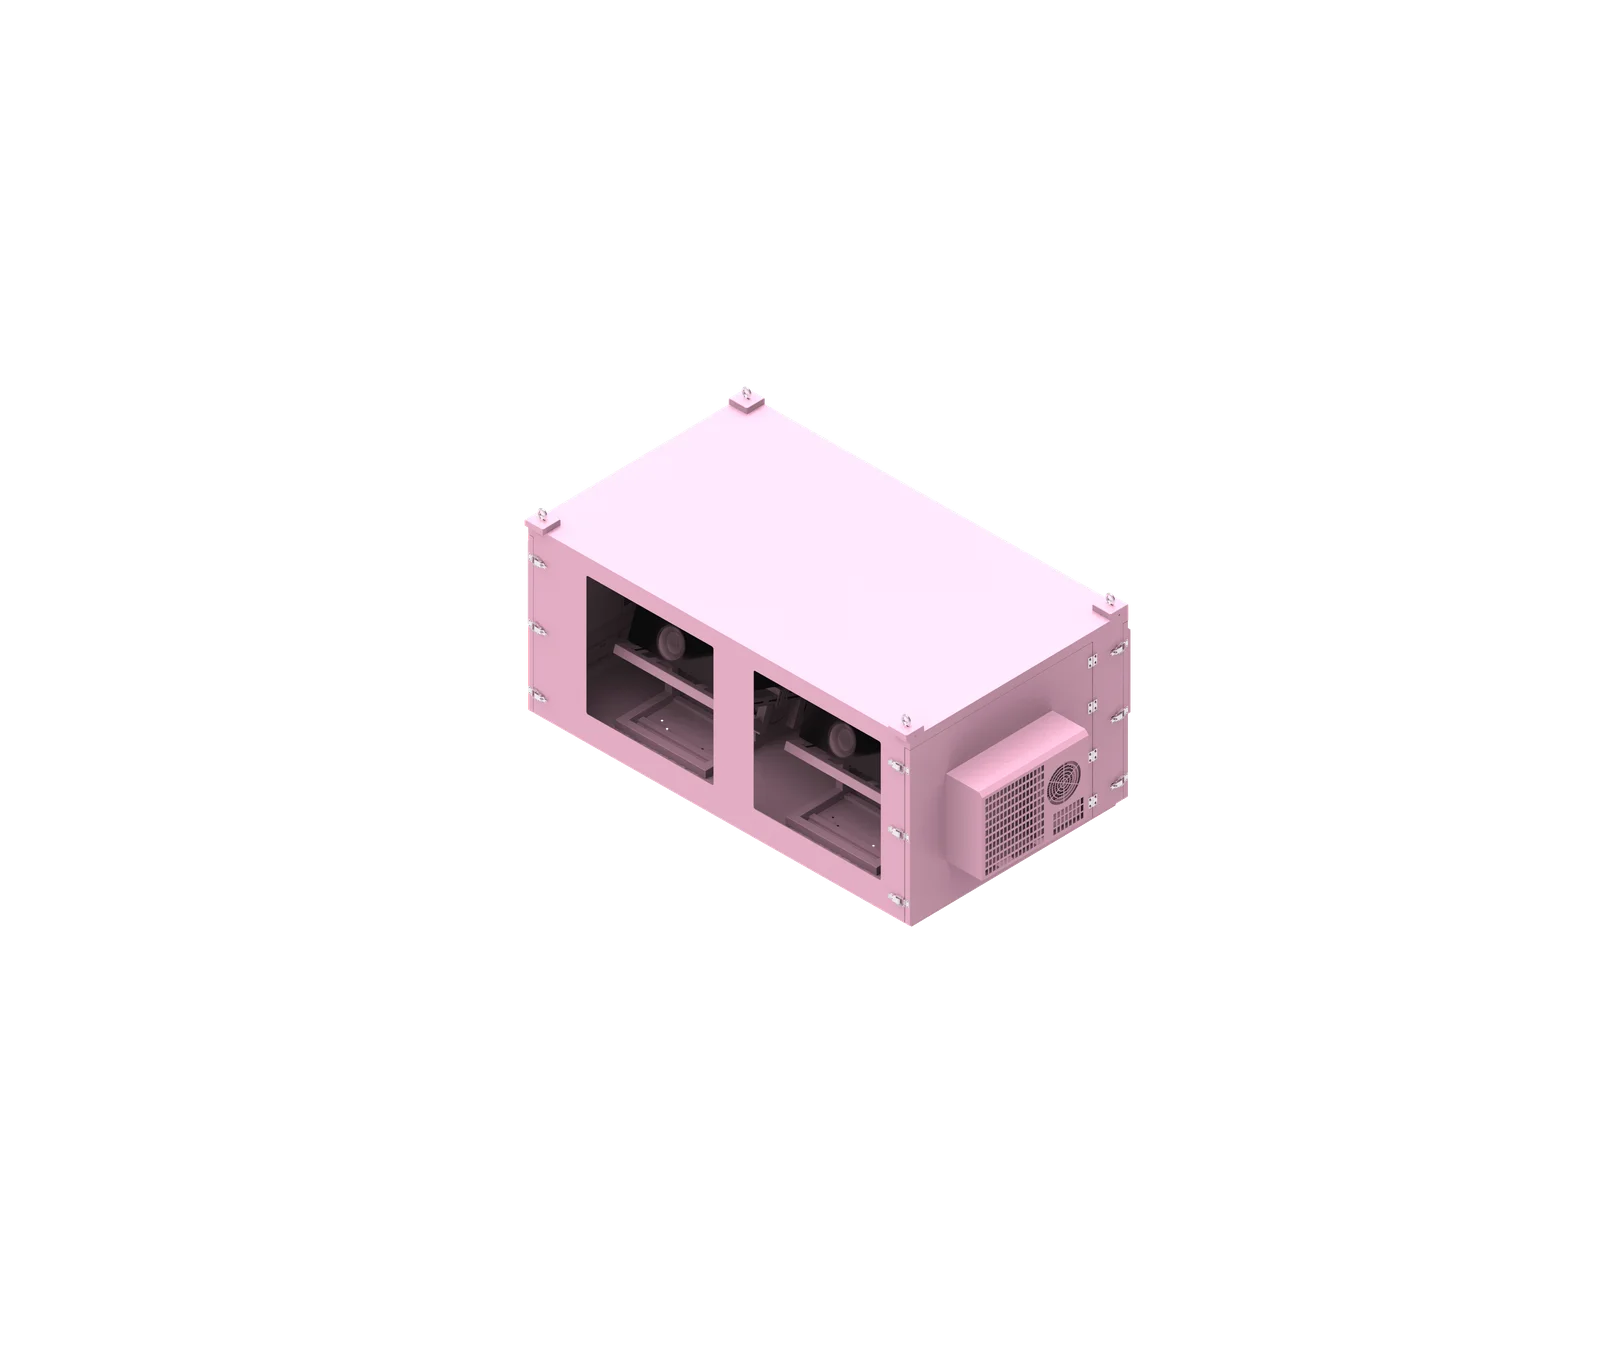
Cable entry should be planned before an outdoor network cabinet is fabricated, not improvised after installation. The entry location, sealing method, gland plate, internal cable routing, airflow clearance, and maintenance access all affect cabinet reliability. For a custom outdoor network cabinet, ShiRui treats cable entry as part of the enclosure’s environmental protection system, not simply a hole for cables.
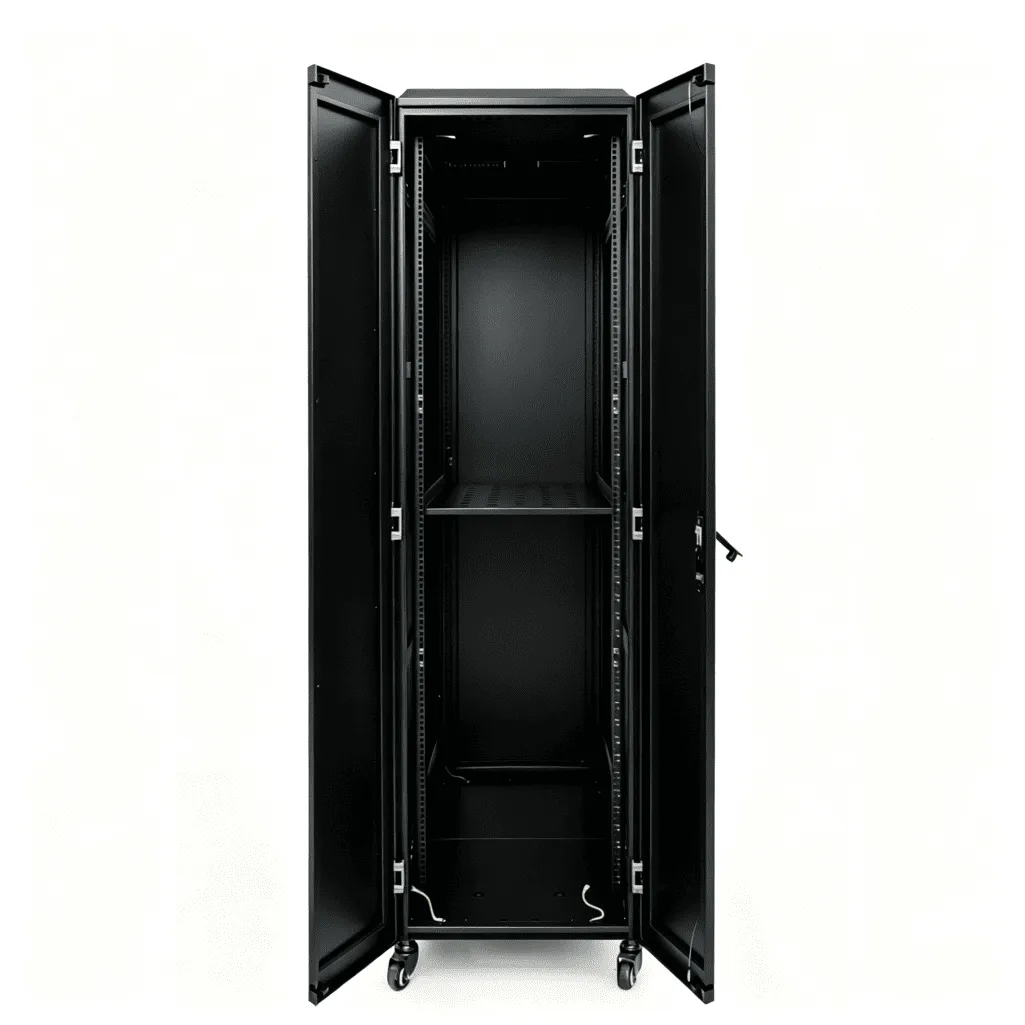
What is outdoor network cabinet cable entry?
Outdoor network cabinet cable entry is the engineered interface where power, fiber, Ethernet, grounding, antenna, control, and other cables enter or leave the enclosure while maintaining protection against water, dust, strain, corrosion, and service problems. It includes glands, gland plates, conduit interfaces, seals, blanking plugs, and internal routing space.
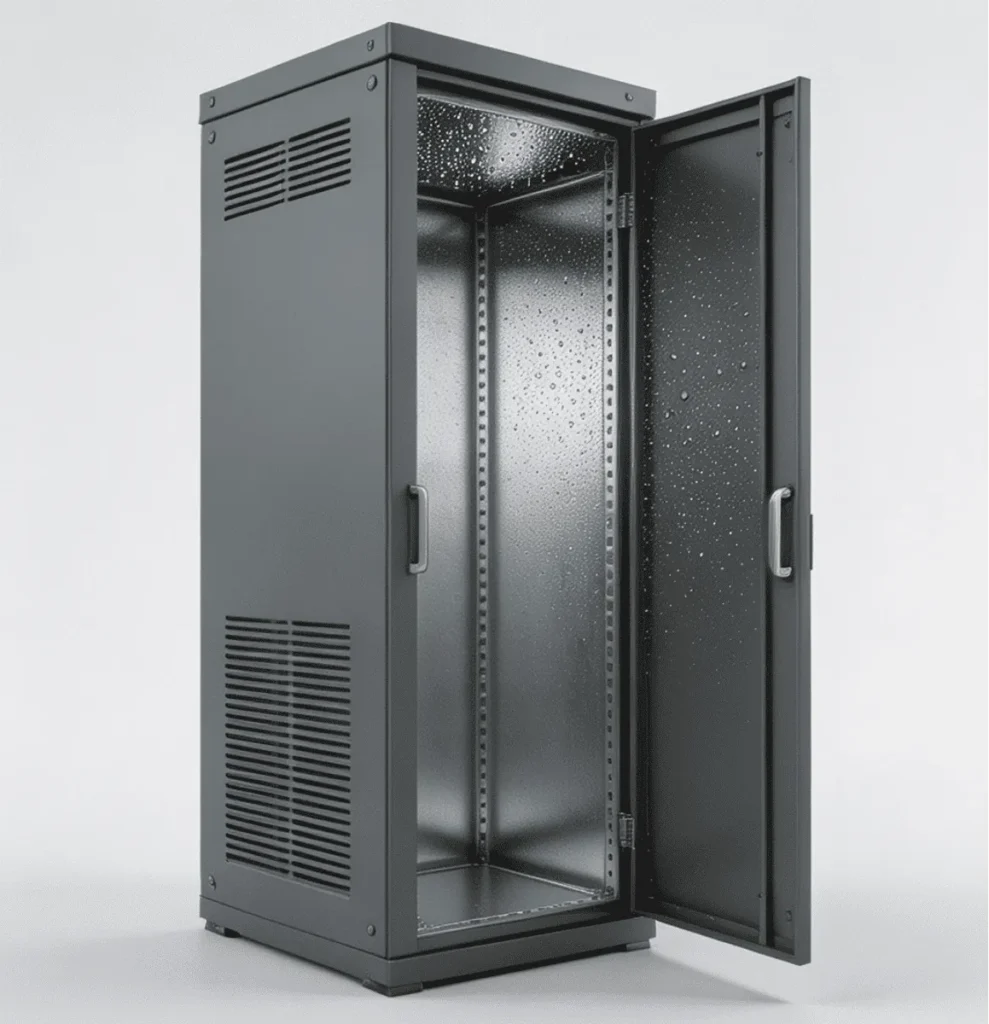
Cable Entry as an Environmental Protection Interface
A proper outdoor network cabinet cable entry is not just an opening in sheet metal. It is a controlled transition between the outside environment and the protected internal equipment area. The design must consider cable type, cable quantity, cable outer diameter, connector size, termination method, entry direction, sealing level, and future expansion.
For custom outdoor network cabinets, the most important rule is simple: design the cable entry before fabrication. Field drilling may damage coating, reduce corrosion resistance, weaken IP protection, and create layout conflicts with switches, power modules, batteries, fans, or heat exchangers.
Key cable-entry components may include:
- Cable glands selected by the actual cable outside diameter and manufacturer clamping range
- Removable gland plates for easier assembly and future modification
- Sealed spare entries or blanking plugs for future cables
- Conduit adapters where site wiring enters through conduit
- Gaskets and seals compatible with the cabinet’s environmental requirements
- Internal clamps or strain-relief brackets to prevent cable load from reaching equipment ports
- Separate routing zones for power, signal, fiber, coaxial, and control wiring where required
A common design mistake is assuming that cable diameter equals connector diameter. It does not. A thin Ethernet cable may have a much larger RJ45 connector. Fiber, coaxial, industrial communication, and power connectors can also be much larger than the cable itself. Therefore, a buyer saying “we have 12 cables” is not enough for professional design.
ShiRui Pro Tip: When we design a custom outdoor network cabinet, I always ask for cable type, quantity, outer diameter, connector dimensions, and whether the cable is pre-terminated or field-terminated. That information prevents undersized entries, damaged connectors, and expensive site modifications.
How Does outdoor network cabinet cable entry Work?
Outdoor network cabinet cable entry works by allowing cables to pass through the enclosure wall, base, rear panel, or gland plate while preserving sealing, mechanical support, electrical organization, and service access. The entry system must match the cable route, cabinet mounting method, equipment layout, and required IP protection level.
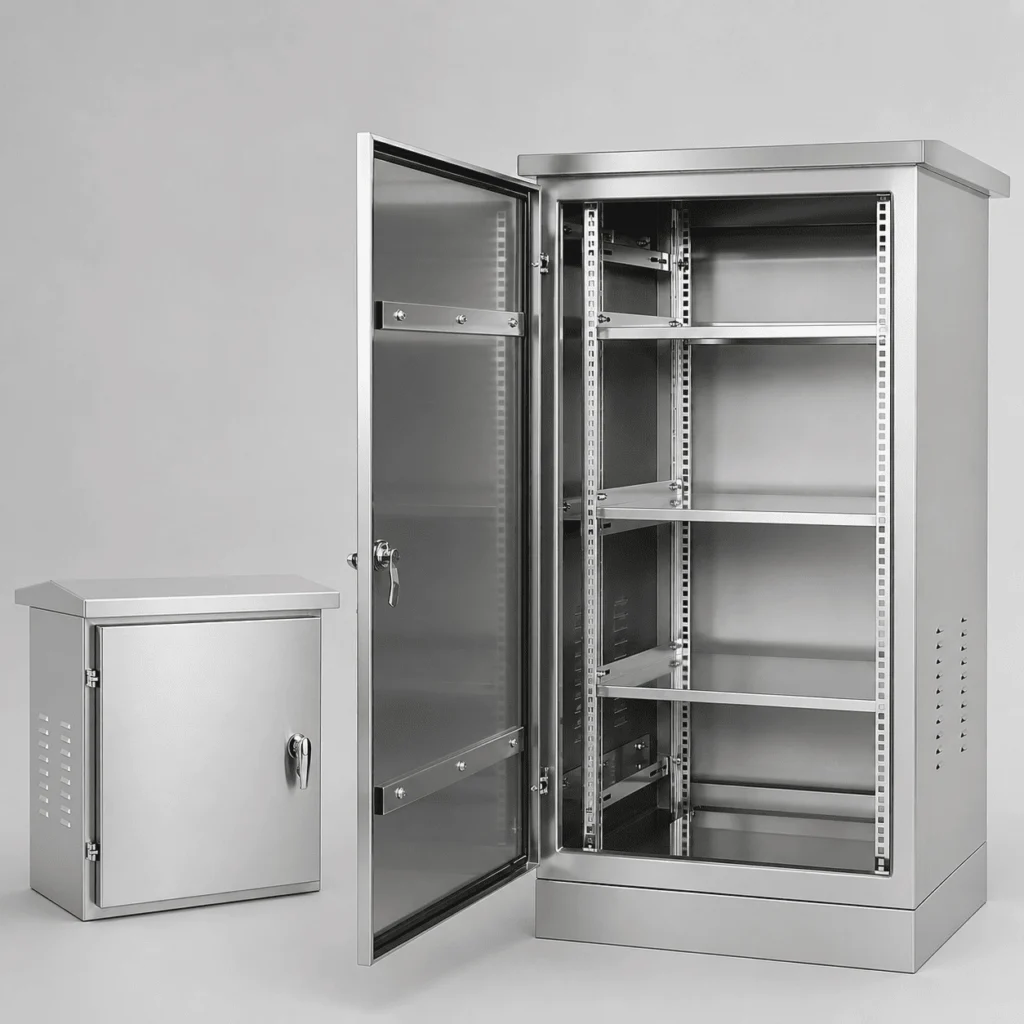
From External Cable Route to Internal Wiring Path
A well-designed outdoor network cabinet cable entry connects three design areas: the site cable route, the enclosure sealing system, and the internal wiring layout. If one of these areas is ignored, the cabinet may still look correct on a drawing but become difficult to install or maintain in the field.
The engineering workflow should usually follow this sequence:
- Create a complete equipment list.
- Build a cable schedule showing cable types and quantities.
- Confirm cable outer diameters and connector dimensions.
- Confirm whether cables are pre-terminated or terminated after entry.
- Confirm the cabinet mounting method: wall, pole, ground, rooftop, base, or plinth.
- Choose the cable-entry direction: bottom, rear, side, top only if specially engineered, or a custom interface.
- Design the gland plate or conduit interface.
- Plan separate internal routes for power, signal, fiber, antenna, control, and grounding cables where required.
- Coordinate cable routes with power distribution, airflow, fans, air conditioners, heaters, and maintenance zones.
- Add strain relief, cable clamps, trays, ducts, or fiber-management accessories.
- Reserve realistic sealed spare entries for future expansion.
- Review drawings before fabrication.
- Inspect cable-entry sealing, support, and access before shipment.
Bottom entry is often useful for ground-mounted cabinets or cabinets with underground conduit because it can reduce direct rain exposure. However, it is not universally correct. Rear entry may suit wall-mounted cabinets but can become hard to access after installation. Side entry may work for special layouts but must avoid door swing, rain exposure, brackets, and cooling airflow. Top entry should never be treated casually because it can increase water-ingress risk if poorly engineered.
ShiRui Pro Tip: I recommend reviewing the site cable route and cabinet mounting drawings together. A perfect gland plate in the wrong location can still create installation problems, especially for rear-entry or pole-mounted outdoor telecom cabinet wiring.
What are the benefits of outdoor network cabinet cable entry?
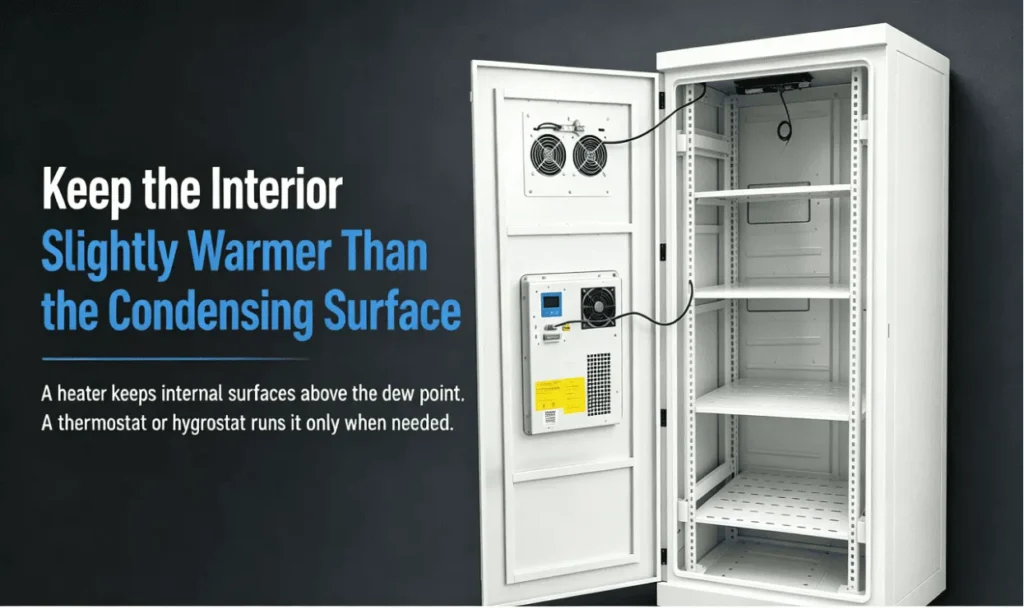
A planned outdoor network cabinet cable entry improves waterproofing, dust protection, cable organization, airflow, power and signal separation, maintenance access, and future expansion. It also reduces field drilling, protects coatings, supports cleaner assembly, and helps technicians install or replace equipment without damaging cables or compromising the enclosure.
Reliability Benefits Across the Cabinet Lifecycle
Cable entry affects the whole cabinet lifecycle: engineering, sheet-metal fabrication, assembly, installation, inspection, maintenance, and future upgrade. When entry points are designed correctly, the cabinet is easier to manufacture and safer to service. When they are added randomly in the field, the result is often poor sealing, blocked access, messy routing, and higher long-term maintenance risk.
Based on our internal data and market analysis, here is the breakdown:
| Benefit Area | Good Cable-Entry Planning Provides | Poor Planning May Cause |
|---|---|---|
| IP protection | Proper glands, gaskets, sealed spare entries, and controlled interfaces | Water ingress, dust entry, condensation risk, unreliable sealing |
| Internal layout | Clear space for cable bends, connectors, service loops, and equipment access | Cables trapped behind equipment or bent too tightly |
| Signal integrity | Organized routing for Ethernet, fiber, control, and antenna cables | Interference risk, difficult tracing, damaged connectors |
| Power distribution | Planned route to breakers, terminals, power supplies, UPS, or battery areas | Unsafe routing, poor access, unnecessary cable stress |
| Airflow | Cable bundles kept away from intakes, exhausts, fans, and heat exchangers | Hot spots, blocked cooling paths, reduced equipment life |
| Maintenance | Technicians can reach glands, terminals, labels, and devices | Slow troubleshooting and higher risk of accidental disconnection |
| Future expansion | Sealed spare glands or removable plates | Random field holes, unsealed openings, coating damage |
A strong design also supports moisture control. Water can travel along an outdoor cable, and conduit can carry humid air or condensation toward the cabinet. Therefore, a waterproof cable entry should be considered together with drip routing, conduit sealing strategy, anti-condensation measures, and the cabinet’s overall environmental protection design.
ShiRui Pro Tip: The biggest benefit of planning early is not only a neater cabinet. It is risk reduction. Once the cabinet is powder-coated, assembled, wired, and shipped, changing cable-entry positions becomes slower, less clean, and more expensive.
How to maintain a outdoor network cabinet cable entry?
Maintain an outdoor network cabinet cable entry by inspecting seals, glands, blanking plugs, conduit interfaces, cable support, labels, strain relief, corrosion protection, and internal routing clearance. Maintenance should verify that cables do not pull on equipment connectors, block airflow, cross door gaskets, or allow moisture into the cabinet.
Inspection and Maintenance Checklist
Outdoor cabinets operate in rain, wind, dust, UV exposure, temperature changes, and sometimes salt spray or industrial environments. Cable-entry maintenance should therefore focus on both sealing and mechanical condition. A cabinet may pass visual inspection from the outside while still having internal issues such as loose strain relief, crushed fiber, blocked airflow, or cables rubbing against sharp edges.
A practical maintenance checklist includes:
- Inspect cable glands for looseness, cracking, deformation, or incorrect cable clamping.
- Confirm unused openings are sealed with suitable blanking plugs, spare glands, or sealed plates.
- Check gland-plate gaskets and fasteners where removable plates are used.
- Look for water marks, dust trails, corrosion, condensation, or staining near entry points.
- Verify cable clamps and strain-relief brackets are still holding the cable, not the device connector.
- Ensure fiber cables are not crushed, sharply bent, or trapped by panels and doors.
- Confirm Ethernet, PoE, control, and sensor cables remain traceable and labeled.
- Check that power cables remain routed according to the approved electrical design.
- Confirm cable bundles do not block fans, switch ventilation, heater areas, air-conditioner supply, or return airflow.
- Inspect door movement, hinge clearance, latch clearance, and gasket surfaces.
- Confirm that any field-added cable entry has restored sealing and corrosion protection properly.
- Review spare entry capacity if future upgrades are planned.
Maintenance personnel should not assume that an IP-rated gland automatically guarantees the cabinet’s full IP performance. The complete assembly matters: gland selection, cable diameter, tightening method, plate sealing, gasket compression, unused openings, cable movement, and installation quality.
ShiRui Pro Tip: During service visits, I like to inspect cable entries from both outside and inside the cabinet. Outside checks reveal weather exposure; inside checks reveal condensation, strain, blocked airflow, and whether technicians can actually reach the wiring safely.
What is the price of outdoor network cabinet cable entry?
The price of outdoor network cabinet cable entry depends on cabinet size, entry quantity, gland type, sealing level, removable gland plates, conduit interfaces, cable-management hardware, material, coating, wiring complexity, and customization requirements. There is no universal price because each project’s cable schedule and environmental requirements are different.
Main Cost Drivers in Custom Cabinet Projects
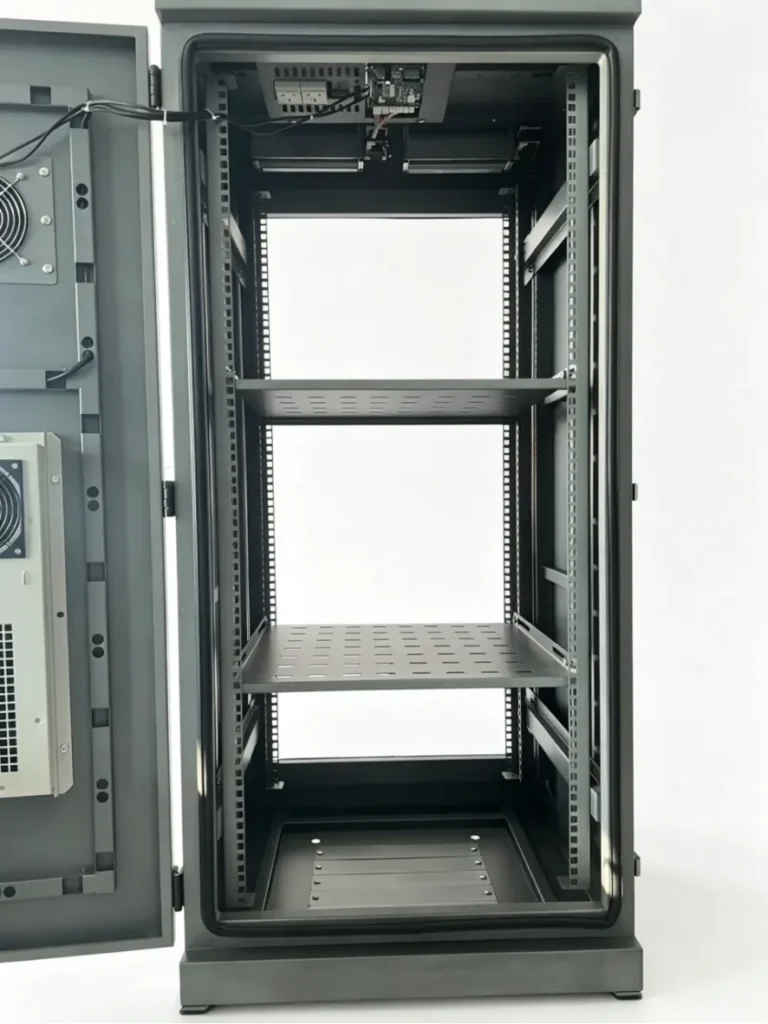
Cable entry cost is not only the price of a cable gland. In a custom outdoor network cabinet, the cost may include engineering time, sheet-metal processing, gasket design, gland-plate fabrication, coating protection, assembly labor, cable-management accessories, inspection, and project documentation.
Based on our internal data and market analysis, here is the breakdown:
| Cost Factor | Why It Affects Price | Buyer Information Needed |
|---|---|---|
| Number of cable entries | More entries require more machining, sealing, and inspection | Cable quantity and future expansion plan |
| Cable gland outdoor cabinet type | Different glands vary by material, sealing performance, cable range, and environment | Cable OD, cable type, IP requirement, exposure condition |
| Removable gland plate | Adds fabrication, gasket, fasteners, and sealing review | Entry layout, service access, modification needs |
| Connector clearance | Larger pre-terminated connectors may need split entry or removable plates | Connector dimensions and termination method |
| Power wiring area | May require distribution space, protection devices, grounding, and access clearance | Voltage, load, cable type, electrical design |
| Fiber management | May require trays, service loops, protected routing, and bend control | Fiber type, connector type, ODF or splice needs |
| UPS or battery wiring | Adds routing complexity, heat considerations, and maintenance access | Battery/UPS equipment list and wiring requirements |
| Environmental rating | Higher sealing or corrosion requirements may increase material and process cost | Required IP rating, site environment, standards |
| Internal cable management | Ducts, trays, clamps, labels, and supports add parts and labor | Equipment layout and maintenance requirements |
ShiRui does not recommend estimating cable-entry design from cable count alone. “12 cables” can describe a very simple cabinet or a complex outdoor telecom cabinet wiring system, depending on cable diameter, connector size, power requirements, fiber requirements, and installation method.
ShiRui Pro Tip: For faster quotation, I ask buyers to send the equipment list, cable schedule, cable outer diameters, connector dimensions, preferred entry direction, required IP rating, and installation drawings. With those details, the price becomes much more accurate.
Key Features & Comparison
Key features of a professional outdoor network cabinet cable entry include waterproof sealing, correct gland selection, removable gland plates, sealed spare entries, strain relief, power/signal routing, fiber protection, airflow clearance, grounding coordination, labeling, and maintenance access. The best solution depends on cabinet location, cable route, and equipment configuration.
Comparing Common Cable-Entry Methods
Based on our internal data and market analysis, here is the breakdown:
| Cable-Entry Method | Typical Use Case | Advantages | Design Cautions |
|---|---|---|---|
| Bottom entry | Ground-mounted cabinets, plinth bases, underground conduit | Reduced direct rain exposure, clean cable route, common for outdoor installations | Leave space above gland plate for bends, connectors, clamps, and service access |
| Rear entry | Wall-mounted cabinets or protected structures | Short cable path from wall or structure, clean front appearance | May be difficult to access after installation |
| Side entry | Custom site layouts, special conduit directions | Flexible for unusual installations | Avoid rain exposure, door interference, brackets, and blocked airflow |
| Top entry | Only when specifically engineered | Can suit special overhead routes | High water-ingress risk if poorly designed; do not simply drill the roof |
| Removable gland plate | Custom outdoor network cabinet projects with changing cable needs | Easier assembly, replacement, and future modification | Plate gasket and fasteners must maintain environmental sealing |
| Split-entry system | Pre-terminated fiber, RJ45, or larger connectors | Allows connectors to pass without cutting or re-terminating cables | Must be selected according to sealing, cable type, and project requirements |
| Conduit interface | Site wiring through conduit or trunking | Organized external protection | Conduit can carry water or humid air; moisture control is still needed |
| Sealed spare glands or blanking plugs | Future expansion | Allows controlled growth without random holes | Unused openings must remain sealed |
A professional design balances sealing and serviceability. Too few entries can force installers to improvise. Too many unnecessary entries increase sealing complexity, reduce usable space, and create more potential weak points. The best design is based on the real cable schedule plus realistic future expansion.
ShiRui Pro Tip: I prefer removable gland plates for many custom projects because they protect the main cabinet structure. If cable requirements change later, replacing or modifying a plate is usually cleaner than drilling the finished enclosure body.
Cost & Buying Factors
When buying a custom outdoor network cabinet, cost should be evaluated together with cable-entry engineering, not only cabinet dimensions. Buyers should provide cable schedules, connector dimensions, power requirements, fiber needs, grounding requirements, IP rating, mounting method, and future expansion needs before fabrication begins.
Practical Buying Guide for Custom Projects
The best purchasing process starts with technical information, not a generic cabinet size. A cabinet may have the correct height, width, and depth but still fail on site if the outdoor network cabinet wiring cannot be installed cleanly.
Buyers should provide:
- Complete equipment list
- Cable types and quantities
- Cable outer diameters
- Connector dimensions
- Whether cables are pre-terminated or field-terminated
- Fiber requirements, including connector protection and service loops
- AC and DC power requirements
- UPS or battery requirements where applicable
- Grounding and bonding requirements
- Preferred cable-entry direction
- Installation method: wall, pole, ground, rooftop, base, or plinth
- Required IP rating or environmental protection target
- Site drawings, conduit routes, or mounting drawings where available
- Future cable requirements
- Applicable project standards or customer specifications
A recommended engineering workflow is:
- Equipment list
- Cable schedule
- Cable and connector confirmation
- Mounting method confirmation
- Entry direction selection
- Gland plate design
- Cable-entry interface selection
- Power and signal route planning
- Fiber-management planning
- Power-distribution coordination
- Airflow coordination
- Strain-relief design
- Maintenance-access review
- Sealed future-entry reservation
- Technical drawing approval
- Fabrication
- Wiring and assembly
- Final inspection
Exact electrical specifications should be reviewed by appropriately qualified personnel where required. Do not use universal assumptions for wire gauges, breaker ratings, grounding conductor sizes, power/signal separation distances, cable bend radii, or gland sizes. These depend on actual equipment load, cable type, cable diameter, connector dimensions, supply voltage, installation method, applicable standards, and equipment manufacturer recommendations.
ShiRui Pro Tip: If a buyer only sends cabinet dimensions, I treat the design as incomplete. For outdoor cabinets, cable entry, cooling, power distribution, and maintenance access are connected. Good purchasing decisions begin with a complete technical package.
Conclusion
Cable entry is part of the cabinet’s environmental protection system, not simply a hole for cables. Planning cable entry and internal wiring before fabrication helps protect waterproofing, dust resistance, airflow, signal reliability, maintenance access, power distribution, and future expansion in a custom outdoor network cabinet.
Final Engineering Recommendation
A reliable outdoor network cabinet starts with early planning. Cable-entry position, quantity, size, sealing method, internal routing, strain relief, and service access should be confirmed before sheet-metal fabrication, coating, wiring, and assembly.
The most important design principles are:
- Build the cabinet around the actual cable schedule.
- Confirm cable diameter and connector diameter separately.
- Identify whether cables are pre-terminated or field-terminated.
- Select cable glands according to actual cable size and manufacturer clamping range.
- Use removable gland plates where future modification or easier assembly is important.
- Seal all unused openings.
- Coordinate power, signal, fiber, antenna, control, grounding, UPS, and battery wiring.
- Keep cable bundles away from airflow paths and hot zones.
- Provide strain relief so cable weight does not load equipment ports.
- Protect fiber from bending, crushing, and poor connector handling.
- Avoid routing cables across door seals, hinge paths, or removable panels.
- Review cable-entry drawings before production.
- Inspect sealing, supports, labels, grounding points, and clearance before shipment.
For custom outdoor network cabinet projects, ShiRui can help review cable-entry location, gland-plate layout, internal cable management, power distribution space, cooling clearance, and maintenance access before fabrication. This produces cleaner wiring, better environmental sealing, and a cabinet that is easier to install and maintain over its service life.
ShiRui Pro Tip: My final advice is to freeze the cable-entry plan before manufacturing begins. The cleanest outdoor cabinet is not the one with the fewest holes; it is the one with the right sealed interfaces in the right places.