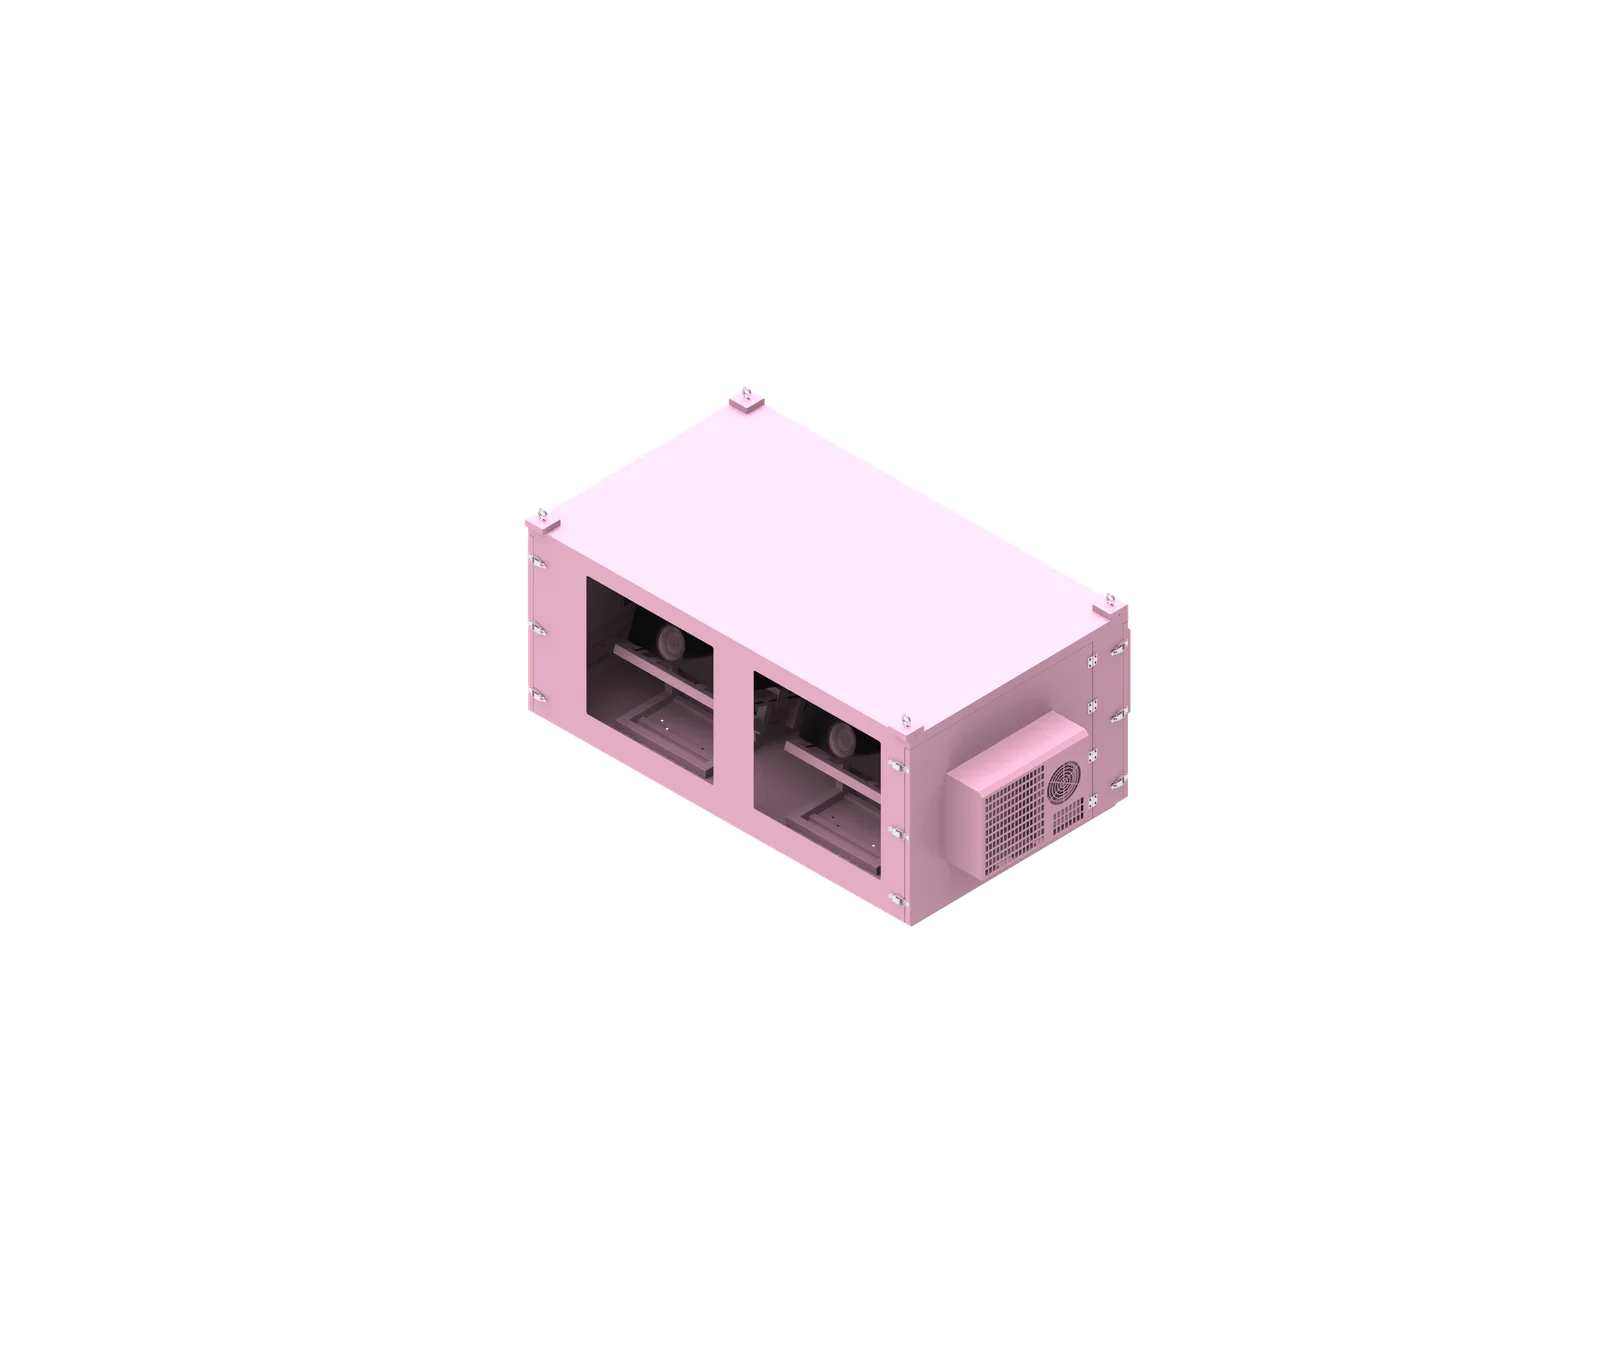
A custom dual projector enclosure is an engineering package, not simply a larger box for two machines. For AV integrators, outdoor projection teams, dealers, and procurement engineers, the key work is confirming equipment data, choosing the correct dual-projector layout, protecting optical paths, managing heat separately for both units, and validating the finished enclosure through documented factory checks before shipment.
Video Guide: Planning an outdoor projection project? Explore our outdoor projector enclosure as a housing option for your setup.
What is custom dual projector enclosure?
A custom dual projector enclosure is a purpose-built protective housing designed for two projector positions, with layout, structure, cooling, optical windows, wiring, and maintenance access engineered around specific projector models and project requirements. It may support stacked, side-by-side, independent, redundant, blended, or mapped projection workflows depending on confirmed system intent.
Video Guide: Explore our outdoor projector enclosure with automatic heating for cold and humid conditions.x.
Definition, Scope, and Required Project Inputs
A dual projector enclosure must be designed from verified equipment and site information. The enclosure should not be defined only by the external dimensions of two projectors, because each unit has its own intake direction, exhaust direction, lens position, service clearance, cable routing space, mounting requirements, and thermal behavior.
For a custom dual projector enclosure, the first engineering step is to separate confirmed facts from assumptions:
- Verified project facts: projector model, lens model, orientation, weight, dimensions, power consumption, manufacturer cooling data, and installation constraints.
- Design recommendations: layout selection, airflow isolation, service door planning, window position, bracket strategy, and temperature monitoring points.
- To be filled after testing: actual operating temperature, humidity readings, final control settings, alarm behavior, and factory acceptance evidence.
A practical inquiry package should include:
- Projector model for each position.
- Lens model and throw direction.
- Projector dimensions, weight, and mounting orientation.
- Power consumption or manufacturer heat dissipation data.
- Intake and exhaust locations for both projectors.
- Intended use: image stacking, edge blending, independent images, or standby redundancy.
- Site conditions: indoor/outdoor, sun exposure, dust, humidity, ambient temperature range, operating hours, and available power.
- Preferred layout: vertically stacked, side by side, or two independent enclosures.
- Required protection level, if any, supported by project documents.
- Maintenance expectations, access direction, and removal path.
SuiRui Pro Tip: I always ask for both the projector datasheet and lens information before discussing enclosure size, because the lens centerline and airflow path often determine the real enclosure geometry more than the projector body dimensions.
How Does custom dual projector enclosure Work?
A custom dual projector enclosure works by integrating two projector positions into a controlled mechanical, optical, electrical, and thermal environment. It supports each projector independently, aligns each lens with its optical window, routes cables safely, separates or guides airflow, and allows factory checks to confirm fit, access, cooling, and configured control functions.
Operating Logic From Equipment Fit to Thermal Control
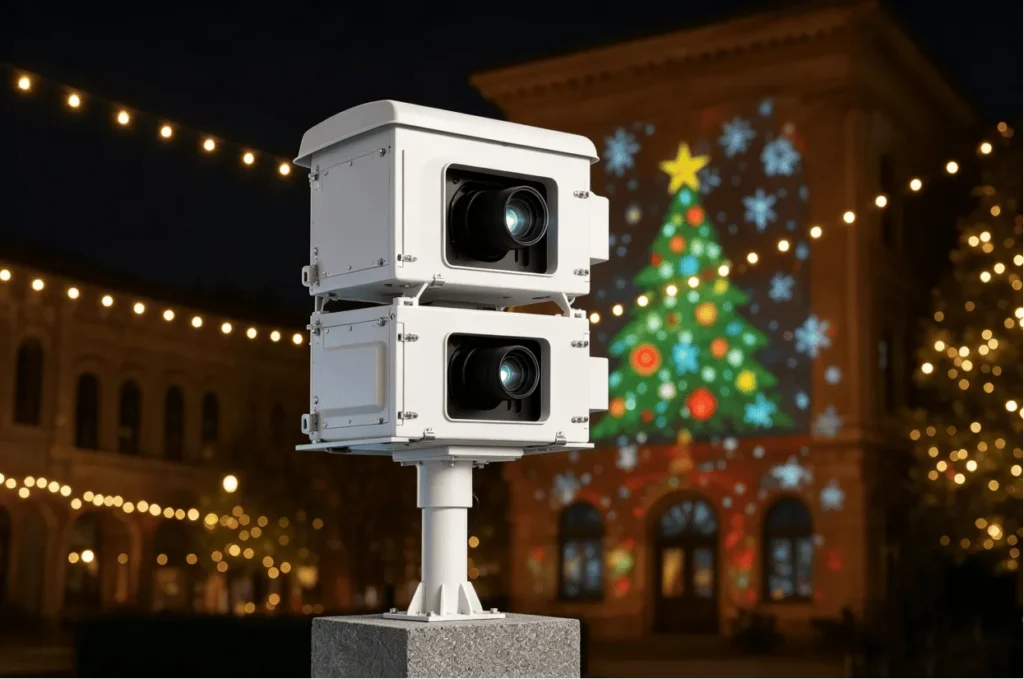
A dual projector enclosure must manage several functions at the same time. The structure holds each projector in an approved orientation, the window design protects the optical path, the airflow design prevents recirculation of hot exhaust, and the control system manages configured fans, air conditioning, sensors, alarms, or interlocks when included in the project scope.
The enclosure may support different operating modes. It should not be assumed that every dual-projector project uses image stacking or automatic failover. The actual mode must be confirmed with the AV design team.
Based on our internal data and market analysis, here is the breakdown:
| Operating Mode | What the Enclosure Must Support | Key Design Check | Common Risk if Not Confirmed |
|---|---|---|---|
| Dual image stacking | Two projectors aimed at the same image area | Lens centerline, window clearance, thermal load during simultaneous use | Heat buildup or window obstruction |
| Edge blending / stitching | Two projectors covering adjacent image areas | Independent optical paths and adjustment range | Insufficient window size or wrong lens angle |
| Independent images | Two projectors serving separate outputs | Cable routing, access, ventilation independence | Maintenance conflict between units |
| Main / standby operation | One active unit and one backup unit | Control logic, airflow for selected mode, service access | Assuming automatic switching without system design |
| Two independent boxes stacked | Separate housings installed vertically | Structural support, service route, cable entry | Confusing this with one shared dual-position enclosure |
The airflow system must be based on projector heat output or manufacturer thermal data, not lumen rating alone. A 15000-lumen class configuration, for example, does not automatically define cooling capacity, total brightness, or acceptable internal temperature. SuiRui project materials include a “15000-lumen air-conditioned dual-position vertically stacked” reference, but the exact projector arrangement, enclosure type, dimensions, test temperature, and operating duration should only be stated from confirmed drawings and original records.
SuiRui Pro Tip: When reviewing a dual projector enclosure design, I check the intake temperature for each projector separately. A single average enclosure temperature can hide the fact that one projector is breathing the other projector’s exhaust.
What are the benefits of custom dual projector enclosure?
The main benefit of a custom dual projector enclosure is controlled integration: two projectors can be protected, aligned, cooled, wired, and serviced according to the real project layout. This reduces design uncertainty, avoids airflow conflicts, supports documented factory verification, and gives procurement teams clearer evidence before delivery and site installation.
Practical Benefits for Integrators and Project Buyers
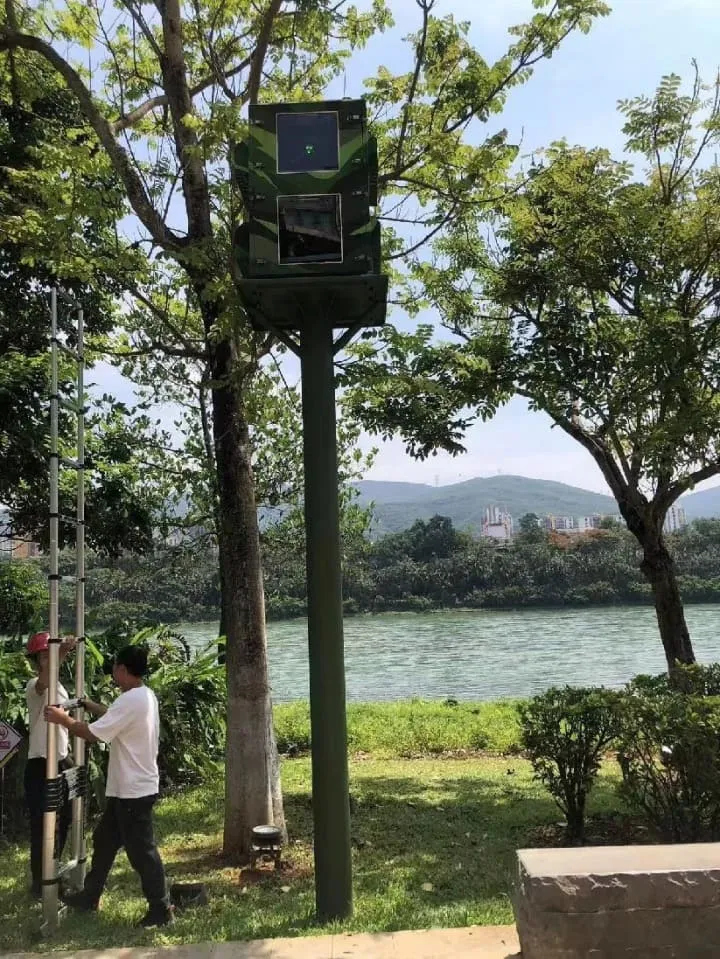
For professional projects, the value of customization is not only enclosure appearance. It is the ability to match the enclosure to the exact projector pair, optical design, site limitations, cooling demand, and acceptance process.
Key benefits include:
- Layout control: vertically stacked and side-by-side projector positions can be evaluated against lens height, service access, installation space, and center of gravity.
- Thermal risk reduction: intake and exhaust paths can be separated or guided to reduce the chance of one projector receiving hot discharge air from the other.
- Optical compatibility: the viewing window can be positioned and sized according to lens throw, angle, and adjustment allowance, not just lens diameter.
- Maintenance planning: access doors, cable loops, filter access, and removal paths can be reviewed before fabrication.
- Evidence-based acceptance: drawings, inspection photos, test records, and configured control parameters can be retained for project documentation.
- Clear responsibility boundaries: factory-verified items can be separated from items that still require final site alignment and commissioning.
However, a custom projector housing is not a replacement for AV system design. The enclosure does not automatically guarantee image blending, brightness increase, automatic failover, or final on-site alignment unless those functions are separately designed, configured, and tested.
SuiRui Pro Tip: I recommend confirming the exact projection purpose before mechanical design starts. A backup projector, a stacked brightness setup, and a side-by-side mapping system may all use two projectors, but they do not require the same enclosure geometry.
How to maintain a custom dual projector enclosure?
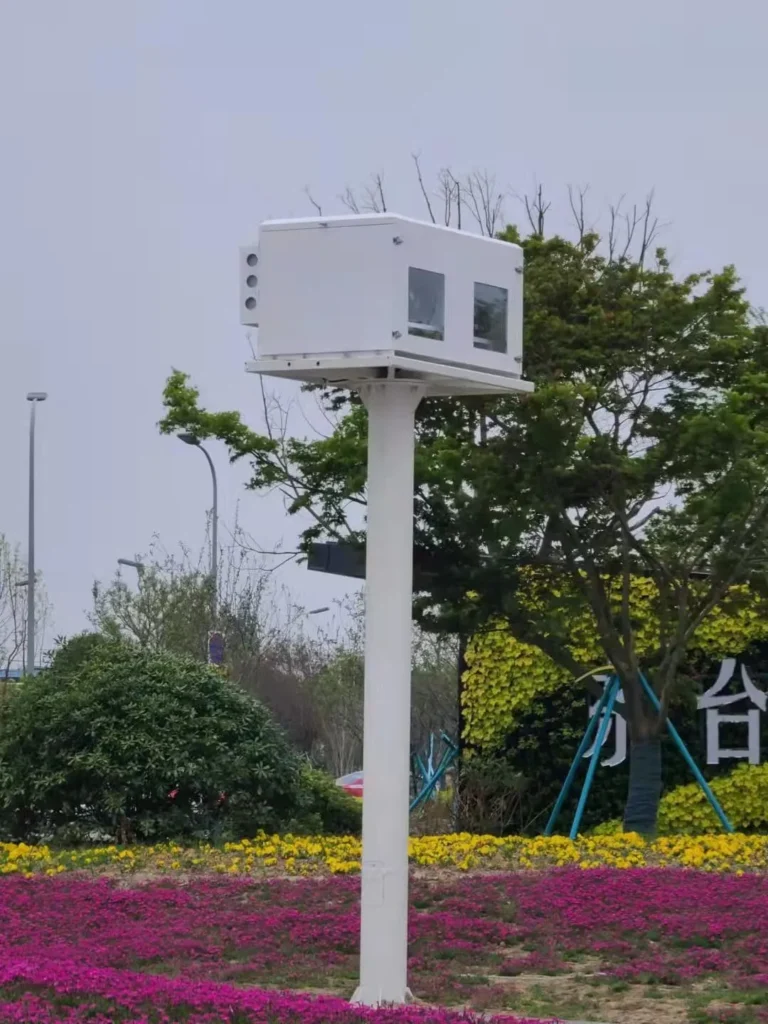
Maintaining a custom dual projector enclosure means preserving the original mechanical fit, airflow path, sealing condition, drainage arrangement, wiring route, and access clearance after every service activity. Maintenance should follow the approved project documents, projector manuals, and enclosure instructions rather than improvised changes that can alter cooling or optical performance.
Maintenance Items That Protect Dual-Projector Performance
A dual projector enclosure is sensitive to small changes. If a filter, cable bundle, bracket, gasket, or internal panel is reinstalled incorrectly, the airflow balance and service clearance can change. This is especially important for an air conditioned projector enclosure, because supply air, return air, condensate drainage, and condensation risk must remain consistent with the approved design.
Recommended maintenance checks include:
- Confirm door seals and window seals are clean, seated, and not damaged.
- Inspect optical windows for contamination, scratches, fogging, or obstruction.
- Check intake and exhaust paths for dust, blocked grilles, loose insulation, or misplaced cables.
- Verify each projector’s intake area is not receiving hot air from the other projector.
- Review fans, air conditioning, and configured controls according to the project maintenance plan.
- Check condensate drainage where air conditioning is installed.
- Inspect cable entries for sealing condition and strain relief.
- Confirm brackets and fasteners remain secure after vibration, transport, or service.
- Record any replacement parts or setting changes in a maintenance log.
- Recheck operation after service using the same operating mode expected on site.
Maintenance should not include unsafe tests such as blocking airflow, forcing overheating, bypassing protective devices, or applying water to energized equipment. If a protection rating is required, it should be tied to the actual tested structure, test method, and valid documentation. A routine seal inspection is not the same as an IP65 certification.
SuiRui Pro Tip: After any service visit, I ask technicians to take photos before closing the enclosure. Photos of cable routing, air guides, filters, and seals are often the fastest way to confirm the enclosure was restored to its intended condition.
What is the price of custom dual projector enclosure?
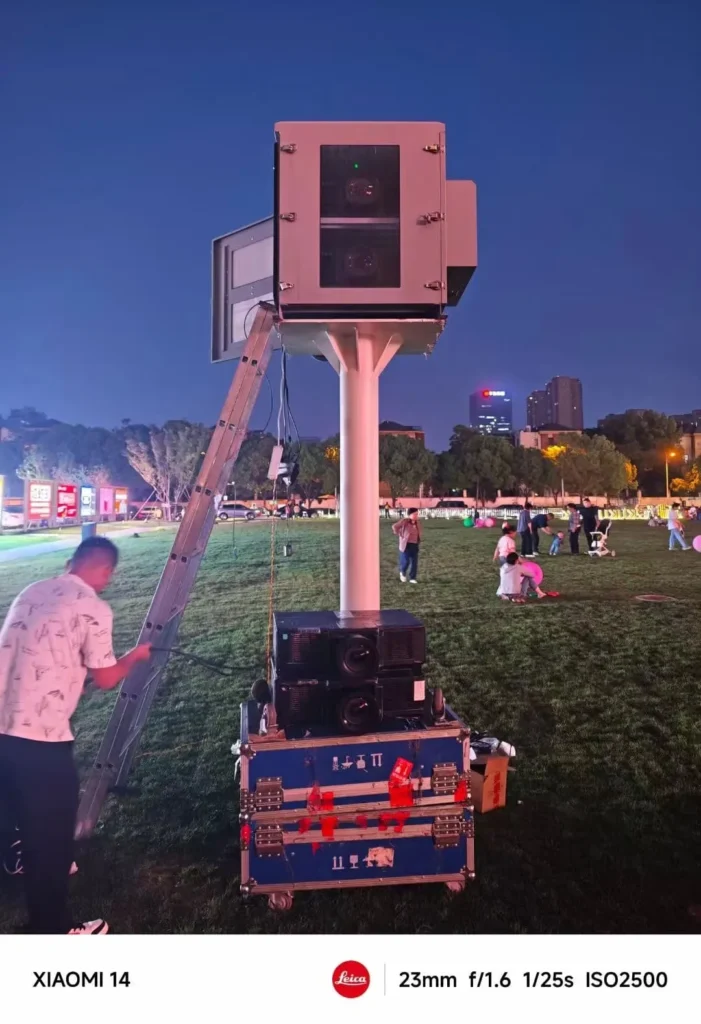
The price of a custom dual projector enclosure depends on projector size, layout, material specification, cooling method, control system, protection requirement, manufacturing complexity, and test scope. A reliable quotation requires equipment data, site conditions, layout preference, and acceptance requirements rather than only a request for a generic dual projector outdoor enclosure price.
Pricing Drivers Without Guesswork
A professional quotation should be built around actual requirements. It is not accurate to price a stacked projector enclosure or side by side projector enclosure only by adding two projector dimensions together. The internal support system, thermal design, optical windows, doors, seals, electrical configuration, and testing scope all influence cost.
Based on our internal data and market analysis, here is the breakdown:
| Cost Factor | Why It Matters | Information Needed for Quotation |
|---|---|---|
| Projector models and lenses | Determines internal space, support, lens centerline, and window position | Datasheets, lens model, installation orientation |
| Layout type | Affects footprint, height, access, center of gravity, and bracket design | Vertically stacked, side by side, or independent boxes |
| Cooling method | Impacts enclosure size, power, controls, drainage, and test plan | Fan cooling, air conditioning, site ambient conditions |
| Protection requirement | Influences sealing, door design, cable entry, and validation | Required IP rating or project environmental requirement |
| Material and finish | Affects durability, weight, corrosion resistance, and fabrication method | Project specification or approved drawing notes |
| Electrical and control scope | Defines wiring, sensors, alarms, and control functions | Voltage, monitoring points, alarm requirements |
| Factory testing scope | Determines time, records, and equipment needed | Empty test, simulated load, or actual projector run test |
| Documentation package | Supports procurement and project acceptance | Drawings, photos, test records, packing list, manuals |
A custom projector enclosure manufacturer should clarify whether the quoted solution includes factory acceptance testing with actual projectors, simulated loads, or only enclosure-level functional checks. These are different scopes and should not be described as the same level of validation.
SuiRui Pro Tip: For the fastest quotation, I suggest sending both projector datasheets, lens models, the preferred layout, site ambient conditions, and the required test evidence in one package. That prevents repeated redesign after the first price is issued.
Key Features & Comparison
The key features of a dual projector enclosure should be reviewed as engineering decisions: layout, support method, airflow strategy, optical window design, service access, electrical integration, and factory testing. The best option depends on projector data, site conditions, operating mode, and whether the project needs one shared enclosure or two independent housings.
Layout, Cooling, and Verification Comparison
Based on our internal data and market analysis, here is the breakdown:
| Feature / Decision Area | Vertically Stacked Dual Position | Side-by-Side Dual Position | Two Independent Single-Projector Enclosures |
|---|---|---|---|
| Space use | Saves horizontal footprint but increases height | Wider footprint with lower height | Flexible placement, may need more mounting points |
| Lens alignment review | Requires careful vertical lens-center review | Requires horizontal lens-center review | Each enclosure aligned separately |
| Airflow risk | Hot exhaust may rise into the upper position if not isolated | Crossflow between units must be checked | Lower shared-airflow risk between projectors |
| Maintenance access | Upper and lower service paths must be planned | Side access and door swing need clear space | Easier independent service in many layouts |
| Structural support | Center of gravity and support frame are critical | Wider support base may help stability | Each enclosure needs its own support verification |
| Shared components | May share enclosure shell, cooling, controls, or power distribution if designed | May share components if layout allows | Fewer shared internal systems |
| Factory testing focus | Fit, support, heat interaction, vertical access | Fit, optical separation, cross-airflow | Individual enclosure function and field stacking interface |
| Procurement consideration | Not automatically cheaper; depends on design and components | Not automatically simpler; depends on lens and airflow | May cost more in hardware but simplify service boundaries |
Important design review items include:
- Internal effective space, not just outside dimensions.
- Brackets, mounting holes, and approved support method for each projector.
- Lens centerline and adjustment range.
- Optical window size, position, and clearance for actual throw direction.
- Cable bend radius and connector access.
- Door swing, service clearance, and equipment removal path.
- Air guide, partition, duct, fan, or air-conditioning arrangement.
- Drainage and condensation review when air conditioning is used.
- Drawing version control and change records.
SuiRui Pro Tip: I never approve a dual projector enclosure layout from a top-view sketch alone. A front elevation, side section, lens centerline, and airflow diagram are usually needed to catch the real conflicts.
Cost & Buying Factors
Buying a custom dual projector enclosure should be treated as a technical procurement process. The buyer should compare not only price, but also drawing quality, thermal reasoning, layout review, documentation, factory testing scope, delivery evidence, and the supplier’s ability to distinguish verified facts from assumptions.
Procurement Checklist and Factory Test Record Template
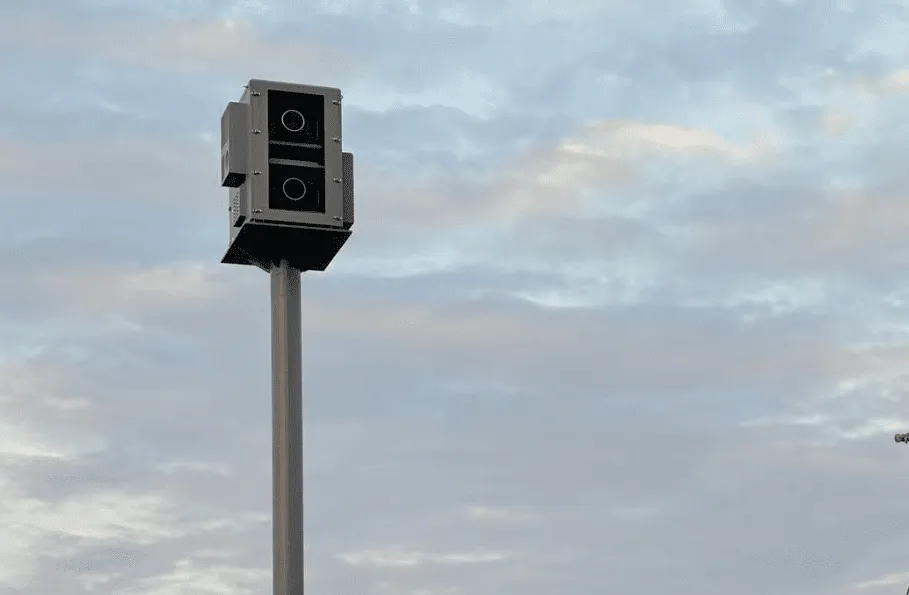
Before placing an order, confirm what the supplier will actually deliver. The purchase scope should identify the enclosure configuration, approved drawings, cooling system, electrical components, control functions, documentation, and factory acceptance test plan.
A typical process is:
- Requirement confirmation: collect projector, lens, layout, site, power, and protection data.
- Drawing review: check internal space, supports, lens window, doors, cable routing, and airflow.
- Customer approval: freeze drawing version and record any assumptions or exclusions.
- Fabrication: manufacture sheet-metal or structural components according to approved drawings.
- Surface treatment: apply the specified finish according to project documentation.
- Mechanical and electrical assembly: install brackets, seals, windows, fans, AC units, sensors, and controls where included.
- Inspection and testing: verify dimensions, fit, function, airflow, configured controls, and documented acceptance items.
- Delivery documentation: provide drawings, photos, test records, packing list, and maintenance notes.
Factory testing should be planned carefully. Mechanical inspection, empty functional testing, simulated-load testing, and actual-projector operation are not the same. If actual projectors are not installed during factory testing, the report should clearly state the validation limits and should not claim actual optical fit or full equipment thermal verification.
The following is an example template only. Actual Result should be completed from real test records, and Pass / Fail / N/A should be marked only after evaluation against the approved reference.
| Test Item | Configuration and Conditions | Acceptance Reference | Actual Result | Pass / Fail / N/A | Evidence |
|---|---|---|---|---|---|
| Projector fit check | Projector model and lens installed or simulated according to approved plan | Confirmed drawing, projector manual, project requirement | Photos, checklist | ||
| Mounting and support check | Each projector fixed in approved orientation | Confirmed drawing, projector installation requirements | Photos, inspection record | ||
| Lens and window clearance | Lens position checked through full required adjustment range | Optical layout drawing, lens data | Photos, measurement notes | ||
| Door and maintenance access | Doors opened and service/removal path reviewed | Maintenance requirement, approved layout | Photos, access checklist | ||
| Cable routing and entries | Power, signal, control cables routed as designed | Wiring drawing, cable-entry specification | Photos, wiring record | ||
| Airflow path check | Intake and exhaust paths checked for both projector positions | Airflow design, projector cooling data | Photos, airflow notes | ||
| Cooling system function | Fans or air conditioning operated under approved conditions | Control diagram, equipment manuals | Functional test record | ||
| Temperature and humidity monitoring | Measuring points recorded with location and interval | Test plan, project requirement | Data log | ||
| Single-projector run mode | One projector operated where required and allowed | Approved test plan, projector manual | Test log, photos | ||
| Dual-projector run mode | Both projectors operated only if allowed and required | Approved test plan, projector manuals | Test log, data log | ||
| Standby / main mode | Main-backup logic checked if included in system scope | Control requirement, AV system design | Control test record | ||
| Sensor and alarm check | Configured sensors and alarms tested | Control specification | Alarm log, photos | ||
| Door seal and window seal check | Visual or specified seal inspection performed | Drawing, seal specification, project requirement | Inspection photos | ||
| Condensate drainage check | AC drainage reviewed if air conditioning is installed | AC manual, enclosure drainage design | Photos, test notes | ||
| Electrical safety check | Applicable checks performed by qualified personnel | Local requirements, project electrical specification | Test record | ||
| Packing and shipping review | Accessories, documents, and protection checked before shipment | Packing list, purchase order | Packing photos |
FAQ
What information is needed to design a dual-projector enclosure?
You should provide both projector models, lens models, dimensions, weight, power or heat data, intake and exhaust directions, mounting orientation, intended operating mode, site environment, protection requirement, power conditions, and preferred layout.
Should two projectors be installed vertically or side by side?
It depends on space, lens position, airflow, maintenance access, center of gravity, and support method. Vertically stacked and side-by-side layouts both require engineering review. Two independent enclosures may also be more suitable in some projects.
What should be checked during factory testing?
Factory testing should check fit, support, optical window clearance, service access, airflow, cooling operation, sensors, alarms, seals, cable entries, configured run modes, temperature and humidity data, and documented evidence against approved drawings and project requirements.
SuiRui Pro Tip: When comparing quotations, I look for the test plan first. A low price without clear acceptance references, measurement points, photos, and reporting limits can create expensive uncertainty later.
Conclusion
A custom dual projector enclosure should move from confirmed requirements to approved drawings, controlled fabrication, documented assembly, and factory testing with clear evidence. The goal is not to claim universal performance, but to verify the specified projector pair, layout, airflow design, optical path, and maintenance access before the enclosure is delivered.
From Design Decision to Factory Evidence
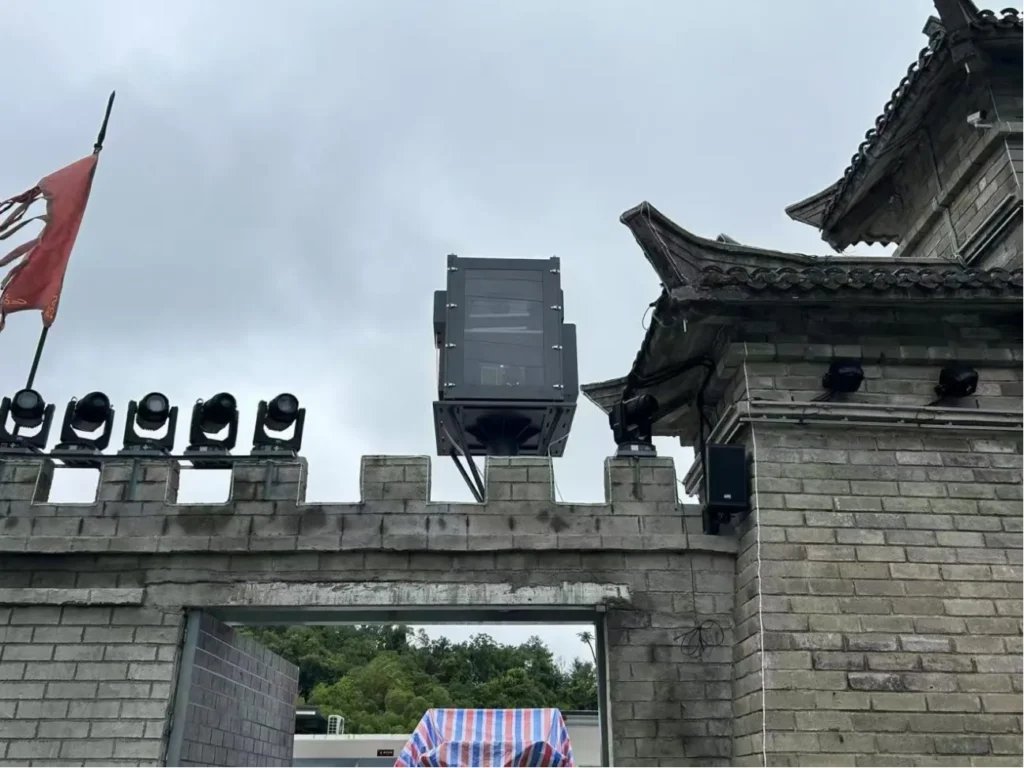
For a successful dual projector enclosure design, the most important step is early information accuracy. Two projectors cannot simply be placed inside a larger housing because their lens geometry, heat discharge, air intake, service space, cabling, weight distribution, and operating mode may conflict with each other.
A good project workflow should keep three categories clear:
- Verified facts: approved drawings, projector and lens information, selected layout, confirmed components, inspection photos, and recorded factory test conditions.
- Engineering recommendations: airflow separation, access planning, optical window positioning, cooling strategy, and documentation scope.
- Pending site verification: final projection alignment, site power integration, real ambient exposure, mounting structure confirmation, and commissioning under installed conditions.
SuiRui can support project discussions for custom projector housing requirements, including stacked projector enclosure layouts, side by side projector enclosure layouts, air conditioned projector enclosure configurations, and dual projector outdoor enclosure planning. To move forward efficiently, provide both projector models, lens models, preferred installation layout, operating mode, site conditions, and any required factory acceptance test documents.
SuiRui Pro Tip: I recommend treating the enclosure as part of the projection system, not as an accessory purchased at the end. When the projector data, lens data, layout, and test evidence are confirmed early, the factory stage becomes much more predictable.