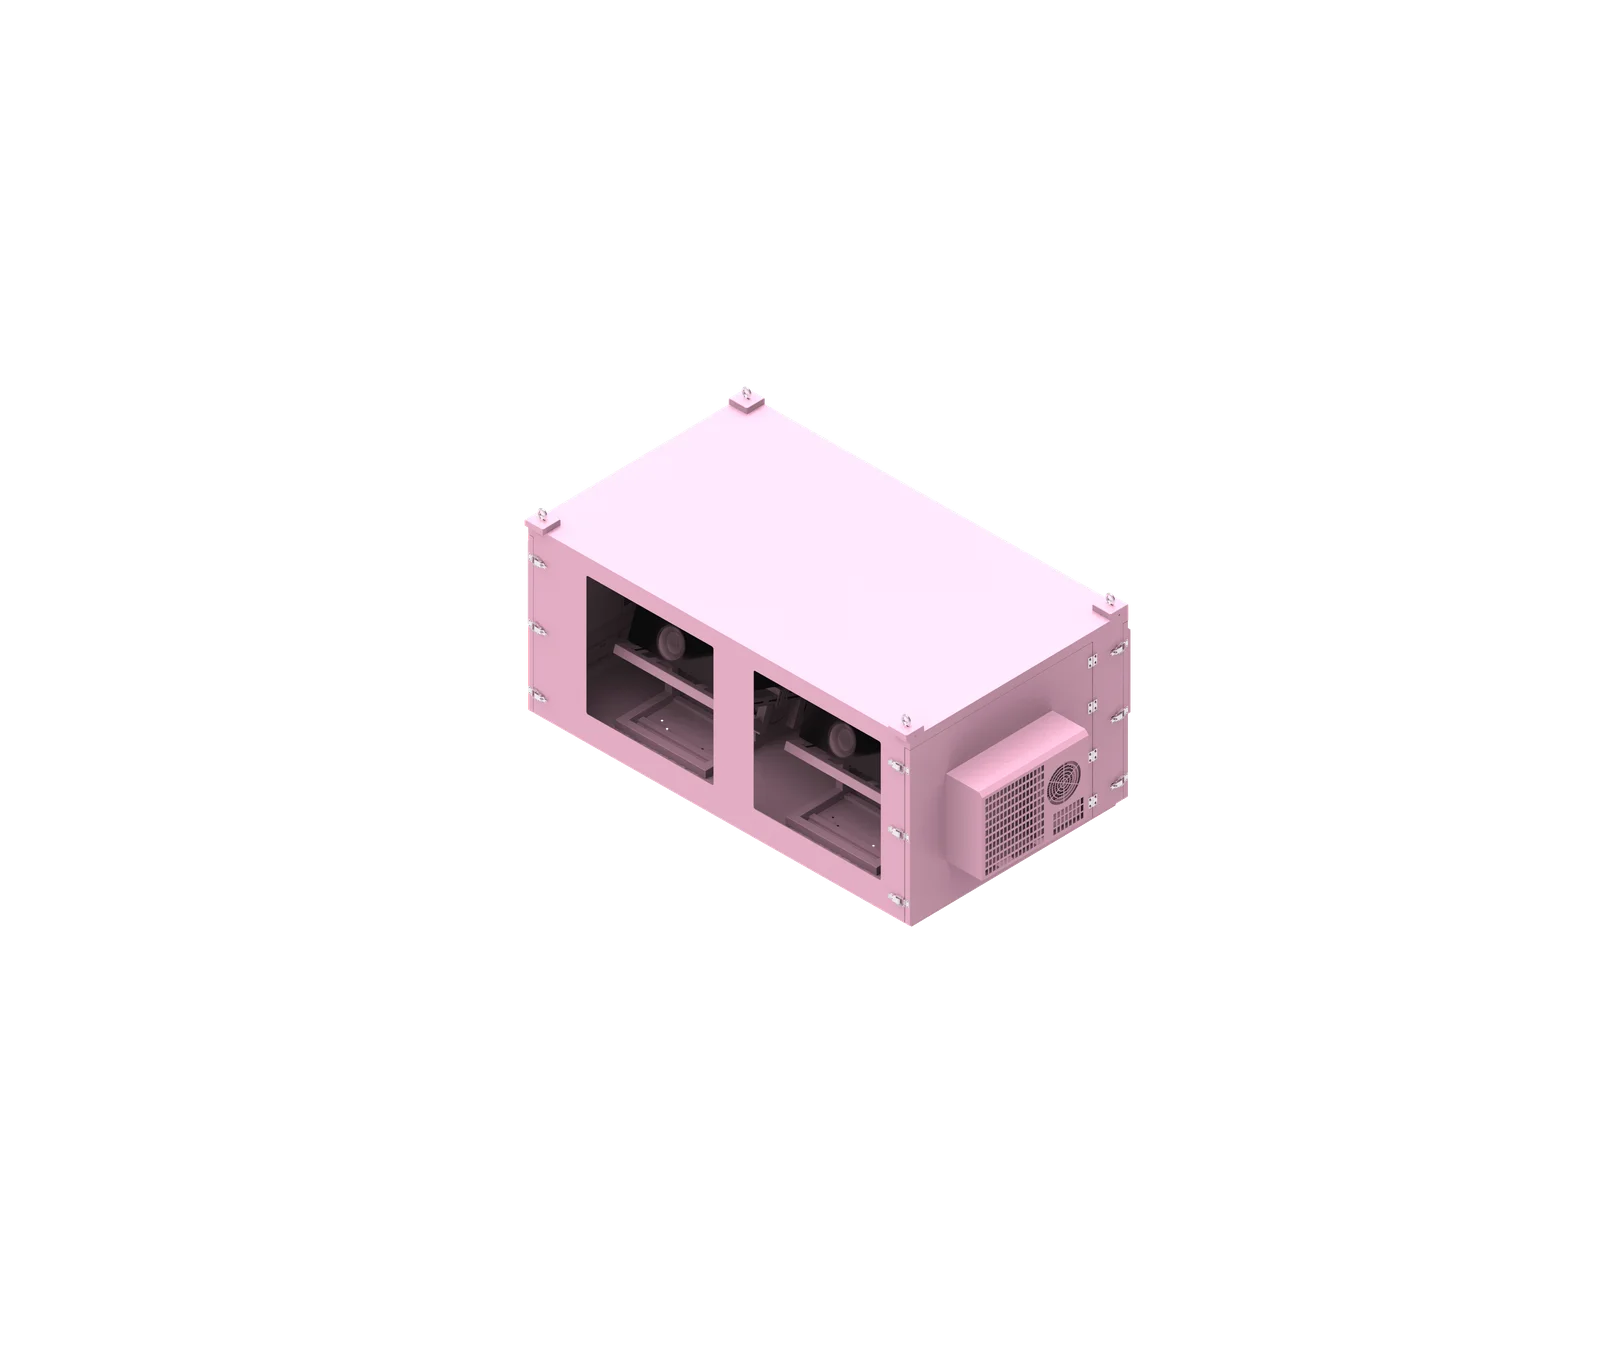
Cable routing inside an outdoor projector enclosure is an engineering interface, not an afterthought. The enclosure must give every power, signal, network and fiber cable enough room to reach the projector naturally, without sharp bending, pulling, twisting or loading the connector. For ShuiRui custom outdoor projector enclosures, cable bend radius, connector clearance, cable-entry sealing and strain relief are reviewed together with airflow, optics and maintenance access.
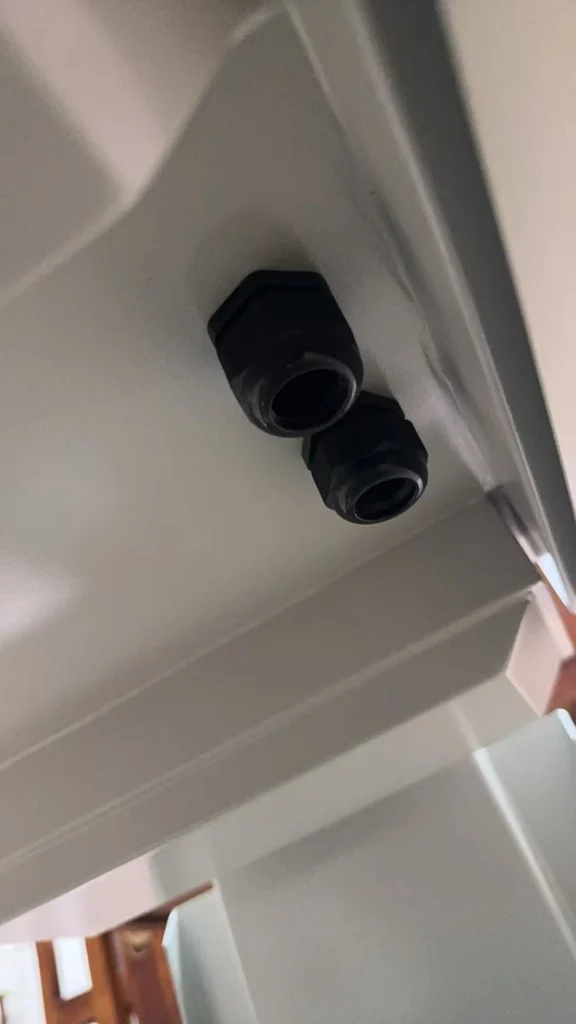
What is projector enclosure cable bend radius?
Projector enclosure cable bend radius is the minimum curve a cable can safely make inside the enclosure without damaging conductors, shields, fibers, jackets or connector interfaces. It is not determined by cable diameter alone; it must be taken from the actual cable manufacturer’s specifications and applied to the real routing path.
Cable Bend Radius as a Design Constraint
Cable bend radius describes how tightly a cable can curve while maintaining its mechanical and electrical performance. In an outdoor projector enclosure, this matters because the cable often turns immediately after leaving the projector connector, cable gland, conduit fitting, terminal block or internal cable clamp.
Cable Diameter
≠
Required Cable Space
Actual Required Space
Connector Size
Minimum Bend Radius
Strain Relief
Service Access
Maintenance Movement
Different cable types must be reviewed separately:
- AC power cables need safe termination space, bend clearance and access for inspection.
- HDMI and DisplayPort cables may have large molded connectors or rigid backshells.
- SDI and coaxial cables can lose performance if cable geometry is distorted by sharp bending.
- Ethernet cables should not be sharply bent near RJ45 connectors, glands or cable trays.
- Fiber optic cables can be especially sensitive to excessive bending, attenuation and mechanical stress.
- Control, sensor and low-voltage cables still require protection from pulling, abrasion and pinch points.
Based on our internal data and market analysis, here is the breakdown:
| Design Item | Why It Matters |
|---|---|
| Cable bend radius | Prevents cable damage and performance problems |
| Connector length | Determines rear or side clearance |
| Connector diameter | Affects cable-entry opening |
| Cable construction | Determines manufacturer-approved bend limits |
| Static vs installation condition | Some cables have different limits during pulling and final placement |
| Service movement | Prevents tight bends during maintenance or projector removal |
ShuiRui Pro Tip: I never approve enclosure cable clearance from cable diameter alone. I ask for the actual cable datasheet, connector dimensions and installation condition first, because a thin cable can still require generous bending space.
How Does projector enclosure cable bend radius Work?
Projector enclosure cable bend radius works by defining the curved space needed between the cable entry, connector, support point and projector interface. The enclosure must preserve that curve during installation, operation and service so the cable is not crushed against walls, pulled across doors or forced into airflow and optical zones.
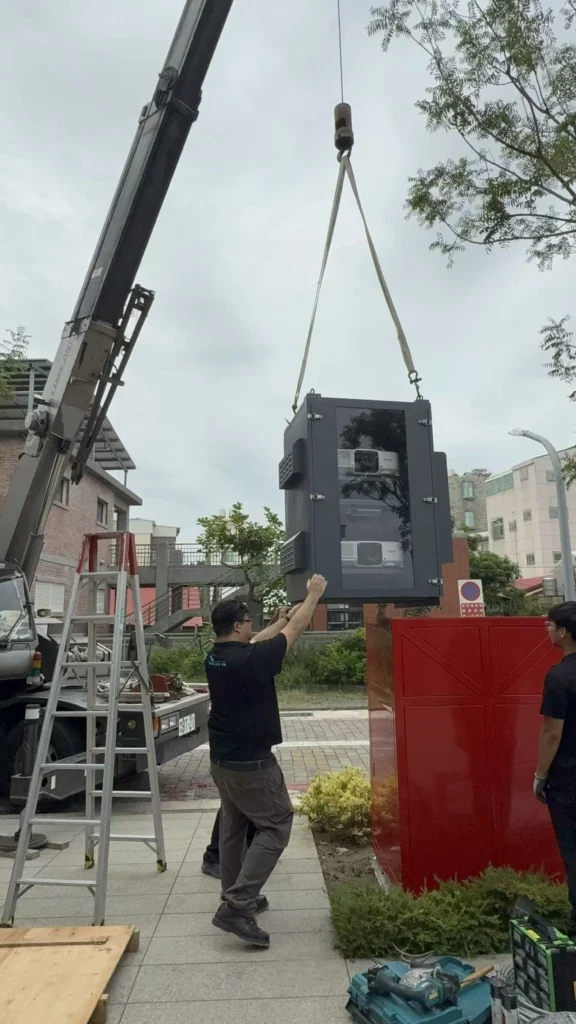
How Cable Geometry Controls Enclosure Layout
Inside a compact outdoor projector enclosure, a cable may physically plug into the projector while still being routed incorrectly. The connector may fit, but the cable behind it may be bent too tightly against a rear wall, side wall, cooling duct, door frame or internal bracket.
A practical engineering workflow is:
- Confirm the exact projector model and connector locations.
- Create a cable schedule for power, signal, network, fiber, control and sensor wiring.
- Obtain cable outer diameters, connector dimensions and manufacturer bend-radius requirements.
- Identify whether cables are pre-terminated or field-terminated.
- Define the cable-entry direction and required opening size based on the largest component that must pass through.
- Check rear and side connector clearance after the connector is installed.
- Add strain relief so the projector connector does not carry cable weight or pulling force.
- Check airflow, optical path, door movement and maintenance access.
- Review drawings before fabrication and verify with a mock-up when connectors are large or unusual.
- Inspect the final installation because site cables may differ from factory test leads.
This process prevents a common mistake: designing the enclosure around a theoretical cable path instead of the actual installed cable and connector geometry.
ShuiRui Pro Tip: When we design a ShuiRui enclosure, I look at the cable in three positions: installed, serviced and removed. A cable path that works only when the door is closed is not a serviceable design.
What are the benefits of projector enclosure cable bend radius?
Correct projector enclosure cable bend radius improves reliability, serviceability and installation quality. It helps protect signal performance, reduces stress on projector ports, preserves airflow, avoids optical interference and prevents technicians from forcing cables into unsafe positions during maintenance, cable replacement or future projector removal.
Reliability Gains from Proper Cable Routing
The main benefit is not simply “neater wiring.” Proper outdoor projector enclosure cable management protects the complete system: projector connectors, cable jackets, signal quality, environmental sealing, thermal performance and technician access.
Based on our internal data and market analysis, here is the breakdown:
| Benefit | Engineering Impact |
|---|---|
| Reduced connector stress | Helps prevent loose connections, damaged ports and intermittent signals |
| Better signal reliability | Supports stable HDMI, SDI, Ethernet, fiber and control performance |
| Improved airflow | Keeps cable bundles away from intake, exhaust and circulation fans |
| Safer maintenance | Allows technicians to disconnect and remove the projector without excessive force |
| Better sealing strategy | Separates cable-entry sealing from mechanical strain relief requirements |
| Lower abrasion risk | Keeps cables away from sharp sheet-metal edges and vibration contact points |
| Cleaner future expansion | Allows spare entries or removable plates instead of uncontrolled field drilling |
A well-designed projector enclosure cable routing plan also reduces the risk of hot-air recirculation. Large cable bundles near cooling paths can behave like airflow barriers, especially around AC cold-air supply, return airflow and internal circulation fans.
ShuiRui Pro Tip: The projector connector should never become the cable support. If a long HDMI, network, fiber or power cable is hanging from the projector port, the enclosure cable management has failed.
How to maintain a projector enclosure cable bend radius?
Maintaining projector enclosure cable bend radius means inspecting routing, supports, service loops, cable-entry points and connector clearance throughout installation and service. Technicians should verify that cables are not overtightened, pinched, crushed, rubbing on metal edges, blocking airflow, crossing gaskets or pulling on projector connectors.
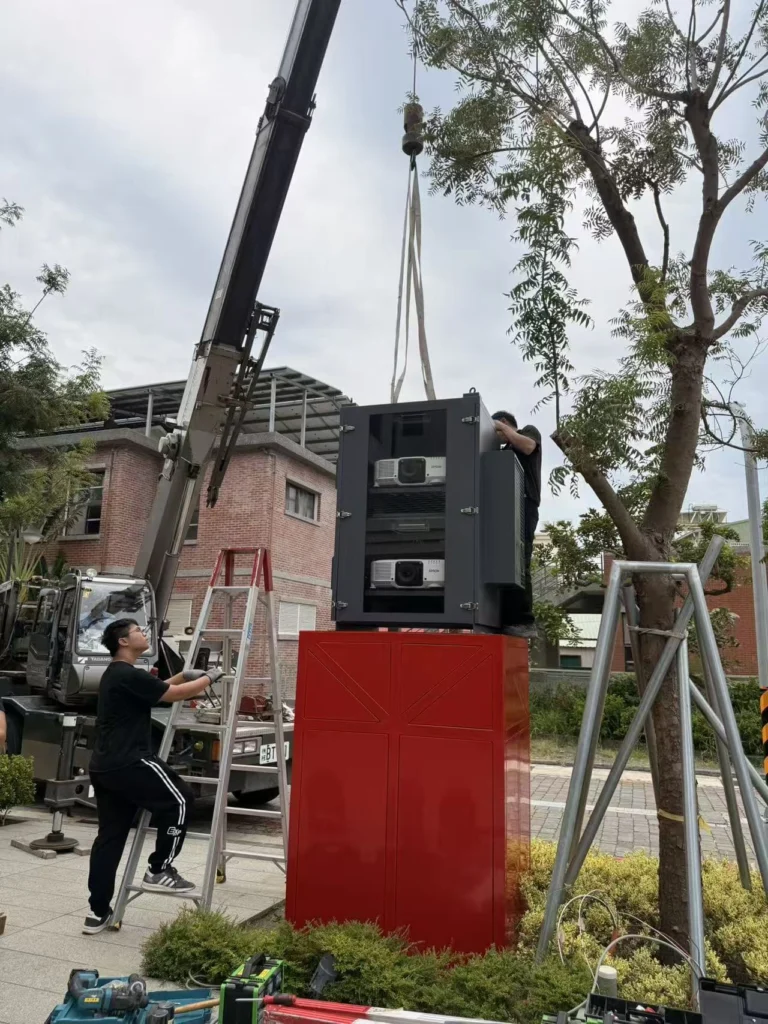
Inspection and Service Practices
Outdoor projector enclosure wiring can change over time as projectors are serviced, cables are replaced or extra devices are added. Maintenance should therefore confirm that the original bend-radius and strain-relief intent is still preserved.
Use this inspection checklist:
- Confirm every cable follows the manufacturer’s minimum bend-radius requirement.
- Check that connectors are not pressed against rear or side enclosure walls.
- Verify that cable glands, split entries or removable gland plates remain properly sealed.
- Confirm that strain relief is provided where cable weight or pulling force could reach the projector.
- Make sure cable ties are not overtightened, especially on fiber, coaxial and sensitive signal cables.
- Keep cables away from fan blades, moving doors, hinge pinch points and latch areas.
- Confirm that cables do not cross door gaskets unless the interface is specifically designed for it.
- Keep wiring out of the lens path, optical-window clear aperture and lens-shift envelope.
- Inspect cable jackets for abrasion where cables pass near sheet-metal edges.
- Recheck final site cables, because field cables may be larger, stiffer or differently terminated than factory samples.
Reusable cable clamps, hook-and-loop straps and serviceable supports are often better than permanent disposable ties when regular projector maintenance is expected.
ShuiRui Pro Tip: During maintenance, I ask technicians not to “tidy” cables by pulling them tight. A clean-looking bundle can still be wrong if it removes the service loop or transfers force to the projector connector.
What is the price of projector enclosure cable bend radius?
Projector enclosure cable bend radius does not have a standalone price like a component. Its cost appears in enclosure size, connector clearance, gland plates, cable-entry hardware, strain relief, service access and engineering time. The right cost depends on actual cables, connectors, environmental rating and installation method.
Where Bend Radius Affects Enclosure Cost
Cable bend radius influences price because it can change the cabinet depth, side clearance, internal brackets, gland plate design and assembly complexity. For pre-terminated cables, the connector may require a much larger installation opening than the cable jacket, which can affect fabrication and sealing design.
Based on our internal data and market analysis, here is the breakdown:
| Cost Factor | Why It Can Affect Price |
|---|---|
| Larger rear or side clearance | May increase enclosure size or material usage |
| Removable gland plate | Adds fabrication, fasteners, sealing surfaces and assembly time |
| Split cable entry system | May cost more than standard single-cable glands |
| Internal cable clamps | Adds hardware and installation labor |
| Separate electrical compartment | Improves organization but increases design complexity |
| Future expansion openings | Requires sealed spare entries or blanking plates |
| Mock-up or prototype review | Useful for large connectors, fiber systems or unusual projector layouts |
| Custom airflow path | Cable zones must not interfere with cooling design |
A low-cost enclosure that forces cables into tight turns can become expensive later through signal faults, damaged projector connectors, water ingress from poor field drilling or difficult maintenance.
ShuiRui Pro Tip: When buyers ask us to reduce enclosure size, I check connector clearance before anything else. Saving a small amount of cabinet depth is not worth damaging a projector port or making the unit impossible to service.
Key Features & Comparison
The key features of a reliable projector enclosure cable bend radius design include connector-based clearance, manufacturer-approved bend radius, verified strain relief, sealed cable entry, airflow protection, optical clearance and maintenance access. These features should be evaluated together because one weak point can compromise the whole outdoor projector enclosure wiring system.
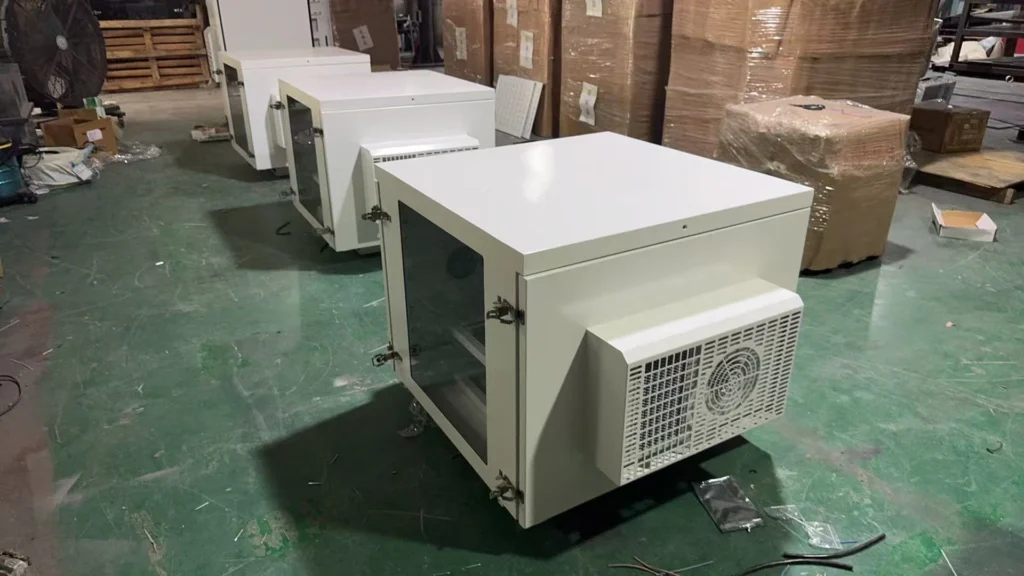
Feature Comparison for Engineering Review
Based on our internal data and market analysis, here is the breakdown:
| Design Item | Good Practice | Common Mistake | Result of Poor Design |
|---|---|---|---|
| Cable bend radius | Use cable manufacturer data | Guessing from cable diameter | Cable damage or degraded signal |
| Connector clearance | Design around connector length, width and backshell | Measuring only cable jacket | Connector forced against wall |
| Cable-entry opening | Size for the largest component that must pass through | Assuming cable diameter equals opening size | Pre-terminated cable cannot be installed |
| Strain relief | Support cable load before it reaches projector connector | Letting cable hang from projector port | Loose, damaged or intermittent connection |
| Cable gland | Select by cable OD, clamping range and environmental need | Choosing by cable name only | Poor sealing or poor retention |
| Service loop | Provide enough movement for access and removal | No loop or excessive loop | Pulling force or airflow obstruction |
| Door movement | Check closed, partially open and fully open positions | Routing across hinge or gasket areas | Pinching, pulling or sealing failure |
| Airflow clearance | Keep bundles away from intake, exhaust and fans | Filling cooling zones with cables | Overheating or hot-air recirculation |
| Optical clearance | Keep cables outside lens and window clear aperture | Using lens area as spare cable space | Image obstruction or adjustment difficulty |
| Field expansion | Plan spare sealed entries | Drilling after coating and installation | IP, corrosion and routing risks |
Cable entry location also matters. Bottom entry may reduce direct rain exposure in some designs, but it is not automatically correct. Side entry may be required by the mounting structure. Top entry needs careful weatherproof engineering and should not use uncontrolled openings.
ShuiRui Pro Tip: I prefer to review cable entry, strain relief and airflow on the same drawing. If these items are reviewed separately, the final enclosure may seal well but service poorly—or cool well but damage cables.
Cost & Buying Factors
Buyers should provide complete cable and connector information before enclosure design begins. The most important buying factors include projector model, connector locations, cable types, connector dimensions, bend-radius requirements, pre-terminated status, cable-entry direction, environmental rating, strain-relief expectations and future expansion needs.
Information to Provide Before Fabrication
For a custom ShuiRui outdoor projector enclosure, the most useful buying input is not just the projector size. Cable data can determine enclosure depth, gland plate layout, service access and even thermal zoning.
Provide the following before final design approval:
- Projector brand and model.
- Exact connector locations on the projector.
- Power cable type and termination method.
- HDMI, DisplayPort, SDI, Ethernet, fiber, control and sensor cable requirements.
- Cable quantity and routing direction.
- Cable outer diameters.
- Connector length, width, diameter and backshell dimensions.
- Whether each cable is pre-terminated or field-terminated.
- Cable manufacturer minimum bend radius and pulling requirements.
- Required cable-entry direction: bottom, side, rear or another project-specific path.
- Environmental sealing requirement for the installation.
- Maintenance and projector-removal requirements.
- Future expansion needs for additional network, fiber or control wiring.
- Applicable electrical, EMC and site standards.
This information helps prevent late changes, field drilling, oversized cable bundles, blocked airflow and unserviceable connector layouts.
ShuiRui Pro Tip: The best time to solve cable clearance is before sheet metal is cut. Once the enclosure is powder coated and installed, adding holes or moving cable entries can compromise sealing, corrosion protection and internal layout.
Conclusion
Cable clearance should be designed for the connector, bend radius and service movement—not just the cable diameter. A dependable outdoor projector enclosure protects projector ports, maintains signal reliability, preserves airflow and allows future maintenance without forcing cables into sharp bends or using connectors as cable supports.
Final Engineering Checklist
Before finalizing an outdoor projector enclosure, identify every power, signal, network, fiber, control and sensor connection. Confirm the connector dimensions, minimum bend radius, installation path, cable-entry size, sealing method, strain-relief method and maintenance movement.
Use this final checklist:
- Confirm the exact projector and connector positions.
- Review actual cable datasheets, not assumptions.
- Separate cable diameter from connector diameter.
- Size entries for the largest component that must pass through.
- Protect cables from sharp sheet-metal edges with suitable glands, bushings, grommets or edge protection.
- Provide strain relief so projector connectors do not carry cable weight.
- Keep cable bundles clear of air intake, exhaust, circulation fans and AC airflow.
- Keep cables outside the optical path, lens adjustment zone and window clear aperture.
- Check door movement, hinge areas, latches and gasket interfaces.
- Avoid uncontrolled field drilling by planning spare sealed entries where expansion is expected.
- Inspect final field cabling because installation cables may differ from design samples.
Do not invent universal bend radii, cable-support spacing, service-loop lengths, pulling limits, gland sizes or strain-relief distances. Use the actual cable manufacturer’s data and the real projector interface.
For AV integrators, consultants, contractors and projection engineering teams, ShuiRui can support custom outdoor projector enclosure design with practical cable-entry planning, connector clearance review, sheet-metal fabrication and service-focused enclosure layouts.
ShuiRui Pro Tip: My final rule is simple: the cable should reach the projector naturally. If it must be forced, twisted, crushed or pulled tight to make the connection, the enclosure needs to be redesigned before installation.