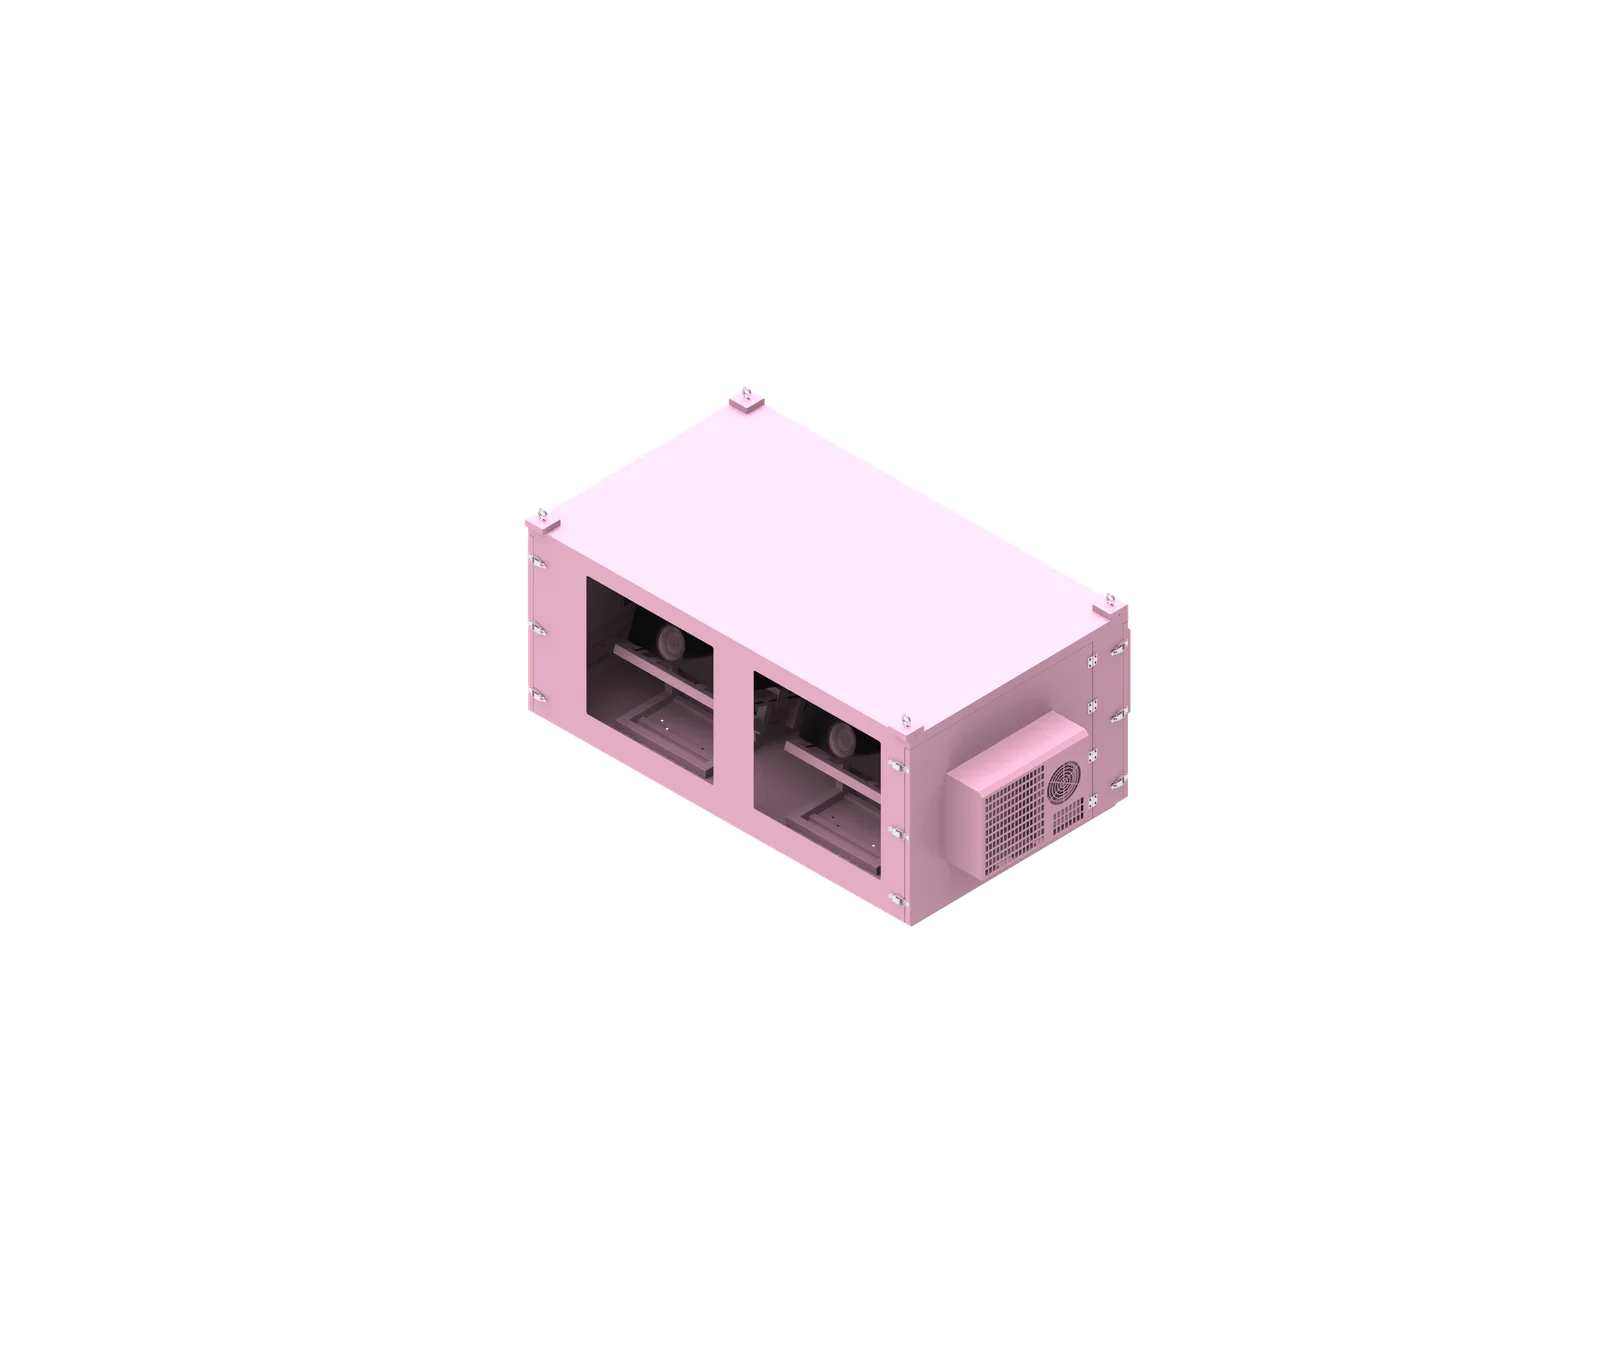
Lens shift and projector throw ratio are not just installation values; they shape practical projector enclosure design decisions. For an outdoor projector enclosure, they influence where the projector sits, how the lens aligns with the optical window, how much adjustment space is required, and whether the projected beam remains unobstructed. The safest approach is to design around the exact projector, lens, and projection geometry.
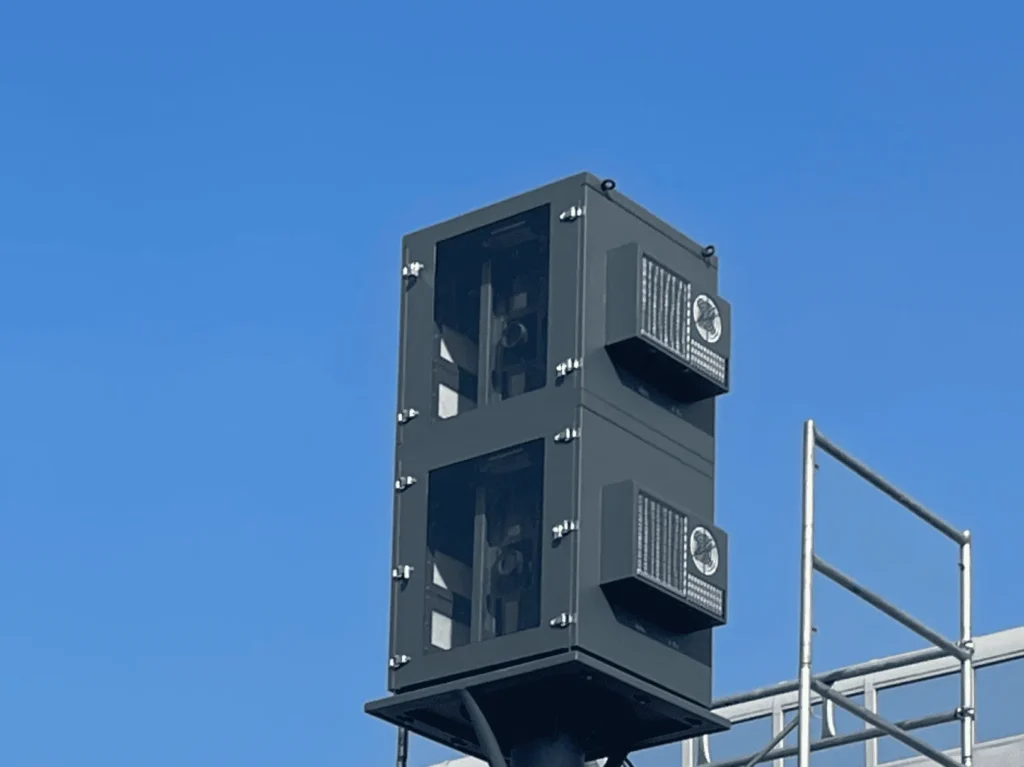
What is projector enclosure design?
Projector enclosure design is the engineering process of protecting a projector while preserving its optical, thermal, electrical, and maintenance requirements. In outdoor applications, the enclosure must protect against weather, dust, heat, condensation, and unauthorized access without blocking the projected image or limiting lens adjustment.
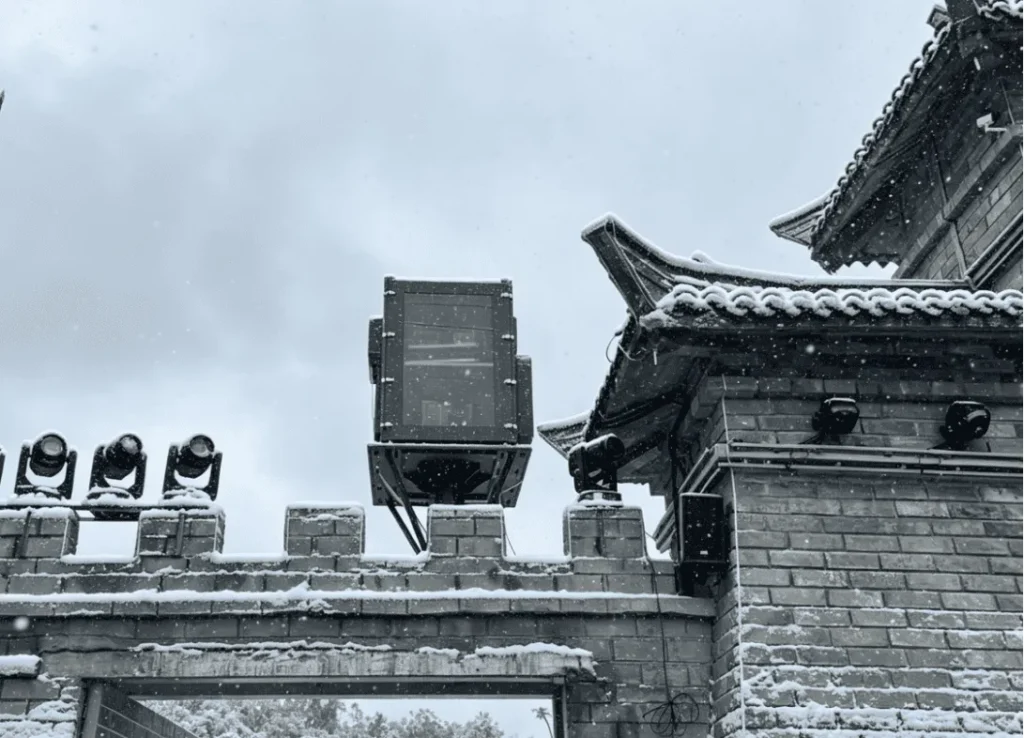
Engineering Purpose of a Projector Enclosure
A projector enclosure is not simply a metal box sized around projector length, width, and height. A proper outdoor projector enclosure must maintain the projector’s working environment and optical path at the same time.
For lens shift projector enclosure projects, the enclosure designer must reference the actual lens center, lens movement range, and beam path. If the optical window is positioned only from the projector chassis outline, the image may be clipped when lens shift is used.
Based on our internal data and market analysis, here is the breakdown:
| Design Area | What It Controls | Why It Matters |
|---|---|---|
| Mechanical structure | Projector support, mounting, vibration control | Keeps the projector stable and aligned |
| Optical window | Clear aperture, glass position, frame geometry | Prevents beam obstruction and vignetting |
| Thermal system | Cooling airflow, heat extraction, temperature control | Protects projector performance and lifespan |
| Environmental sealing | Waterproofing, dust control, gasket design | Enables outdoor use |
| Service access | Lens replacement, focus, zoom, cleaning | Reduces maintenance difficulty |
| Electrical layout | Power, signal, control, safety wiring | Supports reliable installation |
| Internal adjustment | Tilt, height, depth, horizontal movement | Allows final optical alignment |
A custom projector enclosure should therefore be designed from both physical and optical data. Projector brightness and body dimensions are important, but they are not enough for a reliable enclosure drawing.
ShiRui Pro Tip: I always ask for the projector model and exact lens model before confirming the optical-window position. The lens location and shift range often matter more than the external projector dimensions when designing the front opening.
How Does projector enclosure design Work?
Projector enclosure design works by converting the projector’s installation requirements into a protected mechanical structure. The designer reviews the projector model, lens model, throw ratio, lens shift range, projection angle, cooling demand, and service requirements, then builds an enclosure that protects the equipment without restricting the optical path.
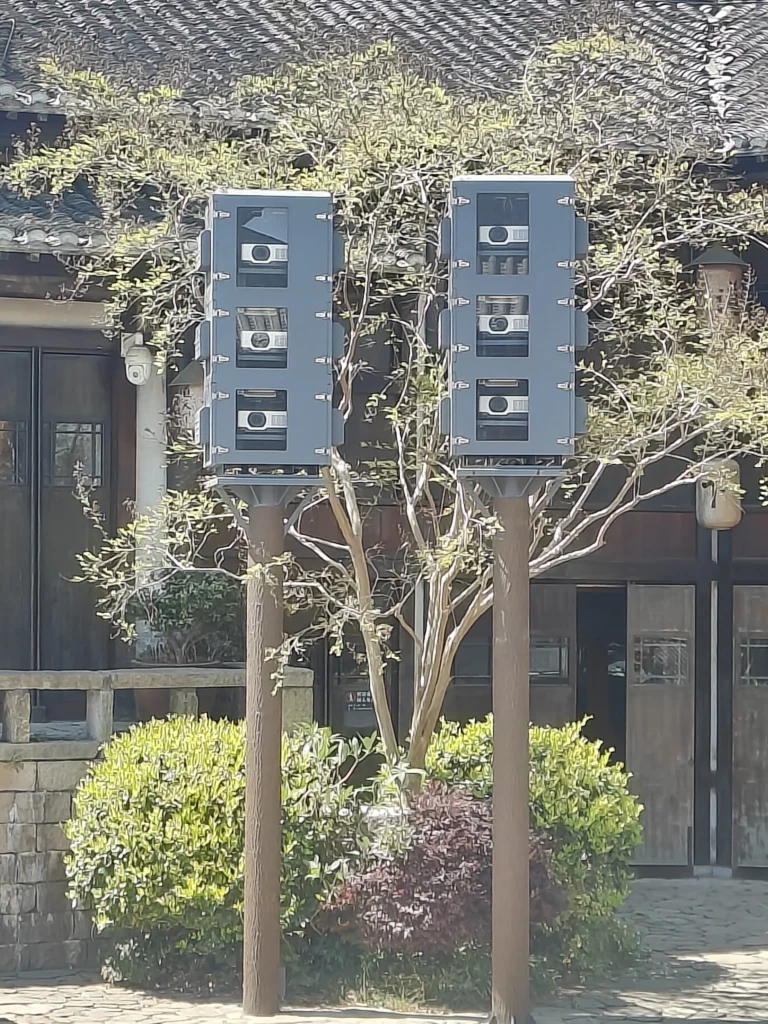
Practical Design Workflow
A reliable projector enclosure design should follow the actual projection setup instead of starting from a generic cabinet size. This is especially important for outdoor projection, projection mapping, façade projection, and multi-projector systems.
Recommended workflow:
- Confirm the project requirements and installation environment.
- Confirm the exact projector brand and model.
- Confirm the exact lens model, not only the projector chassis.
- Review the projector throw ratio and required image size.
- Calculate or verify the required throw distance.
- Confirm vertical and horizontal projector lens shift ranges.
- Review the manufacturer’s combined lens shift chart.
- Define projector mounting height, depth, and orientation.
- Determine lens center coordinates inside the enclosure.
- Define the projection angle and beam path.
- Size and position the projector enclosure optical window.
- Confirm cooling, waterproofing, condensation control, and maintenance access.
- Produce technical drawings for review before fabrication.
- Approve drawings, fabricate, assemble, and perform optical alignment checks.
The key point is that projection geometry and enclosure physical dimensions are related, but they are not the same. Throw ratio helps determine where the projector needs to be installed. It does not directly determine the physical size of the enclosure.
ShiRui Pro Tip: I recommend completing the optical review before sheet-metal fabrication. Moving a window after fabrication is far more expensive than adjusting a drawing during the RFQ and approval stage.
What does lens shift do on a projector?
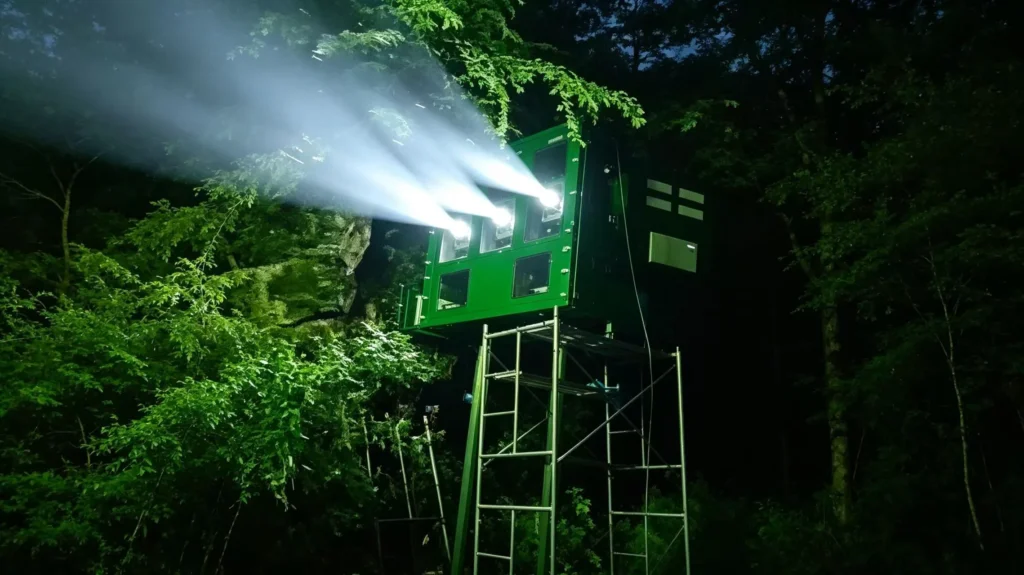
Projector lens shift moves the projected image vertically and/or horizontally without physically moving the projector body. In enclosure design, lens shift changes the usable optical path relative to the projector housing, so the optical window must provide enough clear aperture for the required shifted image position.
Why Lens Shift Changes the Optical Window
Lens shift is an optical adjustment function. It allows the image to move up, down, left, or right while the projector remains fixed. This is different from digital keystone correction, which modifies the image electronically and may reduce image quality or usable image area.
The available projector lens shift range varies by projector and lens. Professional projectors may use interchangeable lenses, and each lens can have a different throw ratio, zoom range, physical size, and lens shift capability. Because of this, a universal lens-shift percentage should not be used for every enclosure.
Projector enclosure optical planning should follow this logic:
- Projector body position
- Actual lens center
- Vertical lens shift range
- Horizontal lens shift range
- Combined-axis lens shift limitations
- Projected light path
- Lens-to-window distance
- Optical-window clear aperture
- Window frame, gasket, and retaining structure clearance
Vertical lens shift is useful when the projector is above or below the desired image center. Horizontal lens shift is useful when the projector is mounted off-axis. However, many projectors do not allow maximum vertical and maximum horizontal shift at the same time. Always check the exact manufacturer lens-shift chart.
A window designed only around the lens center position may restrict the usable lens shift range. The clear aperture—not just the total glass size—is what matters. The metal frame, sealing gasket, and retaining structure must not enter the projected beam path.
ShiRui Pro Tip: When I review a lens shift projector enclosure, I check the shifted beam envelope, not just the lens diameter. A large glass panel can still fail if the usable opening is reduced by the frame or gasket.
What is the 4 6 8 rule for projectors?
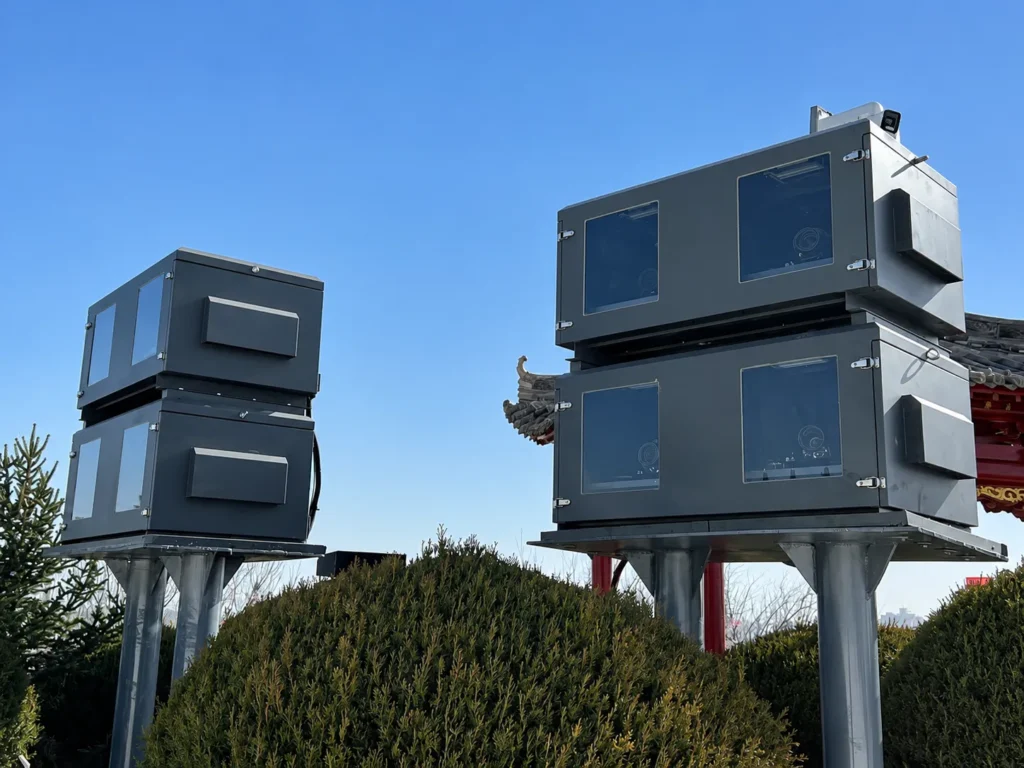
The 4 6 8 rule is a general viewing-distance guideline, not an enclosure engineering rule. It is often used to estimate audience distance based on screen height or content type, but it should not replace projector throw ratio calculations, lens data, or optical-window design checks.
Viewing Rule Versus Enclosure Geometry
The 4 6 8 rule is commonly discussed in display planning, where different viewing distances may be recommended depending on whether the content is detailed, general, or passive viewing. However, it does not define projector placement, lens-to-screen distance, lens shift, or enclosure dimensions.
For projector enclosure design, the more important technical inputs are the projector lens design, throw ratio, image width, projection angle, and lens shift range.
Based on our internal data and market analysis, here is the breakdown:
| Item | What It Helps Decide | Does It Define Enclosure Size? |
|---|---|---|
| 4 6 8 viewing rule | Approximate audience viewing distance | No |
| Throw ratio | Lens-to-screen distance for a given image width | No, but it affects installation location |
| Lens shift | Image position relative to projector body | No, but it affects optical-window clearance |
| Projector dimensions | Internal cabinet space | Partly |
| Cooling requirement | Fan, duct, heat-exchange layout | Yes |
| Lens dimensions | Front clearance and service access | Yes |
| Projection angle | Beam path through window | Indirectly |
| Maintenance access | Door, rail, removable panel layout | Yes |
For outdoor stage projection, building projection, scenic projection, and projection mapping, viewing-distance rules may help with audience planning. But the enclosure still needs optical and mechanical design based on the actual projector and lens combination.
ShiRui Pro Tip: I do not use viewing-distance rules to locate the optical window. For enclosure engineering, I rely on lens center, beam angle, throw distance, shift range, and the real clear aperture available through the window.
What is the optimal throw ratio for a projector?
There is no universally optimal projector throw ratio. The correct throw ratio depends on image width, lens-to-screen distance, installation space, projector model, lens options, and project requirements. For enclosure design, throw ratio mainly helps determine projector location, not the cabinet’s physical size.
Throw Ratio Formula and Design Meaning
Throw ratio is a lens and projection specification. It describes the relationship between throw distance and image width.
Throw Ratio Formula
Throw Ratio = Throw Distance ÷ Image Width
Example:
20 m throw distance ÷ 10 m image width = 2.0:1 throw ratio
The related formula is:
Throw Distance = Image Width × Throw Ratio
If a projector uses a 2.0:1 lens and the required image width is 10 m, the lens-to-screen distance is approximately 20 m, subject to the manufacturer’s measurement reference and zoom range.
Throw distance should be measured according to the projector and lens manufacturer’s documentation. In many specifications, throw distance is measured from the lens reference position to the projection surface. It should not be assumed to start from the front or rear of the enclosure.
Based on our internal data and market analysis, here is the breakdown:
| Lens Type | General Installation Effect | Enclosure Design Impact |
|---|---|---|
| Short-throw lens | Produces a large image from a shorter distance | May require careful beam-angle and window-frame clearance checks |
| Standard lens | Suitable for common projection distances | Often easier to align, depending on project geometry |
| Long-throw lens | Requires greater distance for the same image width | May affect where the enclosure is mounted on site |
| Zoom lens | Allows a range of throw distances | Requires confirmation of selected zoom position |
| Interchangeable lens | Changes throw, shift, and physical lens geometry | Enclosure should be based on the exact lens model |
Longer throw distance does not automatically mean a larger projector enclosure. Enclosure dimensions are mainly determined by projector body size, lens size, cooling design, mounting structure, electrical components, maintenance clearance, and environmental protection.
ShiRui Pro Tip: I treat throw ratio as a placement calculation, not a cabinet-sizing shortcut. The enclosure becomes accurate only when the throw ratio is reviewed together with the lens model, lens center, shift range, and projection angle.
Key Features & Comparison
The most important projector enclosure design features are optical accuracy, weather protection, cooling, serviceability, and installation flexibility. Lens shift and throw ratio should be reviewed early because they affect window placement, mounting position, beam clearance, and long-term usability in real outdoor projection conditions.

Common Design Factors and Mistakes
Based on our internal data and market analysis, here is the breakdown:
| Design Factor or Mistake | Possible Result | Recommended Action |
|---|---|---|
| Designing only from projector dimensions | Wrong optical-window position | Use projector, lens, and projection geometry data |
| Ignoring the exact lens model | Incorrect throw or shift assumptions | Confirm lens datasheet before drawing approval |
| Ignoring lens shift | Restricted image adjustment | Design clear aperture for required shift range |
| Assuming max horizontal and vertical shift can combine | Incorrect design envelope | Check the manufacturer’s lens-shift chart |
| Treating throw ratio as enclosure size | Wrong cabinet assumptions | Separate projection distance from physical enclosure design |
| Ignoring projection angle | Beam may approach or hit the window frame | Model the actual beam path |
| Window clear aperture too small | Image clipping or vignetting | Check usable opening, not only glass size |
| No lens replacement clearance | Difficult maintenance | Provide access for lens removal and adjustment |
| Designing before lens is confirmed | Expensive redesign | Confirm projector/lens combination during RFQ |
| Relying on keystone correction | Potential image-quality compromise | Support correct physical and optical alignment |
| Poor condensation planning | Fogged optical window | Include humidity, airflow, and temperature control |
| Oversized opening without sealing design | Water ingress risk | Maintain gasket, frame, fastener, and sealant integrity |
A well-designed outdoor projector enclosure balances optical freedom with environmental protection. The optical window must be large and correctly positioned enough for the actual beam path, but it must also remain sealed against rain, dust, and condensation.
The internal mounting structure should support horizontal adjustment, vertical adjustment, forward/backward positioning, tilt, and rotation where appropriate. However, lens shift should not be treated as unlimited installation freedom. The projector should still remain within the manufacturer’s recommended operating range.
ShiRui Pro Tip: I check both the optical envelope and the maintenance envelope. A window may be optically correct, but if the technician cannot adjust focus, zoom, shift, or replace the lens, the enclosure is not finished.
Cost & Buying Factors
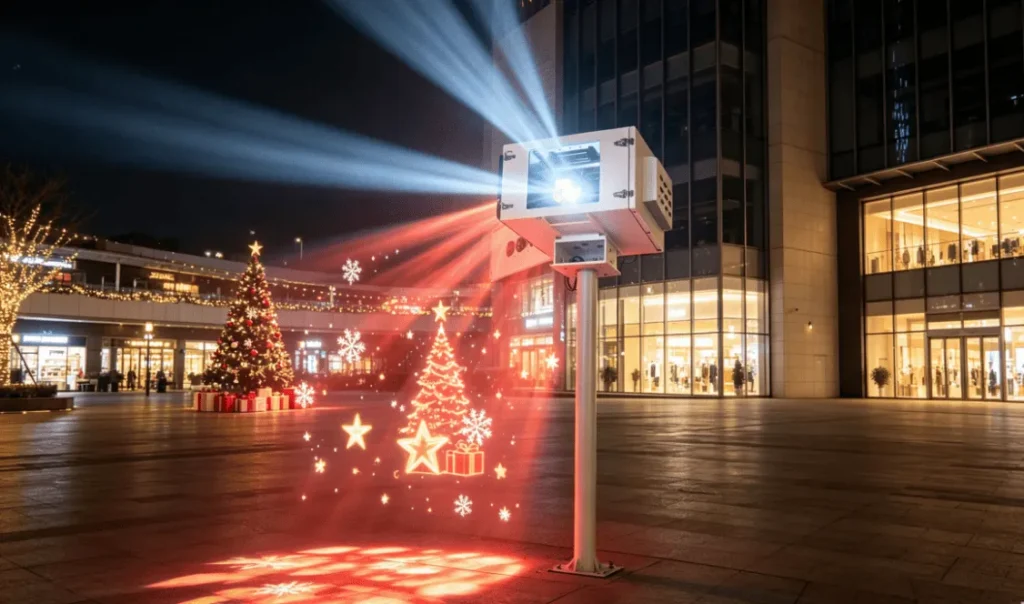
The cost of a custom projector enclosure depends on more than projector size. Pricing is affected by optical-window requirements, material thickness, waterproof rating, cooling method, environmental control, mounting system, electrical layout, service access, and whether the design must support special lens shift or projection geometry.
What Buyers Should Prepare Before Quotation
Accurate technical information helps avoid redesign, oversized cabinets, and incorrect optical-window placement. For an outdoor projector enclosure, ShiRui typically recommends confirming the optical data before finalizing the mechanical structure.
Buyers should provide:
- Projector brand
- Exact projector model
- Exact lens model
- Lens datasheet
- Projector throw ratio
- Required throw distance
- Image width and image height
- Vertical and horizontal projector lens shift requirements
- Manufacturer lens-shift chart, if available
- Projection angle
- Projector mounting orientation
- Installation location and environmental conditions
- Required optical-window material or specification
- Projector quantity
- Cooling and noise requirements
- Power, signal, and control requirements
- Maintenance access requirements
- Site drawings, especially for projection mapping
For projection mapping projects, additional information is valuable because multiple projectors may use different lenses, different shift positions, and different projection angles. A multi-projector enclosure should not be designed by simply scaling up a single-projector cabinet.
Based on our internal data and market analysis, here is the breakdown:
| Buying Factor | Cost Influence | Why It Matters |
|---|---|---|
| Exact projector and lens confirmation | Medium | Prevents incorrect window and mounting design |
| Optical-window size and glass type | Medium to high | Affects sealing, frame design, and optical clarity |
| Cooling system complexity | Medium to high | Outdoor projectors may require active thermal control |
| Waterproof and dustproof level | Medium | Influences gasket, sealant, fastener, and structure choices |
| Condensation control | Medium | Helps keep the window clear in changing weather |
| Internal adjustment structure | Medium | Supports alignment, service, and installation flexibility |
| Multi-projector layout | High | Requires separate optical paths and service planning |
| Custom mounting brackets | Medium | Needed when lens center and body center do not align |
| Finish and corrosion protection | Medium | Important for outdoor and coastal environments |
| Drawing review and customization | Low to medium | Reduces fabrication risk and site modification |
A low-cost enclosure that ignores the projector lens design can become expensive if the optical window must be modified on site. The most economical design is usually the one that is correctly engineered before production.
ShiRui Pro Tip: When customers send only projector brightness and body dimensions, I treat the quotation as preliminary. For final design, I need the lens model, throw ratio, shift requirements, and installation drawing to protect both cost and performance.
Conclusion
Lens shift and throw ratio should be considered early in projector enclosure design. Throw ratio defines the optical relationship between image width and throw distance, while lens shift affects the beam path and optical-window clearance. A reliable enclosure must be designed around the exact projector, lens, and installation geometry.
Final Design Checklist
A projector enclosure should not be selected only by brightness rating or cabinet size. The enclosure must protect the projector while allowing the lens to operate as intended. This is especially important for outdoor projector enclosure projects where weatherproofing, cooling, condensation control, and optical alignment must work together.
Before fabrication, verify:
- Projector model
- Lens model
- Lens diameter and physical position
- Throw ratio
- Required throw distance
- Image size
- Vertical lens shift range
- Horizontal lens shift range
- Combined lens shift limitations
- Projection angle
- Lens-to-window distance
- Optical-window clear aperture
- Window frame and gasket geometry
- Internal mounting adjustment
- Lens replacement and maintenance clearance
- Cooling and condensation control
- Waterproof sealing around glass, frame, fasteners, and sealant
The recommended design path is:
- Project requirements
- Projector model
- Exact lens model
- Throw ratio
- Required throw distance
- Lens shift range
- Projection angle
- Projector mounting position
- Optical-window design
- Cooling and environmental design
- Technical drawing
- Drawing approval
- Fabrication
- Assembly and optical alignment
Planning an outdoor projection project? Send ShiRui your projector model, lens model, throw ratio, lens shift requirements, image size, projection distance, and installation drawing. With this information, the projector mounting structure and optical window can be designed around your actual projection setup rather than assumptions.
ShiRui Pro Tip: My final recommendation is simple: confirm the lens before confirming the enclosure. Once the projector, lens, throw distance, and lens shift are known, the optical window and internal mounting structure can be engineered with much lower risk.