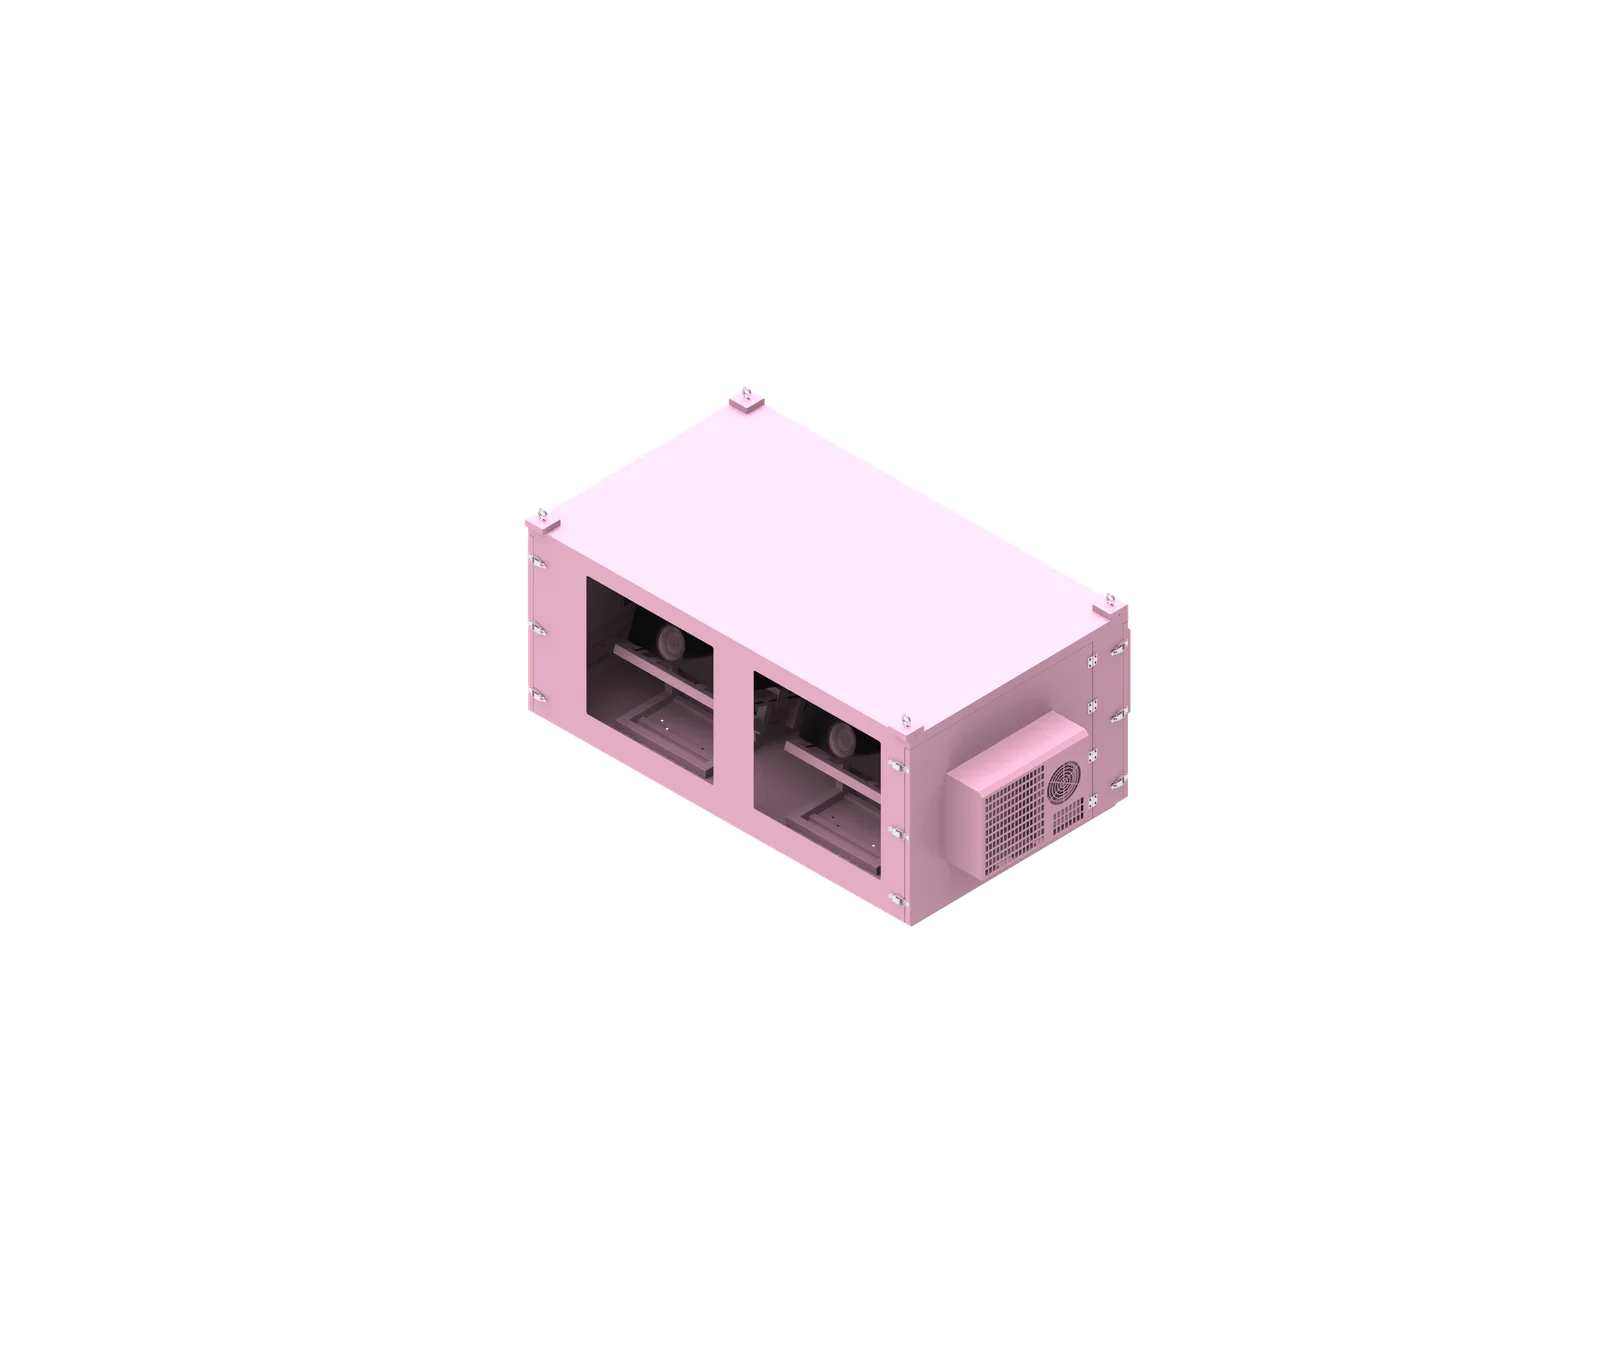
Projector airflow direction determines where an enclosure can safely bring in clean air, remove hot exhaust, place fans, locate filters, and separate components. A reliable projector enclosure airflow design starts with the exact projector model’s intake and exhaust layout, because hot air recirculation can shorten service life, trigger thermal shutdowns, and affect image stability in an outdoor projector enclosure.
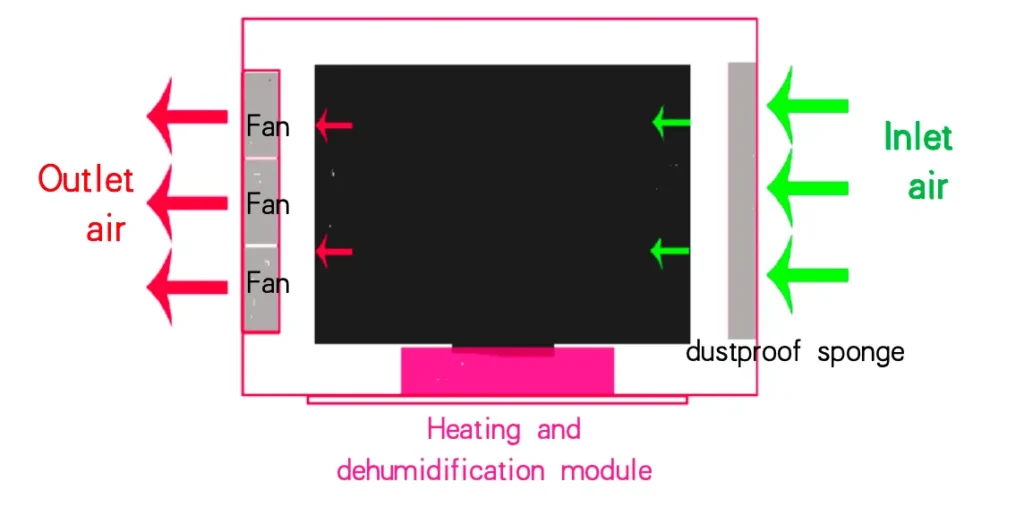
What is projector airflow direction?
Projector airflow direction is the manufacturer-designed path that cooling air follows through a projector, from air intake vents to exhaust outlets. In enclosure design, this path controls where fresh air enters, where hot air exits, how filters are accessed, and how the cabinet prevents exhaust from returning to the projector intake.
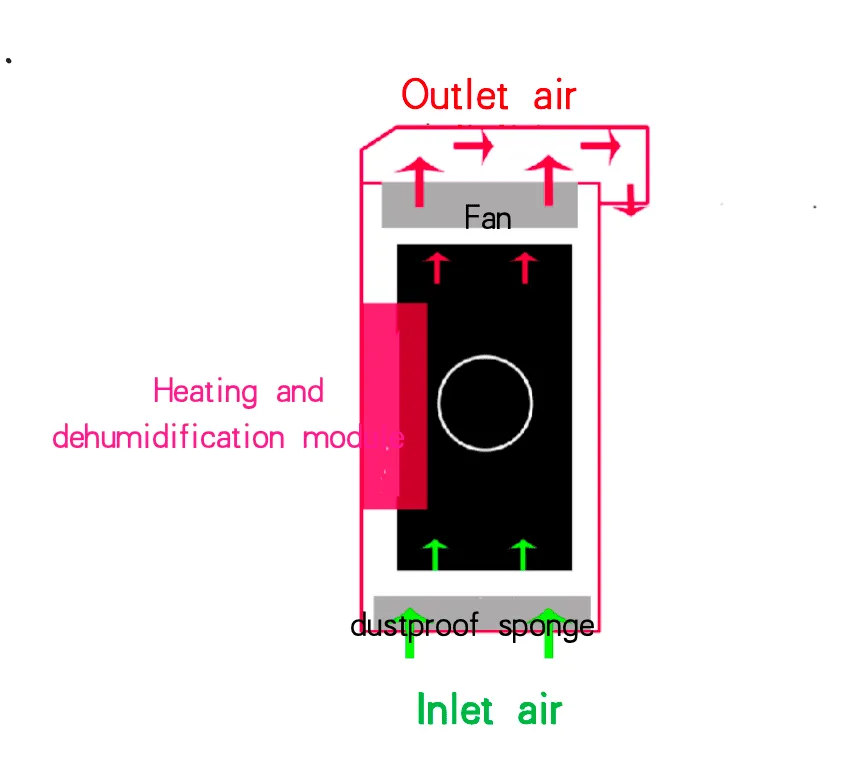
Intake, Exhaust, and the Enclosure Boundary
A projector is not simply “hot equipment inside a box.” It is a thermal system with a defined cooling path. The enclosure must support that path instead of fighting it. The first engineering step is to identify the projector air intake and exhaust from the official installation manual, service documentation, or manufacturer drawings.
Common projector airflow patterns include:
- Front intake and rear exhaust
- Rear intake and front exhaust
- Side intake and opposite-side exhaust
- Side intake and rear exhaust
- Bottom intake with top or side exhaust
- Multiple intake or multiple exhaust vent layouts
- Dual-projector and multi-projector airflow interaction
- Horizontal, vertical, upside-down, or angled installation orientations
For enclosure planning, these patterns affect:
- Enclosure length, width, and internal clearance
- Air inlet and outlet locations
- Projector enclosure fan placement
- Filter position and replacement access
- Internal baffles, partitions, and ducts
- Optical window position
- Cable routing and access-door layout
- Sensor placement for temperature and humidity monitoring
Based on our internal data and market analysis, here is the breakdown:
| Projector Airflow Pattern | Required Enclosure Response | Main Risk If Ignored |
|---|---|---|
| Front intake, rear exhaust | Fresh-air inlet near front; exhaust outlet behind projector | Exhaust heat trapped at rear |
| Rear intake, front exhaust | Rear inlet protection; front exhaust separation from optical window | Hot air crossing lens/window area |
| Side intake, opposite-side exhaust | Wide enclosure or side ducting | Short-circuit airflow across cabinet |
| Side intake, rear exhaust | Side fresh-air path plus rear exhaust extraction | Intake starvation near side wall |
| Bottom intake, top/side exhaust | Raised mounting and lower air plenum | Blocked intake under projector |
| Multiple vents | Model-specific duct and baffle layout | Uneven cooling through projector body |
| Dual or multi-projector | Separated intake and exhaust zones | One projector ingesting another’s exhaust |
ShiRui Pro Tip: I always ask for the exact projector model before drawing the enclosure. Two projectors with similar brightness can have completely different intake and exhaust layouts, so the cabinet cannot be designed from lumen output alone.
How Does projector airflow direction Work?
Projector airflow direction works by drawing cooler air through designated intake vents, passing it across heat-generating internal components, and expelling heated air through exhaust vents. In an enclosure, fans, filters, ducts, and baffles must reinforce this path so air moves through the projector, not merely around it.
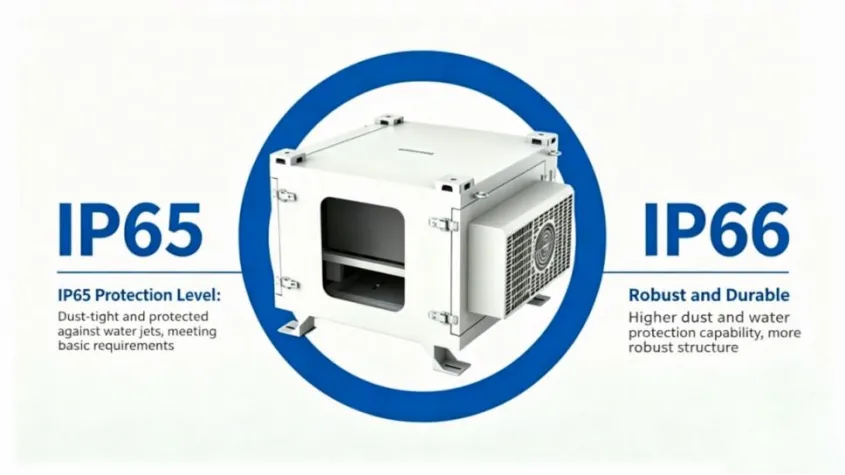
Designing the Enclosure Airflow Path
The projector enclosure airflow path should be treated as a controlled route: outside air enters, passes through filtration or conditioning, reaches the projector intake, exits through the projector exhaust, and then leaves the enclosure or returns to a cooling system in a controlled way.
A good process is:
- Confirm the projector model and official installation orientation.
- Mark all air intake and exhaust vents on a layout drawing.
- Check the manufacturer’s required clearance for that exact model.
- Place enclosure inlets near intake zones, not randomly on the cabinet.
- Place exhaust outlets or return-air paths near projector exhaust zones.
- Add baffles where needed to stop hot air recirculation.
- Ensure filters are accessible without removing the projector.
- Route cables away from major airflow paths.
- Position temperature sensors where they represent real intake or cabinet conditions.
- Verify that waterproofing and IP protection are maintained around ventilation interfaces.
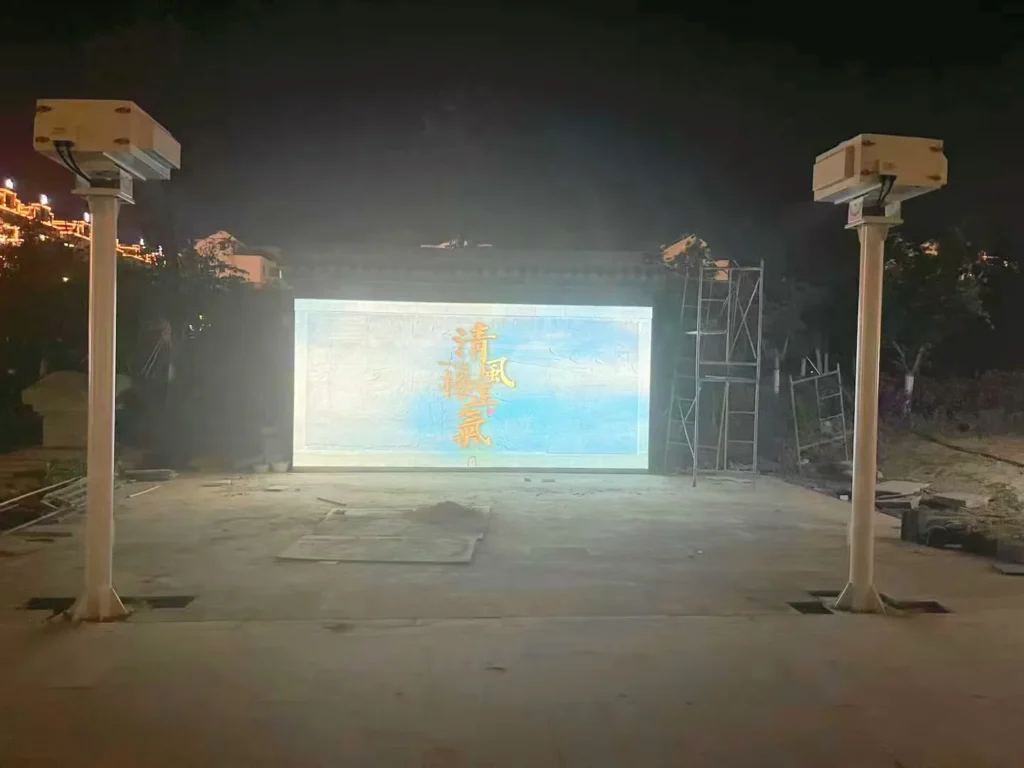
In ShiRui project references, airflow planning changed according to projector quantity, heat load, orientation, and site layout. Examples include a 4,800-lumen fan-cooled dual-projector ground-projection project in Shenzhen Longhua, a 6,000-lumen fan-cooled staircase-projection project in Xiamen, and a 20,000-lumen fan-cooled outdoor enclosure project at Fengqi Lake Sculpture Square in Zhejiang. These references demonstrate why the enclosure must be adapted to the projector arrangement rather than copied from a standard box.
ShiRui Pro Tip: I do not treat an enclosure fan as a “cooling fan” unless it moves air through the intended intake-to-exhaust path. A fan that only stirs hot air inside the cabinet can make the thermal problem harder to diagnose.
What is the 4 6 8 rule for projectors?
The 4 6 8 rule is commonly used as a quick planning concept for viewing distance, screen size, or room layout, depending on the context. It is not a projector ventilation rule. For enclosure design, official projector clearance, intake direction, exhaust direction, power consumption, and cooling architecture matter more.
Why Viewing Rules Cannot Replace Ventilation Engineering
AV teams sometimes use simple planning rules during early design, but airflow should never be finalized from a generalized rule of thumb. Projector ventilation design depends on the actual hardware, mounting orientation, site temperature, enclosure protection level, filtration resistance, and whether the system uses filtered fresh air or air conditioning.
A technical review should separate optical planning from thermal planning:
| Planning Topic | Useful Early Question | Engineering Limitation |
|---|---|---|
| Viewing distance | Is the image size practical? | Does not define cooling clearance |
| Projector brightness | Is the image bright enough? | Lumens alone do not determine heat load |
| Throw ratio | Can the projector form the image? | Does not locate intake or exhaust vents |
| Mounting position | Can the image align with the surface? | Orientation may change allowable ventilation clearances |
| Enclosure size | Will the projector fit physically? | Fit does not mean airflow is safe |
For airflow, always review power consumption and manufacturer cooling architecture. A higher-lumen projector does not automatically create a proportional heat load compared with another model, because light source type, optical engine, operating mode, and internal cooling design all influence the enclosure requirement.
ShiRui Pro Tip: I use simple projector rules only for early discussions. Before fabrication, I switch to the projector manual, datasheet, installation orientation, and enclosure airflow drawing.
What are common projector mistakes?
Common projector enclosure mistakes include copying a generic cabinet, blocking intake vents, exhausting hot air toward another intake, placing filters where they cannot be serviced, oversizing fans without considering resistance, and allowing waterproofing details to conflict with ventilation openings, cable entries, or maintenance doors.
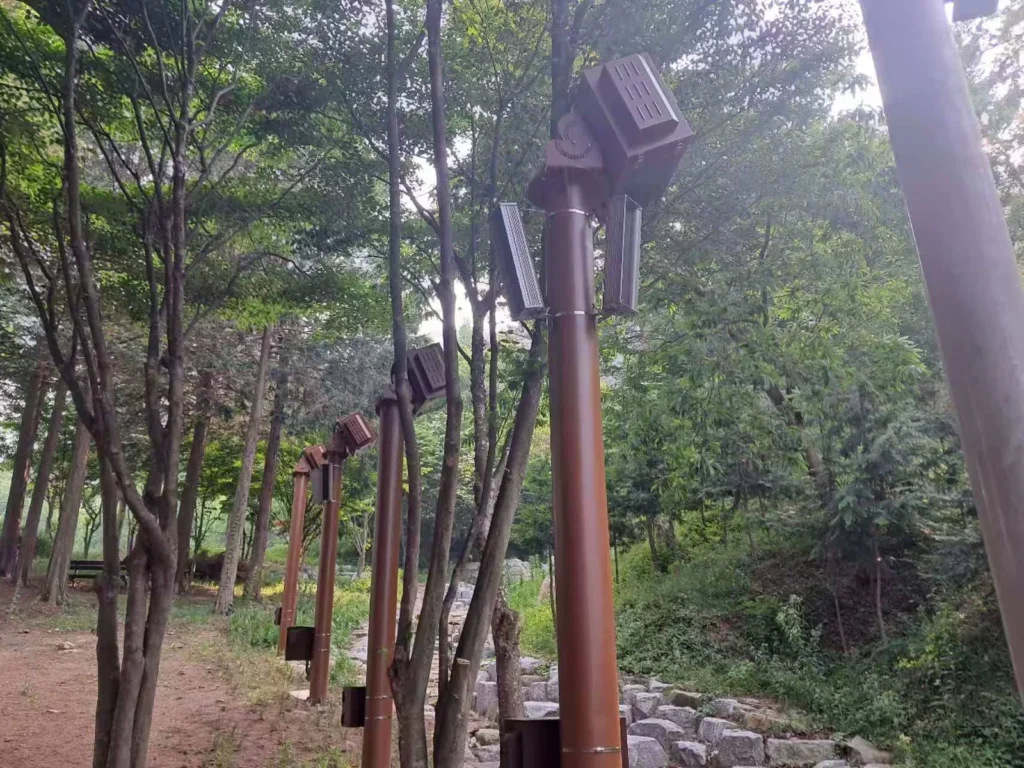
Mistakes That Create Hot Air Recirculation
Hot air recirculation is one of the most frequent enclosure failures. It happens when exhaust air does not leave the cabinet cleanly and instead returns to the same projector intake or flows into a neighboring projector.
Common mistakes include:
- Placing the exhaust fan on the wrong side of the projector
- Installing the projector too close to a side wall that contains an intake vent
- Using a flat internal layout with no baffles between intake and exhaust zones
- Treating all projector models as if they breathe in the same direction
- Putting dense filters on small vents without reviewing airflow resistance
- Locating an air-conditioning supply outlet directly at the lens or optical window
- Creating cable bundles that block intake airflow
- Positioning the maintenance door where filters cannot be replaced easily
- Ignoring humidity, condensation, and drainage around outdoor ventilation interfaces
Filtered fresh-air systems require special attention. A filter protects the projector from dust, but it also creates airflow resistance. Fan selection must account for the filter, louver, insect screen, duct geometry, and maintenance condition. Adding more fans does not always improve cooling; mismatched fans can create turbulence, pressure imbalance, noise, or reverse flow through unintended openings.
The ShiRui-12000 intelligent climate-controlled enclosure was tested according to GB/T 4208-2017. The report records no internal water ingress after the IPX5 water test and no internal dust after the IP6 dust test. This information is relevant because ventilation openings, filters, air-conditioning interfaces, cable entries, and maintenance doors must be coordinated with environmental protection. It should not be interpreted as a universal airflow or cooling-capacity test for every customized configuration.
ShiRui Pro Tip: When I inspect a problem enclosure, I look for smoke-path logic first: where does cool air enter, where does hot air leave, and what prevents the two from mixing?
Do projectors need to be straight?
Projectors do not always need to be installed perfectly straight, but they must be installed within the manufacturer’s approved orientation limits. Horizontal, vertical, upside-down, portrait, or angled mounting can change how intake vents, exhaust vents, filters, cable paths, and enclosure clearances are arranged.
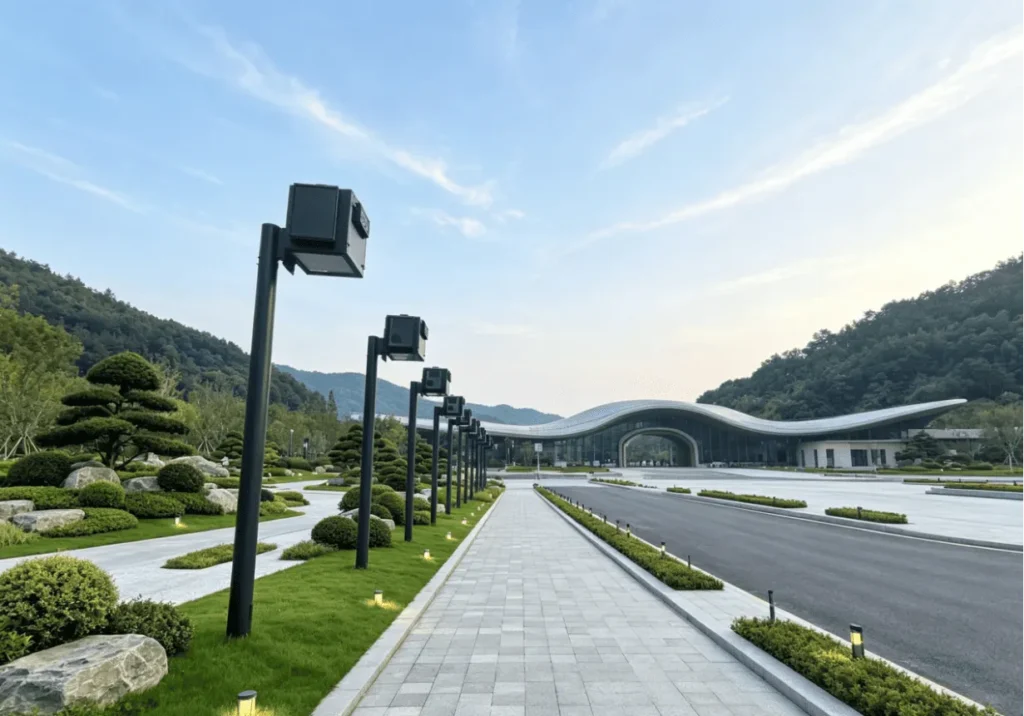
Orientation Changes the Cabinet, Not Just the Image
Projection contractors often focus on image alignment, keystone, lens shift, and mounting brackets. For outdoor projector enclosure airflow, the more important question is whether the chosen orientation is approved and how it changes the airflow path.
For example, a bottom-intake projector may need raised support rails or a lower plenum so the intake is not blocked. A side-intake projector mounted close to a wall may need additional enclosure width. A projector installed upside down may move filter access to a less convenient service side. An angled installation may affect drainage and waterproofing around ventilation hoods.
Design checks for non-standard orientation:
- Confirm approved orientation in the official manual.
- Re-map intake and exhaust locations after rotation.
- Check whether filters remain serviceable.
- Confirm that cable exits do not block intake or exhaust.
- Adjust optical window position and tilt clearance.
- Prevent air-conditioning supply air from creating cold spots on the lens or window.
- Place sensors where they measure meaningful intake or enclosure conditions.
- Maintain IP protection around vents and service openings.
ShiRui project configurations involving 6K, 14K single, dual, and triple arrangements, 25K, 30K, and 40K projectors show that orientation and internal layout must be reviewed case by case. A 25K five-position projection project, for example, requires airflow thinking around projector quantity, installation geometry, and service access rather than a one-size enclosure shell.
ShiRui Pro Tip: I never rotate a projector in the enclosure drawing until I confirm the manual allows that orientation. Mechanical fit is not enough; the projector must still breathe correctly.
Key Features & Comparison
A strong projector enclosure airflow design aligns cabinet geometry with the projector’s original intake and exhaust layout. The key features are separated air zones, correct fan direction, serviceable filters, protected ventilation interfaces, suitable sensor locations, and enough internal clearance based on the official projector manual.
Enclosure Responses by Airflow Pattern
Based on our internal data and market analysis, here is the breakdown:
| Projector Airflow Pattern | Required Enclosure Response | Main Risk If Ignored |
|---|---|---|
| Front intake and rear exhaust | Front fresh-air inlet, rear exhaust outlet, clear length for discharge | Rear heat pocket and recirculation |
| Rear intake and front exhaust | Rear filtered inlet, front exhaust path isolated from optical window | Heated air near lens or window |
| Side intake and opposite-side exhaust | Wider cabinet, side-to-side airflow separation, service access on intake side | Intake blockage or crossflow short circuit |
| Side intake and rear exhaust | Side inlet duct plus rear exhaust extraction | Hot rear air drifting back to side intake |
| Bottom intake and top or side exhaust | Raised projector base, lower plenum, unobstructed support structure | Intake starvation under projector |
| Multiple intake or exhaust vents | Model-specific baffles and distributed inlet/outlet design | Uneven internal cooling |
| Dual-projector layout | Separate intake zones and exhaust discharge paths | One unit feeding hot exhaust to another |
| Triple or multi-projector layout | Partitioned airflow, staged service access, coordinated sensors | Accumulated heat and difficult maintenance |
| Air-conditioned enclosure | Supply/return separated from optical path and exhaust zones | Cold spot, condensation, or poor return-air capture |
A practical single-projector enclosure usually needs the shortest clean path from outdoor air or conditioned air to the projector intake, and the shortest protected path from exhaust to discharge or return. Dual and multi-projector enclosures need more separation. The airflow path of one projector must not become the intake environment of another.
Baffles, partitions, and ducts are used to shape airflow, not to decorate the cabinet. They can isolate intake and exhaust zones, guide hot air to an outlet, protect the optical window from heat wash, and prevent cable areas from becoming accidental return-air channels.
ShiRui Pro Tip: In multi-projector cabinets, I draw each projector’s intake and exhaust arrows separately. If any exhaust arrow points toward another intake, the layout is not ready for production.
Cost & Buying Factors
The cost of an outdoor projector enclosure depends on projector model, quantity, airflow direction, heat load, cooling method, IP protection requirements, access design, material selection, optical window size, control system, and site conditions. The cheapest cabinet is rarely economical if it forces unsafe airflow or difficult maintenance.
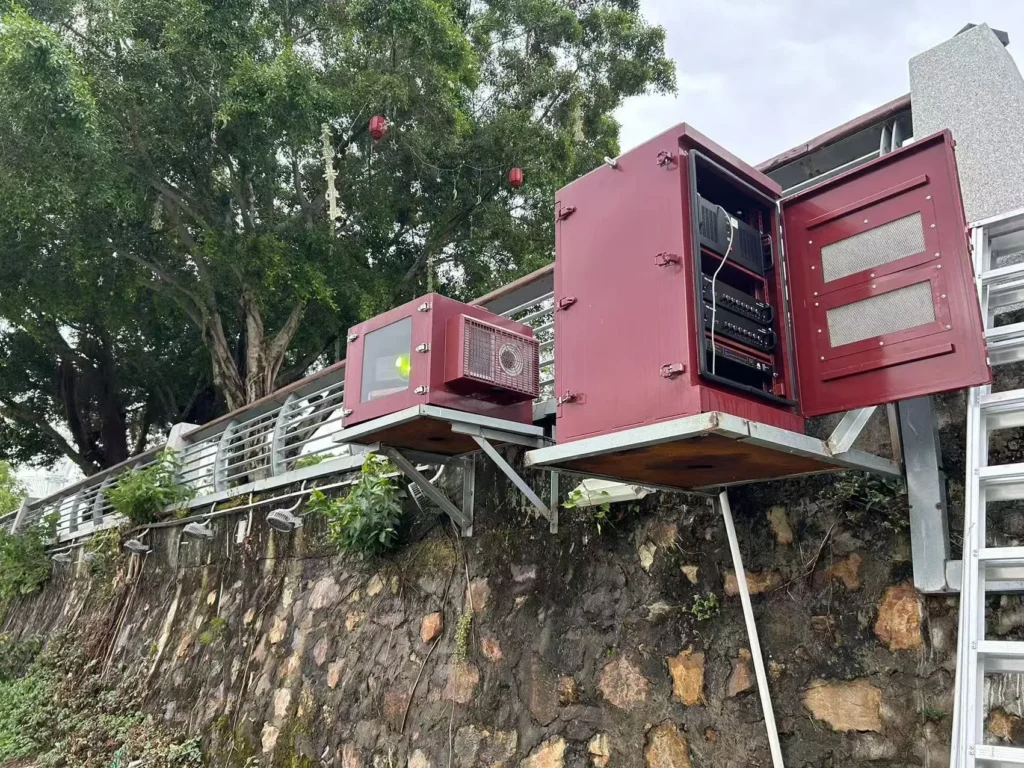
Pricing Guide for Airflow-Driven Enclosure Decisions
Based on our internal data and market analysis, here is the breakdown:
| Design Item | Information Required from Customer | Why It Matters |
|---|---|---|
| Projector brand and exact model | Datasheet and installation manual | Defines intake, exhaust, clearance, and orientation limits |
| Quantity | Single, dual, triple, or multi-projector | Determines airflow separation and enclosure size |
| Installation orientation | Horizontal, vertical, upside down, angled | Changes vent positions and service access |
| Site temperature and humidity | Seasonal range and operating schedule | Influences cooling method and sensor strategy |
| Mounting scene | Ground, wall, pole, rooftop, sculpture, staircase | Affects drainage, access, and ventilation exposure |
| Cooling method | Filtered fresh air or air-conditioned/closed-loop | Changes fan, filter, duct, and return-air layout |
| Environmental protection | IP requirement, rain exposure, dust exposure | Drives louver, seal, door, and cable-entry design |
| Maintenance access | Filter replacement side and service clearance | Prevents costly field disassembly |
| Optical requirements | Window size, angle, projection direction | Avoids conflict between airflow and image path |
| Cable routing | Power, signal, control, network paths | Prevents cable bundles from blocking airflow |
Filtered fresh-air cooling is often suitable when the site environment and projector requirements allow controlled intake and exhaust. Air conditioning or closed-loop enclosures may be selected when dust, humidity, heat, or environmental exposure requires more isolation. In air-conditioned layouts, supply air should not blow directly onto the lens or optical window, because cold spots and condensation risk must be considered. Return air should be located to capture heat effectively without pulling exhaust across sensitive zones.
ShiRui Pro Tip: For quotation accuracy, I ask customers for photos of the installation site as early as possible. A cabinet for a clean indoor-adjacent wall is not the same as one exposed to rain, dust, public access, and difficult maintenance height.
Conclusion
Projector airflow direction is one of the first design inputs for any custom enclosure. The enclosure must follow the projector’s original intake and exhaust path, prevent hot air recirculation, preserve service access, and coordinate cooling components with environmental protection, optical alignment, cable routing, and long-term maintenance.
Design Review Checklist and FAQs
Before approving an enclosure drawing, review the following:
- Exact projector brand and model confirmed
- Official installation manual reviewed
- Intake and exhaust vents marked on the enclosure layout
- Manufacturer clearance requirements followed for that model
- Fresh-air inlet aligned with intake zone
- Exhaust outlet or return path aligned with exhaust zone
- Hot air recirculation blocked by layout, baffles, or ducts
- Filter resistance considered in fan selection
- Filters accessible for replacement
- Cable routing kept away from airflow paths
- Optical window separated from heat discharge and cold supply air
- Temperature and humidity sensors placed in meaningful locations
- Ventilation interfaces coordinated with waterproofing and dust protection
- Maintenance doors, seals, and cable entries reviewed for IP goals
- Multi-projector exhaust paths separated from neighboring intakes
FAQs
How do I identify projector intake and exhaust vents?
Start with the official installation manual. Then verify the physical vents, labels, filter covers, and airflow diagrams. Do not assume that the largest grille is always the exhaust.
Can I use the same enclosure for different projector models?
Only after checking each model’s intake, exhaust, clearance, orientation, dimensions, and heat-related requirements. Similar brightness does not mean similar airflow.
Does adding more fans always improve projector cooling?
No. Fans must move air through the intended path. Extra fans can create turbulence, pressure imbalance, or recirculation if they are not matched to filters, ducts, and openings.
Where should filters be placed?
Filters should normally protect the fresh-air intake path and remain accessible for maintenance. Their airflow resistance must be included in fan and vent sizing decisions.
How are dual-projector enclosures different?
Dual enclosures must prevent one projector’s exhaust from entering the other projector’s intake. Separation, baffles, and outlet direction become more important than in a single-projector cabinet.
Can air conditioning solve all airflow problems?
No. Air-conditioned enclosures still need correct supply and return placement. Supply air should not create a cold spot on the lens or optical window, and return air must capture heat effectively.
What should I send for an enclosure review?
Send your projector brand, exact model, datasheet, installation orientation, quantity, site temperature, and photos to receive an airflow and enclosure layout review.
ShiRui Pro Tip: If you want a reliable enclosure, start the discussion with airflow arrows, not cabinet dimensions. Once the intake and exhaust path is correct, the enclosure structure becomes much easier to engineer.