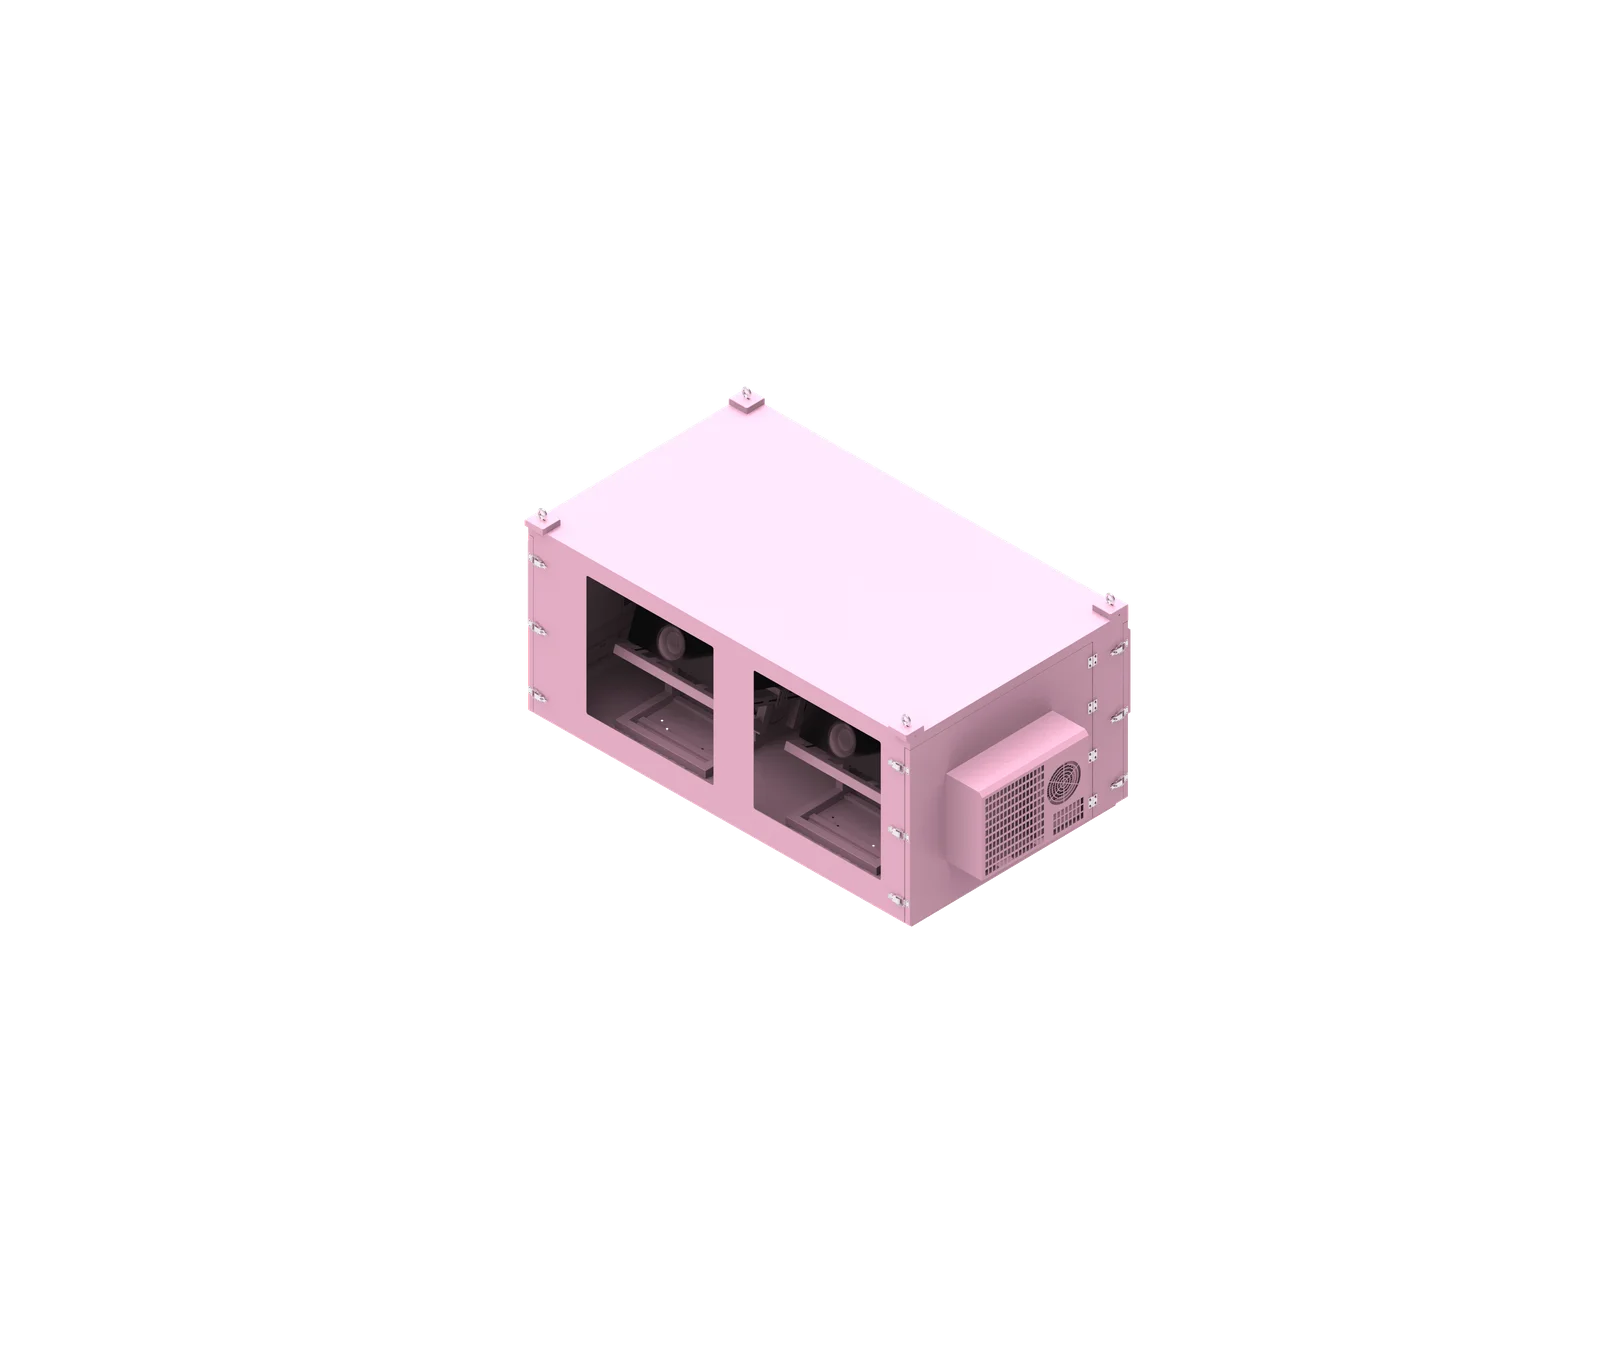
Side-air-intake projectors change enclosure engineering because one side of the projector is an active cooling interface, not empty cabinet space. A reliable side air intake projector enclosure must protect the equipment outdoors while preserving the projector’s original airflow path. That means intake clearance, cool-air delivery, exhaust separation, cable routing, cooling equipment placement, and maintenance access must all be designed around the exact projector model.
Video Guide: See how an outdoor enclosure for projector applications can be integrated into professional projection projects. This video presents the enclosure structure and shows how a dedicated housing solution can accommodate projector equipment across permanent outdoor installations and different project environments..
What is side air intake projector enclosure?
A side air intake projector enclosure is a protective cabinet designed for a projector that draws cooling air through one side of its body. Unlike a basic box, it must keep that intake side clear, deliver cooler air to it, and prevent hot exhaust from returning into the projector’s cooling path.
Video Guide: Take a closer look at an outdoor enclosure for projector applications designed for professional projection projects. This video presents the housing structure and shows how a purpose-built enclosure can support projector equipment across permanent outdoor installations and different project environments.
Why the Intake Side Defines the Cabinet Layout
A side-air-intake projector enclosure is not simply an oversized weatherproof shell. The enclosure must respect the projector’s factory cooling architecture. If the intake side is blocked by a wall, bracket, cable bundle, electrical panel, or poorly positioned cooling component, the projector may receive less cooling air even if the enclosure has fans or air conditioning.
The correct design starts with the projector’s technical documentation, not visual assumptions. Professional projectors may intake air from the left side, right side, both sides, or through a combination of side, front, and bottom openings.
Key information to confirm before enclosure design includes:
- Exact projector brand and model
- Side air intake location
- Intake opening size and position
- Exhaust location and direction
- Manufacturer ventilation clearance requirements
- Projector dimensions and power consumption
- Lens model and installation orientation
- Outdoor ambient conditions
- Required protection level
- Maintenance and access requirements
ShiRui Pro Tip: We always treat the intake side as part of the projector’s cooling system. If that side is crowded or difficult to access, the enclosure may look correct from the outside but fail thermally in real operation.
How Does side air intake projector enclosure Work?
It works by creating a controlled airflow path: cooler or filtered air reaches the projector’s side intake, passes through the projector’s internal cooling system, and hot exhaust is removed from the enclosure. The design must separate intake and exhaust zones so heated air does not recirculate back into the projector.
Video Guide: Discover how an outdoor enclosure for projector applications provides a dedicated housing solution for professional projection equipment. This video introduces the enclosure structure and its role in supporting projector protection across permanent outdoor installations and project-specific applications.
Controlled Airflow Path Around the Projector
The core principle is simple: the enclosure should assist the projector’s original airflow design. It should not force air against the projector’s intended direction or allow hot air to accumulate near the intake.
A practical airflow concept may look like this:
- Filtered or conditioned air enters the enclosure.
- Cooler air is guided toward the projector’s side intake zone.
- The projector pulls air through its own internal cooling path.
- Hot air exits through the projector exhaust.
- The enclosure removes that hot air through an exhaust fan, return-air path, or cooling-system return.
- The intake side remains protected from hot-air recirculation.
For fan-cooled enclosures, fan direction and location must be selected to support the projector’s airflow. For air-conditioned enclosures, supply air should reach the intake zone, and return air should collect warmer air after it passes through the projector area. Installing an air conditioner does not automatically solve airflow problems if supply and return air short-circuit without cooling the projector.
ShiRui Pro Tip: I prefer to map the air path on paper before positioning fans, AC units, filters, rails, and cable glands. If the airflow path cannot be explained clearly, it usually cannot be built reliably.
Can you put a projector on the side?
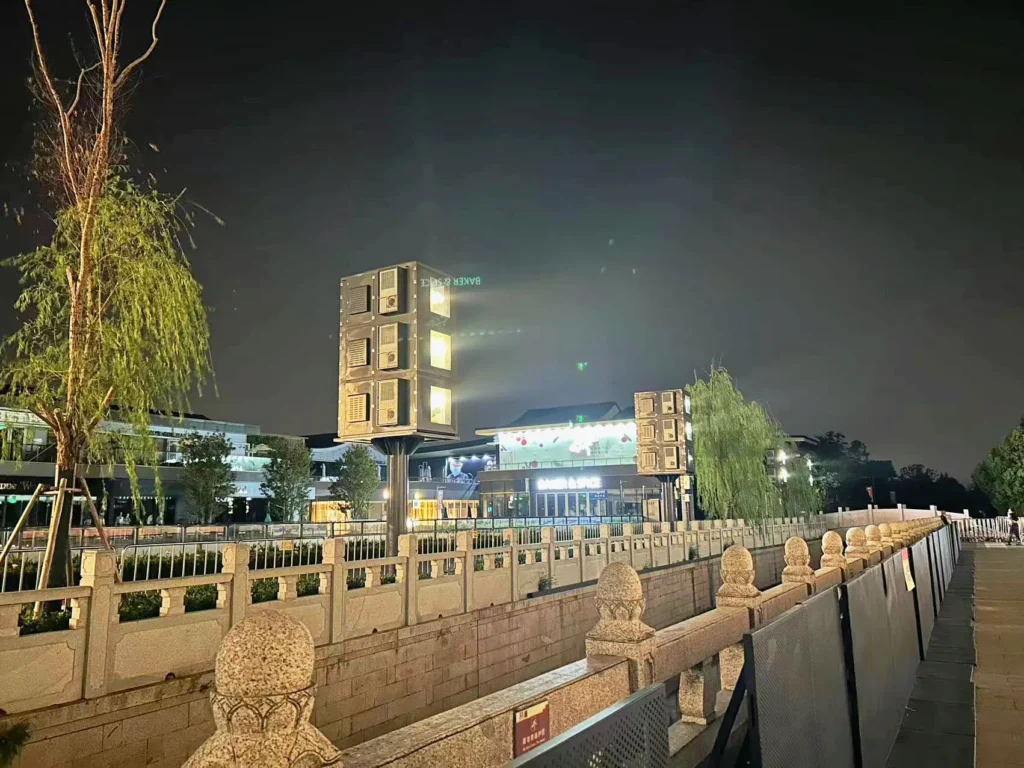
A projector should only be placed on its side if the manufacturer allows that orientation for the exact model. For side-air-intake projectors, side placement can block ventilation, change heat behavior, interfere with lens geometry, or affect service access, so enclosure design must follow the projector manual and installation rules.
Orientation Must Follow Manufacturer Limits
Some projectors support multiple mounting orientations, while others are designed for specific positions only. Rotating a projector onto its side can change how air enters the intake, how heat rises inside the enclosure, and whether exhaust air separates properly from intake air.
Before placing a projector on its side, check:
- Approved installation orientations in the manufacturer documentation
- Whether the side intake would face a wall, shelf, panel, or door
- Whether exhaust air could rise into the intake area
- Whether the lens shift and keystone range can support the image position
- Whether filters, connectors, and service panels remain accessible
- Whether mounting rails or brackets interfere with ventilation
- Whether the installation changes dust or rain exposure risks
For outdoor projector enclosure airflow, orientation is especially important because weather protection and airflow often compete for the same physical space. A vent, louver, duct, or AC supply may protect against rain but still fail if it does not deliver usable air to the intake side.
ShiRui Pro Tip: I never approve a rotated projector layout based only on whether the projector physically fits. The first question is always whether the projector manufacturer permits that orientation and whether the intake side still receives clean, cooler air.
Does a projector need to be perfectly centered?
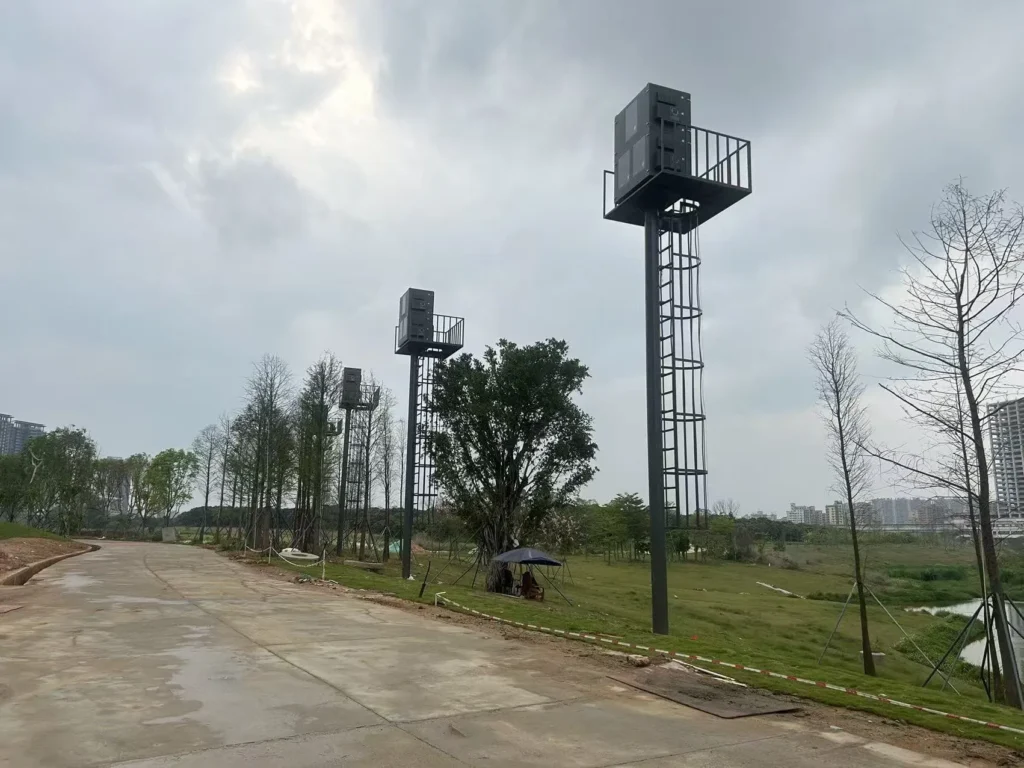
A projector does not always need to be perfectly centered, but its position must stay within the projector’s optical and mechanical adjustment limits. In an enclosure, off-center placement must also preserve side intake clearance, exhaust separation, cable routing, and maintenance access, not just image alignment.
Centering Is Optical and Thermal
Projector alignment is usually managed through physical positioning, lens shift, throw distance, and limited image correction tools. However, in a side air intake projector enclosure, placement cannot be decided by optics alone.
Moving the projector left or right inside the enclosure may help image alignment, but it can reduce intake-side clearance or push the exhaust too close to a wall. It may also force cables across the intake zone or make filters difficult to service.
Based on our internal data and market analysis, here is the breakdown:
| Placement Factor | Optical Concern | Enclosure Airflow Concern |
|---|---|---|
| Horizontal offset | Image may shift from screen center | Intake side may become crowded |
| Lens shift use | Must stay within projector limits | May require repositioning internal supports |
| Keystone correction | Can reduce image quality if overused | Does not solve ventilation problems |
| Cable location | Must reach signal and power ports | Cable bundles must not cover intake |
| Mounting position | Must hold projector securely | Brackets must not block airflow |
| Service access | Lens and controls need access | Intake, filters, and connectors need access |
The best position is the one that satisfies both projection geometry and cooling requirements. A projector enclosure airflow design should be coordinated with lens selection, mounting method, intake location, and exhaust direction.
ShiRui Pro Tip: When a customer asks for an off-center projector, I check lens shift first and airflow second. If either one fails, the enclosure layout needs to change before fabrication.
How to fix an uneven projector screen?
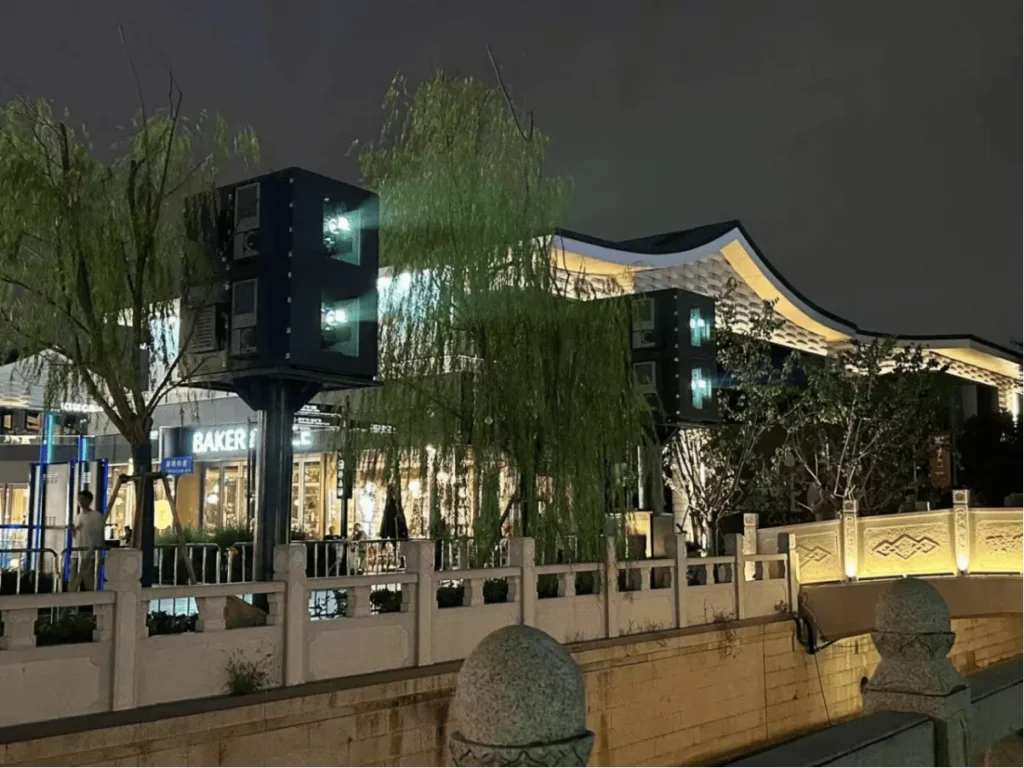
An uneven projector screen is usually corrected by checking the projector’s physical level, screen geometry, lens alignment, throw position, and approved optical adjustments. In an enclosure, corrections should not involve moving the projector so close to a side wall that the air intake becomes restricted.
Correct the Image Without Sacrificing Cooling
Uneven images often come from a projector that is tilted, off-axis, mounted at the wrong height, or aimed at a screen that is not flat or square. While digital correction can help in some cases, physical alignment is usually the first step.
A practical troubleshooting process is:
- Confirm the screen or projection surface is flat, square, and properly tensioned.
- Check that the projector mount or shelf is level and stable.
- Verify the projector is aimed according to the manufacturer’s throw and lens guidelines.
- Use lens shift where available before relying on digital keystone.
- Adjust enclosure mounting rails only if airflow clearance remains acceptable.
- Confirm cables, brackets, or service loops do not move into the intake zone after repositioning.
- Recheck image alignment and projector intake temperature after the adjustment.
For a custom projector enclosure, image correction and ventilation cannot be separated. A small shift in projector position may improve the image but create hot-air recirculation, block a side intake, or shorten maintenance access space.
ShiRui Pro Tip: I always recheck airflow after alignment work. A projector can look perfectly aligned on the screen while its intake side is quietly being blocked by a cable loop or bracket.
Key Features & Comparison
The best side air intake projector enclosure protects the projector while preserving the full cooling path from intake to exhaust. Key features include clear side intake space, directed cool-air delivery, separated hot-air removal, organized cable routing, accessible filters, service-friendly doors, and verified airflow after assembly.
Video Guide: Discover a waterproof projector enclosure designed for professional outdoor projection systems. The video introduces the housing design and its application in protecting projector equipment across permanent outdoor installations and demanding project environments.
Design Features That Matter Most
A strong enclosure body is only one part of the design. For a side-air-intake projector, the critical question is whether the enclosure supports the projector’s thermal behavior under real operating conditions.
Based on our internal data and market analysis, here is the breakdown:
| Design Item | Poor Design | Better Approach |
|---|---|---|
| Side clearance | Wall close to intake | Clear intake zone |
| Cable routing | Cables across intake | Routed away from intake |
| Cooling air | Random circulation | Directed toward intake |
| Exhaust | Mixes with intake air | Separate hot-air path |
| AC airflow | Supply returns directly | Passes through projector zone |
| Mounting bracket | Blocks intake | Keeps airflow clear |
| Maintenance | Intake inaccessible | Service access planned |
| Testing | Only checks fans | Verifies intake temp and airflow |
A good projector cooling enclosure is designed around the complete intake-to-exhaust path. This includes filter placement, pressure drop, dust loading, cooling system location, return-air position, and future maintenance.
Common mistakes include:
- Sizing the enclosure only from projector body dimensions
- Placing the side wall too close to the intake
- Installing electrical panels in front of the intake
- Allowing hot exhaust to return to the intake side
- Pointing fans against the projector’s internal airflow
- Letting AC supply air short-circuit directly to return air
- Ignoring cable bend radius and service loops
- Forgetting maintenance access to filters and connectors
ShiRui Pro Tip: In our enclosure reviews, I look for the invisible problem first: where the hot air goes after leaving the projector. If that path is unclear, the intake side is at risk.
Cost & Buying Factors
The cost of a side air intake projector enclosure depends on the projector model, enclosure size, cooling method, outdoor protection level, material, access doors, filtration, installation environment, and operating conditions. Accurate pricing requires airflow data, thermal requirements, and site information, not just projector length, width, and height.
Video Guide: See how a waterproof projector enclosure provides a dedicated housing solution for professional projection equipment. This video presents the enclosure design and its role in supporting projector protection across permanent outdoor installations and demanding project environments.
What Buyers Should Prepare Before Quotation
A custom projector enclosure cannot be priced accurately from a generic projector category. Side intake location, exhaust direction, operating environment, and cooling architecture all affect the final design.
Buyers should provide:
- Projector brand
- Exact projector model
- Projector manual or datasheet
- Projector dimensions
- Projector power consumption
- Intake location
- Exhaust location
- Manufacturer-required ventilation clearance
- Lens model
- Project location
- Maximum and minimum ambient temperature
- Daily operating hours
- Installation method
- Required protection level
- Quantity of projectors
- Whether the enclosure is fan-cooled, filtered, air-conditioned, or otherwise conditioned
A practical engineering workflow is:
- Confirm the exact projector model.
- Identify the side intake.
- Identify the exhaust location.
- Map the projector airflow path.
- Determine required intake clearance from manufacturer guidance and analysis.
- Evaluate thermal load and site conditions.
- Choose the cooling architecture.
- Design the cool-air supply path.
- Design the hot-air removal path.
- Position cooling components, filters, and return paths.
- Plan cable routing and mounting structure.
- Design maintenance access.
- Finalize enclosure dimensions.
- Assemble and verify airflow and temperatures.
ShiRui Pro Tip: When we quote a ShiRui custom projector enclosure, the model number is more important than the projector brightness rating. Brightness does not tell us where the intake is, where exhaust exits, or how the enclosure should breathe.
Conclusion
A side-air-intake projector changes enclosure design because the side of the projector is part of the cooling system. Reliable outdoor protection requires clear intake space, suitable cool-air delivery, separated hot-air removal, clean cable routing, accessible maintenance zones, and verification after assembly.
Video Guide: Explore a projector enclosure outdoor solution designed around professional projection equipment and project requirements. This video presents the enclosure structure and shows how housing size, layout, and installation configuration can be adapted for different outdoor projection applications.
Final Engineering Takeaway
For side-air-intake professional projectors, enclosure design should begin with the exact airflow configuration of the projector. The enclosure must be designed around how the projector breathes, not only around how much physical room the projector body occupies.
The most important design priorities are:
- Keep the intake side open and unobstructed.
- Deliver cooler or filtered air to the side intake zone.
- Prevent hot exhaust from returning to the intake.
- Coordinate fans, filters, AC supply, and AC return paths.
- Route cables away from ventilation openings.
- Keep mounting rails and brackets clear of airflow paths.
- Plan maintenance access before fabrication.
- Verify real airflow and temperatures after assembly.
ShiRui designs custom projector enclosure ventilation around the actual projector model, site conditions, and required protection level. For a dependable outdoor projector enclosure airflow solution, provide the projector datasheet, installation details, and environmental requirements before enclosure design begins.
ShiRui Pro Tip: My final check is simple: can the projector receive clean, cooler air at its designed intake, and can hot exhaust leave without returning? If the answer is not clearly yes, the enclosure design is not finished.