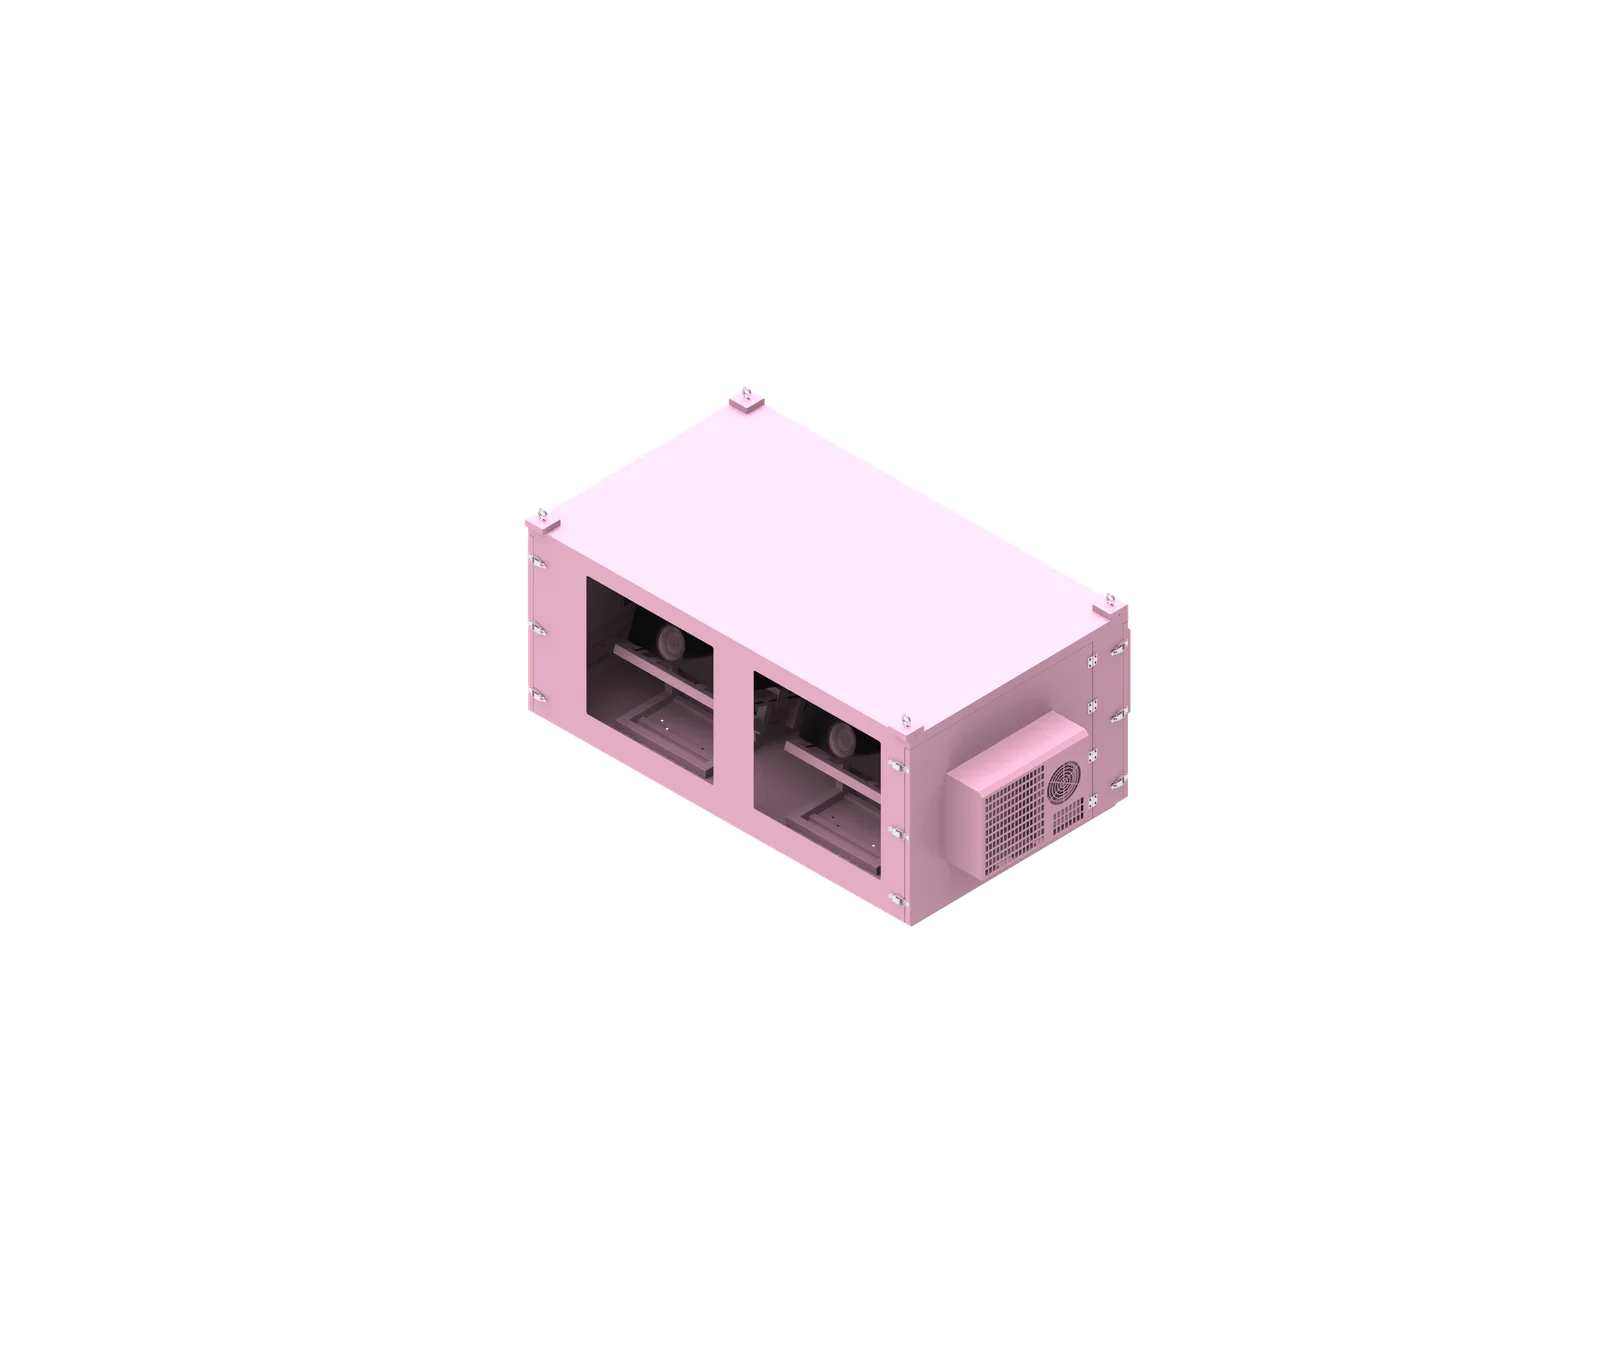
Correct optical-window alignment begins before the outdoor projector enclosure is fabricated. The projector enclosure optical window must be positioned around the complete projected light path, not just the visible lens diameter. For accurate projector lens alignment, ShiRui evaluates the exact projector model, lens model, lens center coordinates, lens shift range, projection angle, mounting structure, waterproof sealing, and installation adjustment needs together.
What is projector enclosure optical window?
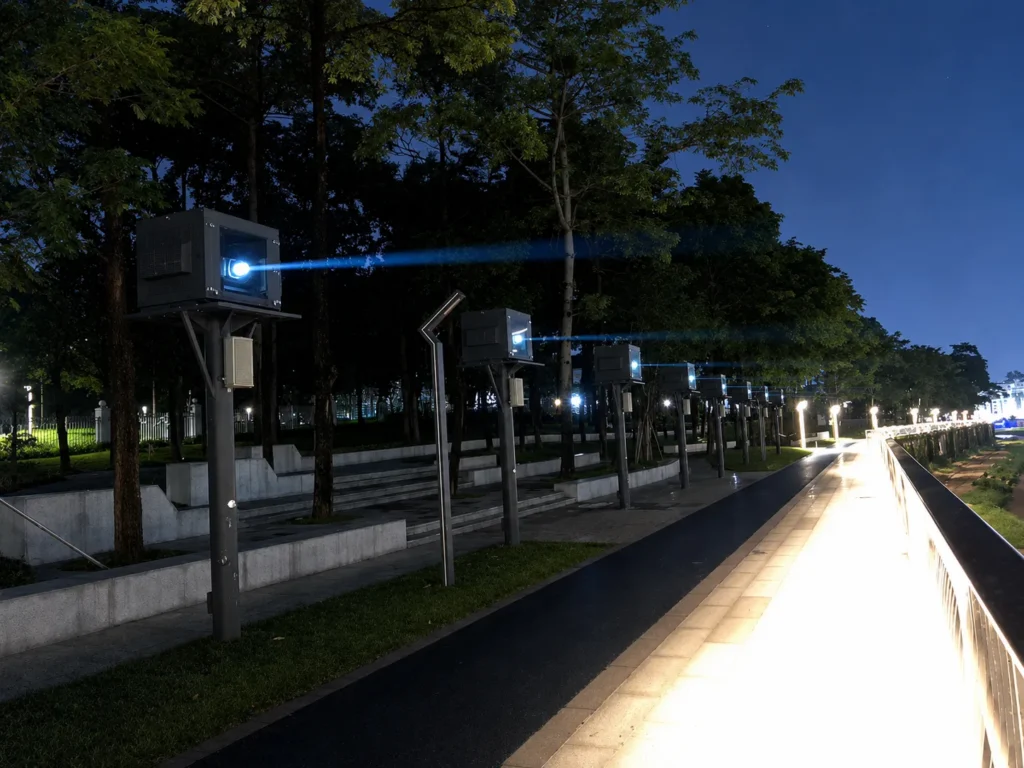
A projector enclosure optical window is the transparent protective panel that allows the projected image to pass through the enclosure while protecting the projector from rain, dust, wind, and outdoor exposure. It must provide sufficient clear aperture for the full projected light path, not only the physical lens opening.
Functional Role in an Outdoor Projector Enclosure
The projector enclosure lens window is both an optical component and an environmental protection component. It must allow light to exit with minimal obstruction while helping the enclosure maintain sealing, durability, and long-term outdoor reliability.
A common design mistake is assuming the window only needs to be slightly larger than the lens diameter. In practice, the projected beam may move because of lens shift, projector angle adjustment, internal mounting position, or different lens options used on the same projector body.
Key elements of a proper projector enclosure optical window include:
- Optical glass or suitable transparent material with high clarity for projection use.
- Clear aperture large enough for the complete projected light path.
- Frame and gasket design that does not intrude into the usable beam area.
- Waterproof sealing around the glass and retaining structure.
- Mechanical strength for outdoor wind, vibration, and long-term exposure.
- Compatibility with the projector and lens model, not only the projector body size.
- Allowance for lens shift and installation adjustment during final calibration.
The effective optical opening is not the same as the outside glass size. The metal frame, retaining frame, gasket, sealant, and edge protection can reduce the actual clear area. For this reason, ShiRui designs the window around the beam path after assembly, not only around the external panel drawing.
ShiRui Pro Tip: I always check the clear aperture after the frame, gasket, and glass retainer are included. A window can look large on the outside but still block the image if the internal frame enters the optical path.
How Does projector enclosure optical window Work?
The optical window works by creating a sealed, transparent exit path for the projector beam while separating the projector from the outdoor environment. Its position, size, and angle must match the lens center, lens shift range, projection direction, and projector mounting position to avoid clipping, reflections, or vignetting.
Light Path, Sealing, and Mechanical Coordination
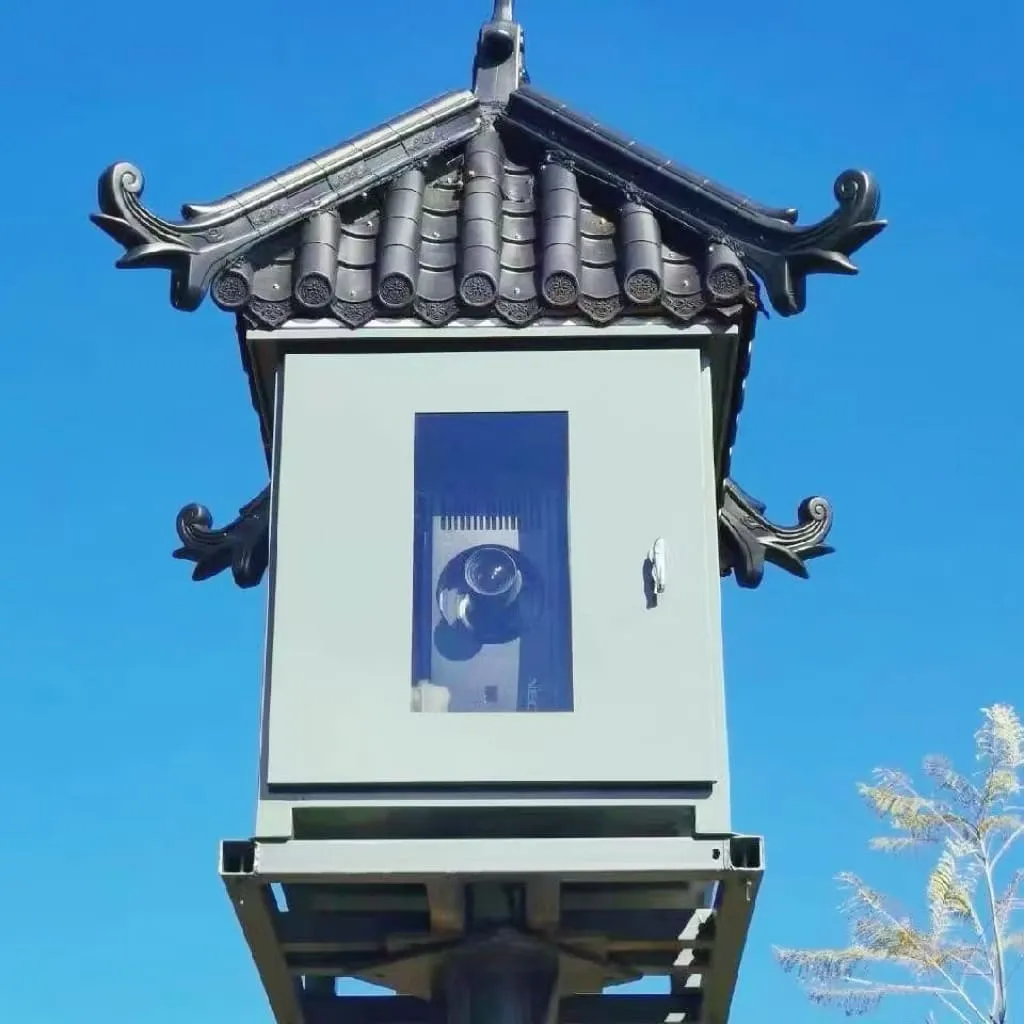
A projector enclosure optical window is not an independent accessory. It must be coordinated with the internal mounting bracket, projector position, lens center, airflow path, maintenance clearance, and waterproof structure.
The design logic should follow the actual optical path:
- Confirm the exact projector brand and model.
- Confirm the exact lens model.
- Identify the lens center relative to fixed projector reference surfaces.
- Confirm horizontal and vertical lens shift requirements.
- Confirm projector mounting orientation and projection angle.
- Determine the distance between the lens and optical window.
- Calculate the required clear aperture.
- Check that the frame, gasket, and retaining structure do not block the beam.
- Coordinate the optical window with the internal mounting bracket.
- Verify alignment before production and again during installation.
The distance between the lens and optical window is also important. A greater spacing may require a larger clear opening depending on the projection geometry and lens characteristics. There is no universal minimum distance that fits every projector. The correct spacing depends on the projector, lens, airflow design, installation access, and maintenance requirements.
Reflections should also be considered. In some configurations, light can reflect between the projector lens and protective glass. The glass orientation, lens-to-glass distance, projection angle, and external lighting conditions should be reviewed as part of the optical design rather than applying one fixed angle to every enclosure.
ShiRui Pro Tip: I do not approve an enclosure drawing by checking the lens center alone. I check the light cone through the window across the required adjustment range, because that is where hidden interference usually appears.
How do I fix my projector screen alignment?
To fix projector screen alignment inside an outdoor projector enclosure, first confirm whether the issue comes from projector position, lens shift, projector angle, or optical window obstruction. Adjust the projector mechanically and optically while checking that the projected beam remains fully clear of the window frame and gasket.
Practical Alignment Procedure for Enclosed Projectors
Screen alignment problems are not always caused by the projector settings. In an enclosure, the optical window can limit the usable adjustment range if it was not designed correctly. A projector may appear centered behind the window, but the image can still clip at the edge when lens shift or angle adjustment is used.
Use this field-check process:
- Start with mechanical position
Confirm that the projector is seated correctly on the internal mounting plate and that the bracket has not shifted during transport or installation. - Check lens center versus window center
Compare the actual lens center with the optical window center using the same reference system used in the enclosure drawing. - Set projector angle carefully
Adjust pitch, yaw, and roll only as required. Excessive angle correction can push the beam toward one side of the projector enclosure lens window. - Use lens shift before digital correction where appropriate
Lens shift changes the light path physically, while keystone correction digitally reshapes the image. The window must allow the lens-shifted beam to pass freely. - Inspect image edges
Look for dark corners, clipped edges, uneven brightness, or restricted movement during adjustment. - Check the frame and gasket
Confirm that the metal frame, sealing gasket, or retaining structure is not entering the optical path. - Verify at the final operating position
Alignment should be checked after the enclosure is mounted on the pole, rooftop, wall bracket, truss, or platform.
Based on our internal data and market analysis, here is the breakdown:
| Alignment Symptom | Likely Cause | What to Check |
|---|---|---|
| Image edge is clipped | Window clear aperture too small or shifted | Lens shift range, window position, frame obstruction |
| Dark corner appears | Beam partly blocked | Gasket, retaining frame, projector angle |
| Image cannot move far enough | Limited lens shift clearance | Window size and mounting position |
| Image is trapezoidal | Projector angle is not square to screen | Mechanical angle before keystone |
| Alignment changes after installation | Bracket or enclosure position moved | Mounting hardware and internal projector plate |
| Image is clear without glass but poor with glass | Reflection or glass quality issue | Glass type, orientation, cleanliness |
ShiRui Pro Tip: When troubleshooting, I always separate three things: moving the projector, using lens shift, and changing projector angle. Each one moves the projected light path differently, so each one affects the optical window differently.
Can you use a projector on a window?
You can project through an enclosure window only when the window is designed as an optical exit path for projection. A normal building window or poorly positioned protective panel may cause reflections, brightness loss, image distortion, condensation issues, or beam obstruction, especially in outdoor projector enclosure applications.
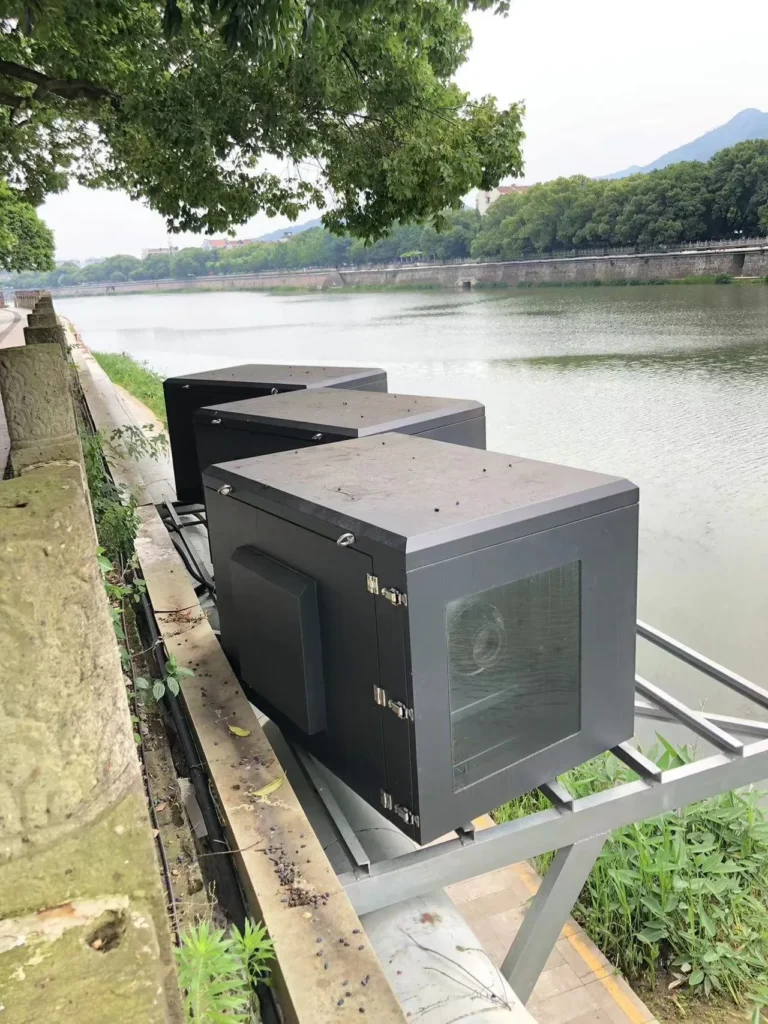
Projection Glass Versus Ordinary Window Glass
A projector can send light through glass, but not every glass panel is suitable for projection. The optical window in an outdoor projector enclosure should be selected and positioned for image clarity, weather protection, and beam clearance.
Important glass-related considerations include:
- Optical clarity to reduce visible distortion.
- Surface flatness to help maintain image quality.
- Reflection control to reduce unwanted internal glare.
- Mechanical strength for outdoor exposure.
- Outdoor durability against temperature change, moisture, and UV exposure.
- Sealing compatibility with gaskets, frames, and enclosure structure.
- Condensation control so the window remains clear during operation.
Waterproofing alone does not guarantee a clear optical window. Outdoor temperature and humidity changes can cause fogging if internal airflow, temperature control, and condensation management are not handled correctly.
The window should also avoid direct contact with the projector lens. Clearance is needed for lens movement, lens replacement, projector installation, maintenance, thermal expansion, and adjustment. The exact clearance should be determined by the actual projector and lens configuration rather than a universal fixed value.
Based on our internal data and market analysis, here is the breakdown:
| Glass or Window Type | Suitability for Projection Enclosure | Main Concern |
|---|---|---|
| Ordinary building window | Usually not ideal | Reflections, distortion, unknown optical quality |
| Basic protective clear panel | Project-dependent | May protect but still obstruct or reflect |
| Optical projection window | Preferred for engineered enclosures | Must be sized and sealed correctly |
| Anti-reflective optical glass | Useful in some configurations | Should be selected based on actual optical design |
| Poorly sealed glass panel | Not suitable outdoors | Water ingress, fogging, long-term failure |
ShiRui Pro Tip: I never treat the optical window as ordinary glass. It is part of the optical system and the waterproof system at the same time, so both image quality and sealing must be reviewed together.
Does a projector need to be perfectly centered?
A projector does not always need to be perfectly centered with the screen, but the projector lens and optical window must be aligned with the actual light path. Many professional projectors use lens shift or off-center lenses, so cabinet-center alignment can still produce optical-window misalignment.
Lens Center Is Not Always Cabinet Center
Many professional projectors do not have the lens located at the geometric center of the projector body. The lens may be offset horizontally or vertically, and different lenses on the same projector may have different physical dimensions or projection characteristics.
For projector lens alignment, the correct reference is not the cabinet center. The correct reference is the actual lens center relative to fixed projector surfaces and the actual projected beam path during operation.
Useful reference dimensions include:
- Distance from lens center to projector left or right side.
- Distance from lens center to projector top or bottom surface.
- Distance from the projector front face to the lens projection point.
- Lens diameter and lens barrel envelope.
- Lens projection direction.
- Horizontal and vertical lens shift range.
- Projector mounting orientation.
- Projector adjustment range on the internal bracket.
The same coordinate system should be used for the projector mounting plate and the optical window. If the internal mounting bracket changes projector height or horizontal position, the lens-to-window relationship also changes.
A good design sequence is:
Projector mounting position → lens center → lens shift range → projection angle → optical window position → clear aperture → assembly verification
This prevents the window, bracket, and projector from being designed independently.
ShiRui Pro Tip: If a customer gives me only the projector body size, I still ask for the lens model and lens center data. The enclosure should follow the lens and light path, not the outside shape of the projector.
Why Lens Shift Matters When Sizing the Optical Window
Lens shift is critical because it moves the projected light path even when the projector body does not move. A window that aligns perfectly with the lens at zero shift may still block the image when vertical or horizontal lens shift is used during real installation.
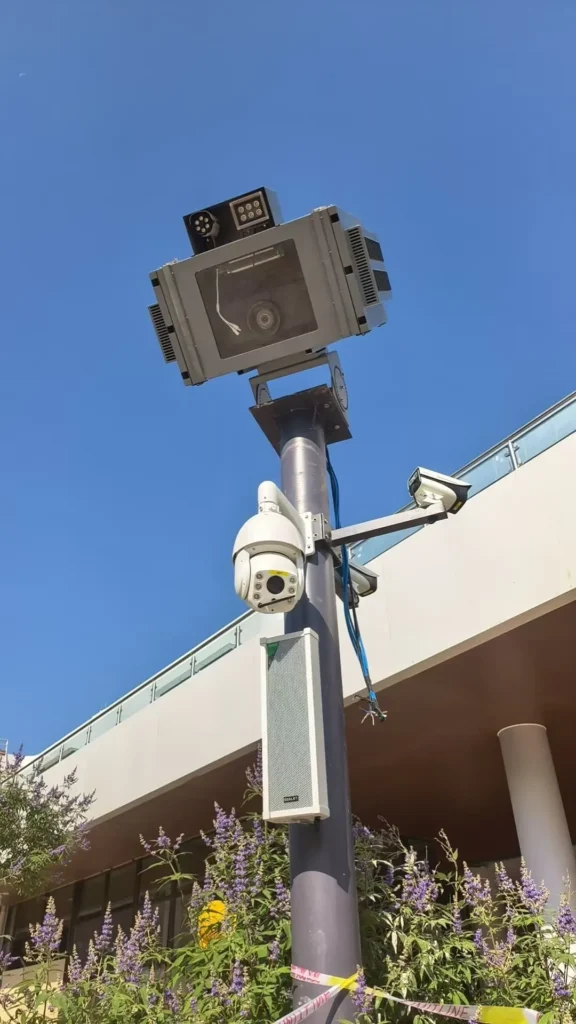
Designing for the Full Adjustment Range
The most important principle is simple: the optical window should be designed around the projected light path, not just the physical lens diameter.
A common incorrect assumption is:
Lens center = window center = alignment complete
This may work only if the projector remains at the nominal lens position with no meaningful lens shift, no angle adjustment, and no installation variation. In real outdoor projection, especially building projection mapping or scenic projection, the lens shift range can be essential for final image placement.
A better design method is:
- Start with the exact lens center.
- Add the required vertical lens shift range.
- Add the required horizontal lens shift range.
- Add the actual projection angle.
- Add the mechanical projector adjustment range.
- Check the lens-to-window distance.
- Confirm the effective clear aperture after frame and gasket assembly.
- Verify that the beam remains clear in all required positions.
Based on our internal data and market analysis, here is the breakdown:
| Alignment Mistake | Possible Result |
|---|---|
| Window aligned to cabinet center | Lens may be off-center |
| Only considering lens diameter | Insufficient clear aperture |
| Ignoring lens shift | Image may approach the window edge |
| Ignoring projection angle | Beam may be partially blocked |
| Window too small | Vignetting or image clipping |
| Lens too far from a small window | Reduced usable projection angle |
| Frame or gasket blocks clear area | Image obstruction |
| Mounting bracket designed separately | Lens/window misalignment |
| No installation adjustment | Difficult field calibration |
| Ignoring condensation | Fogged optical window |
ShiRui Pro Tip: I always ask whether lens shift will actually be used on site. If the answer is yes, the window must be sized for the shifted beam, not only for the centered lens position.
Key Features & Comparison
A well-designed projector enclosure optical window combines optical clarity, sufficient clear aperture, structural strength, waterproof sealing, condensation control, and installation adjustability. The best solution depends on the projector model, lens model, projection angle, lens shift requirements, and whether the system uses one projector or multiple projectors.
Engineering Comparison of Optical Window Design Factors
Based on our internal data and market analysis, here is the breakdown:
| Feature | Why It Matters | Engineering Consideration |
|---|---|---|
| Exact projector model confirmation | Prevents incorrect dimensional assumptions | Same projector series may support different lenses |
| Exact lens model confirmation | Determines lens size and projection behavior | Window should not be designed from body dimensions alone |
| Lens center coordinates | Defines the starting point for alignment | Use fixed projector reference surfaces |
| Lens shift allowance | Keeps the beam clear during adjustment | Include both horizontal and vertical shift if used |
| Projection angle allowance | Prevents beam clipping at tilted positions | Check upward, downward, or side projection angles |
| Clear aperture | Determines usable optical opening | Account for glass, frame, gasket, and retaining structure |
| Lens-to-window spacing | Affects required opening size | Determine from geometry, airflow, and maintenance needs |
| Optical glass quality | Protects image clarity | Consider clarity, flatness, strength, and reflection control |
| Waterproof sealing | Protects outdoor equipment | Seal glass, frame, gasket, and drainage paths |
| Condensation control | Keeps window usable outdoors | Manage temperature, humidity, and air circulation |
| Internal mounting coordination | Keeps lens and window aligned | Design bracket and window together |
| Installation adjustment | Supports field calibration | Allow controlled movement without reducing security |
| Multi-projector compatibility | Supports blending and mapping projects | Review each projector’s lens center and light path |
For multi-projector systems, the window strategy depends on the actual optical and structural design. One large optical window may be suitable in some layouts, while multiple separate windows may be better in others. The decision should consider projector quantity, lens centers, image blending, projection angles, lens shift, maintenance access, and waterproof structure.
Projection mapping applications need special attention because they often involve long projection distances, edge blending, custom projector angles, and large adjustment ranges. A small window-position error can reduce available calibration range during on-site mapping.
ShiRui Pro Tip: For mapping projects, I prefer reviewing the projector layout drawing before enclosure fabrication. It is much easier to adjust the window on the drawing than to modify a finished outdoor enclosure on site.
Cost & Buying Factors
The cost of a projector enclosure optical window depends on enclosure size, projector and lens configuration, optical glass requirements, sealing method, structural design, manufacturing complexity, and custom alignment needs. Buyers should provide complete projector and installation data before requesting a final enclosure design or quotation.
What Affects Price and Design Complexity
ShiRui does not recommend choosing an outdoor projector enclosure only by projector body size. The optical window design can change significantly based on the lens and installation layout, especially when lens shift, projection angle, or projection mapping is involved.
Buyers should ideally provide:
- Projector brand and exact model.
- Lens model.
- Projector datasheet.
- Lens dimensions.
- Lens center position.
- Required lens shift range.
- Projection angle.
- Mounting method.
- Projector quantity.
- Installation drawing.
- Projection layout.
- Site drawings for projection mapping projects when available.
Based on our internal data and market analysis, here is the breakdown:
| Buying Factor | Impact on Cost or Design |
|---|---|
| Standard projector with fixed position | Lower design complexity |
| Interchangeable lens projector | Requires lens-specific window review |
| Large lens shift requirement | May require larger clear aperture |
| Steep projection angle | Requires more optical-path checking |
| Long lens-to-window spacing | May increase required opening size |
| Anti-reflective glass requirement | Can increase material cost |
| Custom waterproof frame | Adds fabrication and sealing complexity |
| Multi-projector enclosure | Requires detailed layout coordination |
| Projection mapping use | Requires higher alignment precision |
| Adjustable internal bracket | Adds mechanical complexity but improves installation flexibility |
| Condensation control features | May affect enclosure ventilation or thermal design |
| Custom drawing verification | Adds engineering work but reduces field risk |
A reliable buying process should follow this sequence:
Projector and lens data → optical path review → mounting structure design → window clear aperture confirmation → sealing design → drawing approval → fabrication → assembly verification → site alignment
ShiRui Pro Tip: When requesting a quotation, send the projector model, lens model, required lens shift, projection angle, and installation drawing together. With that information, we can determine the optical window position and clear aperture before fabrication.
Conclusion
Correct optical-window alignment starts before production, not during last-minute installation. The window must remain clear of the projected light path throughout the required lens shift, projection angle, and adjustment range while still maintaining waterproof sealing, structural strength, and outdoor reliability.
Final Design Checklist Before Fabrication
The safest approach is to design the projector enclosure optical window around the complete projected beam path. The physical lens diameter is only one part of the calculation. Lens center, lens shift, projection angle, bracket position, frame obstruction, sealing structure, and installation adjustment all affect the final result.
Before fabrication, confirm:
- Exact projector brand and model.
- Exact lens model.
- Lens center coordinates.
- Projector mounting height and position.
- Optical window center.
- Window dimensions.
- Effective clear aperture after frame and gasket assembly.
- Required horizontal and vertical lens shift.
- Actual projection angle.
- Lens-to-window spacing.
- Internal mounting bracket adjustment range.
- Waterproof sealing and drainage design.
- Condensation control strategy.
- Assembly verification method.
- Site installation adjustment method.
For custom outdoor projector enclosure projects, ShiRui can review the projector model, lens model, required lens shift, projection angle, projector quantity, and installation drawings to determine a suitable projector enclosure lens window position and clear aperture before manufacturing.
ShiRui Pro Tip: If you want to avoid image clipping, do not wait until the enclosure is installed to check the window. Confirm the optical path on the technical drawing first, then verify it during assembly and final site alignment.