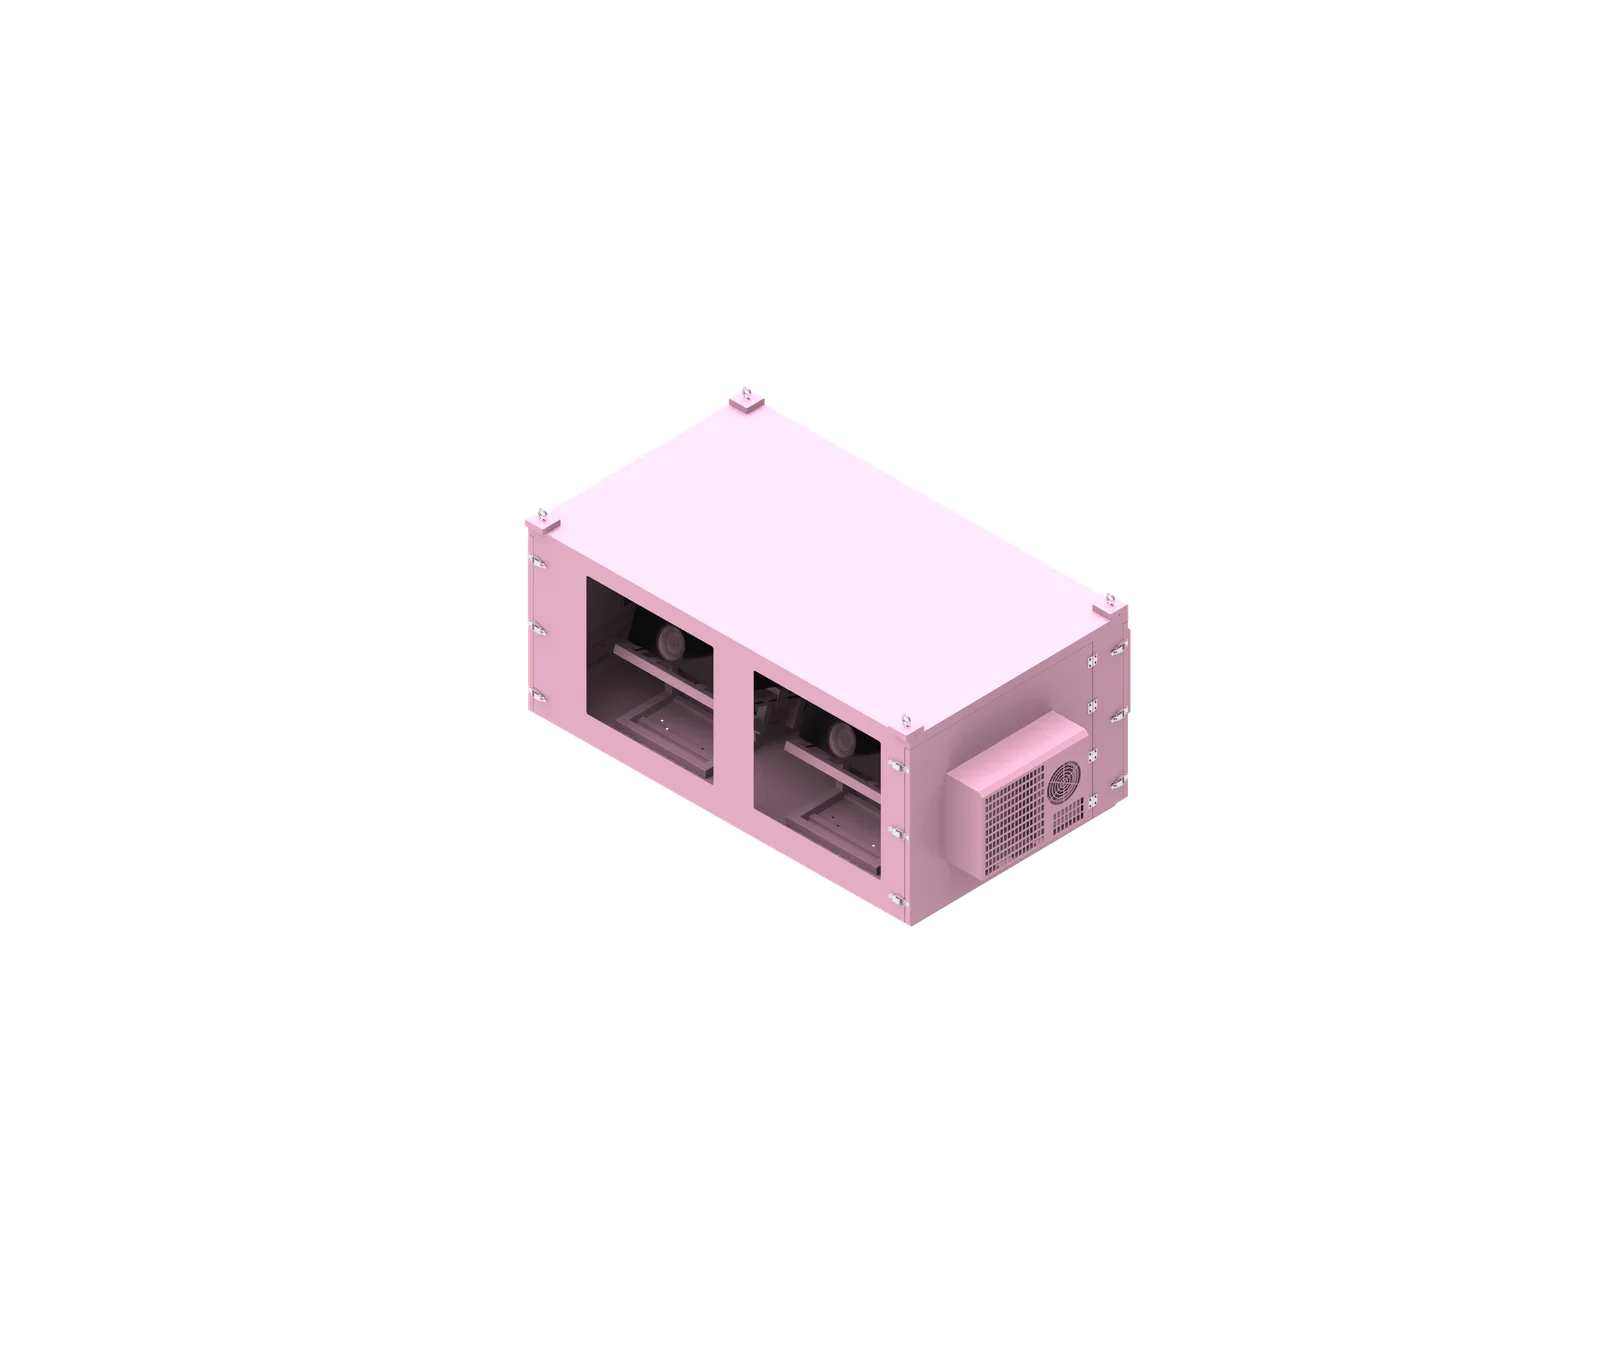
Cable entry should be planned as part of the environmental protection system of an outdoor projector enclosure, not treated as a simple hole added after fabrication. The location, quantity, size, and sealing method affect waterproofing, dust protection, airflow, maintenance, and installation convenience. For custom ShiRui enclosures, confirming cable details before sheet-metal production helps avoid field drilling and protects the enclosure’s long-term reliability.
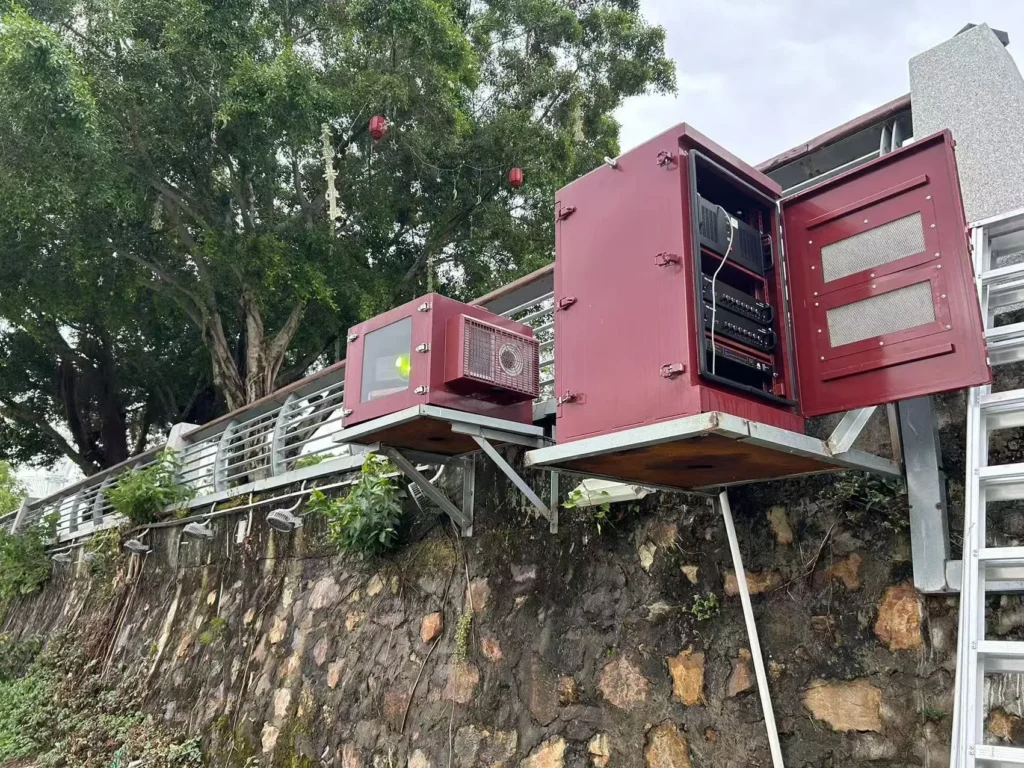
What is outdoor projector enclosure cable entry?
Outdoor projector enclosure cable entry is the engineered interface where power, signal, network, control, grounding, and communication cables pass into a weather-protected projector cabinet. It includes the opening, sealing method, cable gland, gland plate, connector clearance, strain relief, and internal routing path needed to maintain protection and serviceability.
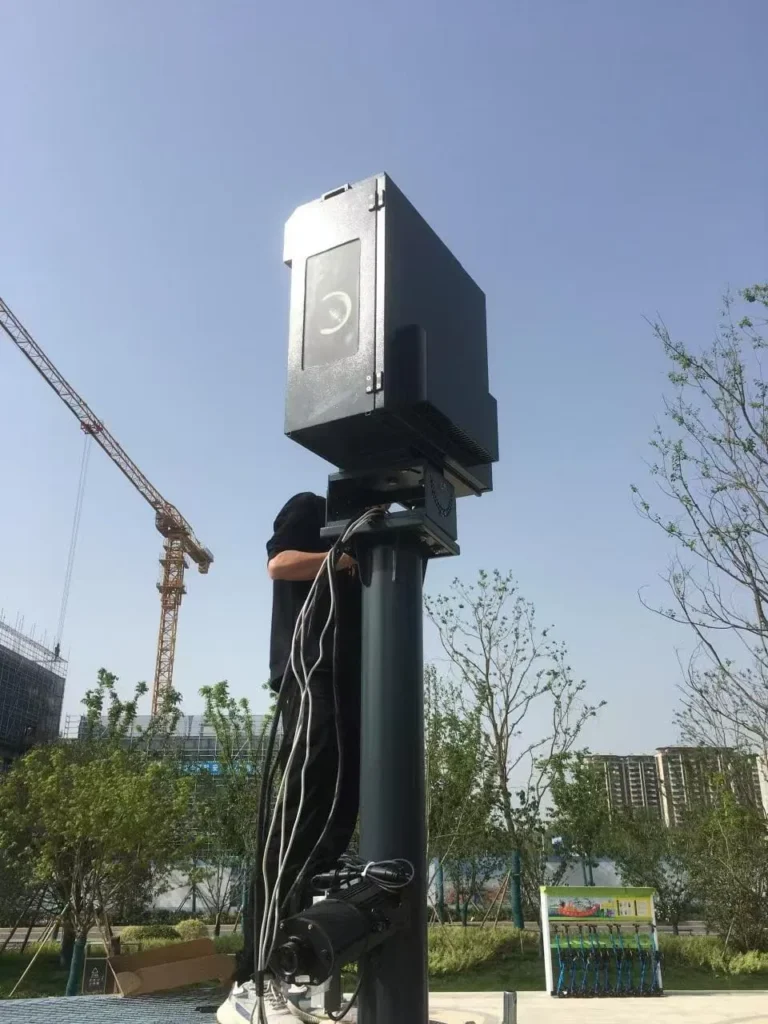
Cable Entry as a Protection Interface
A proper outdoor projector enclosure cable entry is not only about getting cables through a wall. It is a controlled transition between the outdoor environment and the protected internal space where the projector, cooling components, sensors, and electrical connections are located.
For a ShiRui outdoor projector enclosure, the entry design should be confirmed before production whenever possible. Once the enclosure is cut, coated, sealed, and assembled, uncontrolled drilling can compromise waterproofing, corrosion resistance, coating integrity, and cable positioning.
Typical cables that may need to enter the enclosure include:
- AC power cable
- HDMI cable
- Fiber-optic cable
- Ethernet or network cable
- Control cable
- Signal cable
- Sensor cable
- Grounding cable
- Communication cable
- Cooling-system power or control wiring
The key point is that cable count alone is not enough. A design team must also confirm the cable outer diameter, connector dimensions, whether the connector is removable, and whether field termination is possible. A small cable may have a large pre-terminated connector that cannot pass through a standard projector enclosure cable gland.
ShiRui Pro Tip: I always ask for the cable list and connector dimensions before confirming the enclosure drawing, because a cable entry that looks correct on paper can fail during installation if the HDMI, fiber, or network connector cannot physically pass through it.
How Does outdoor projector enclosure cable entry Work?
Outdoor projector enclosure cable entry works by creating a sealed, serviceable pathway for required cables while preserving the cabinet’s environmental protection. The entry assembly may use cable glands, gaskets, gland plates, waterproof connectors, conduit interfaces, strain relief, and internal routing supports to protect against water, dust, cable stress, and airflow obstruction.
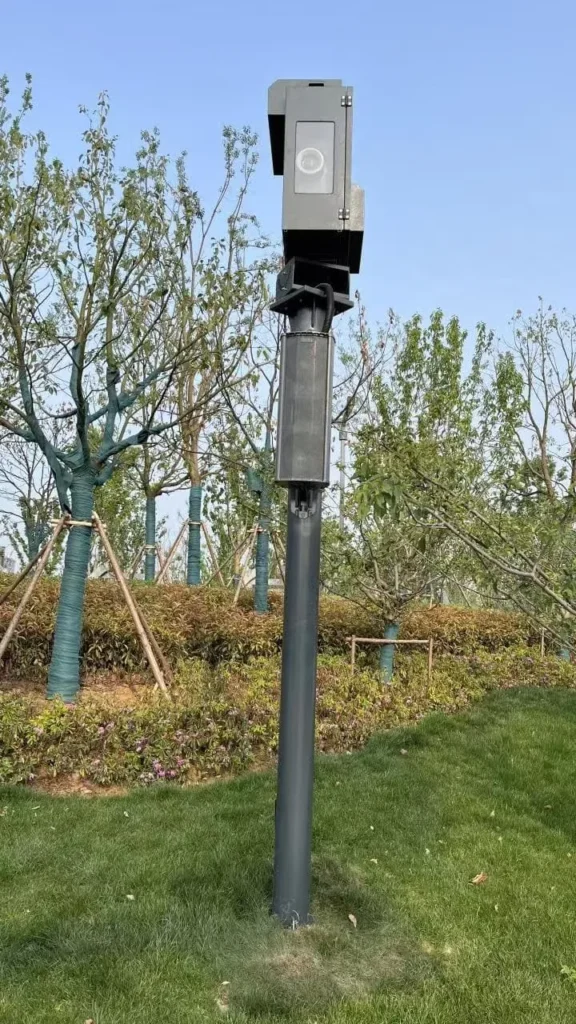
Sealing, Routing, and Mechanical Support
A waterproof cable entry must manage several risks at the same time. It should prevent rain, dust, and humid air from entering; allow cables to be installed without damage; protect connectors from pulling force; and route cables so they do not interfere with projector cooling or maintenance access.
The basic process is:
- Confirm all cable types required for the project.
- Measure cable outer diameters and connector width and height.
- Identify whether cables are pre-terminated or field-terminated.
- Decide whether entry should be from the bottom, rear, side, or a custom mounting interface.
- Select suitable cable glands, waterproof connectors, sealed conduit interfaces, or a removable gland plate.
- Confirm that the complete assembly supports the required IP protection level.
- Plan internal cable routing, bend radius, and strain relief.
- Check that cables do not block projector intake, exhaust, cooling fans, or air-conditioning airflow.
- Verify maintenance access, door swing, projector removal direction, and service loops.
A projector enclosure cable gland must be matched to the actual cable diameter range specified by the gland manufacturer. A gland that is too large may not seal correctly, while a gland that is too small may damage the cable or prevent installation. The final protection level depends on the full assembled configuration, not the gland rating alone.
ShiRui Pro Tip: I never assume an IP-rated gland automatically makes the whole enclosure IP-rated. The panel cutout, gasket contact, tightening method, cable diameter, and assembled condition all matter in real outdoor use.
What is the best way to hide projector cables?
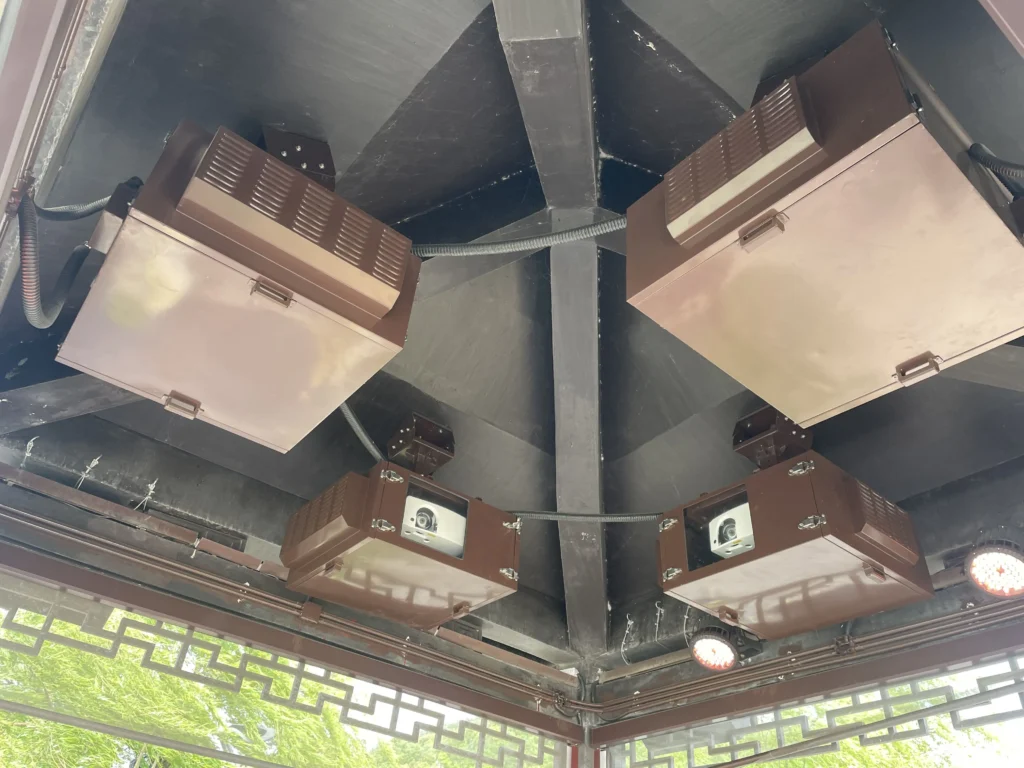
The best way to hide projector cables is to plan concealed routing before enclosure fabrication, using organized cable paths through the mounting structure, wall, pole, conduit, or rear/bottom entry zone. The design should hide cables without compromising waterproof cable entry, ventilation, strain relief, service access, or separation between power and signal wiring.
Concealed Routing Without Sacrificing Protection
Hiding cables should not mean forcing them through unsealed holes or congested paths. In an outdoor projector enclosure, cable concealment must work together with waterproofing, dust sealing, cooling airflow, and maintenance access.
Common ways to conceal cables include:
- Routing cables through a pole or mounting post
- Running cables behind a wall-mounted enclosure
- Using sealed outdoor conduit
- Entering from the bottom of the cabinet with a drip loop
- Using a rear cable-entry zone aligned with the building structure
- Grouping signal and control cables in a separate pathway from AC power where required
- Reserving internal cable channels that avoid fans and projector vents
Power and low-voltage signal cables should be organized according to the electrical design and applicable project standards. In many installations, separating AC power from HDMI, network, control, or communication lines improves serviceability and reduces unnecessary cable congestion.
Cable concealment should also consider bend radius. Fiber-optic cables, thick power cables, large HDMI connectors, and multi-cable bundles need enough internal space to turn naturally without stress. If the bend is too tight, the cable or connector may be damaged, and maintenance becomes more difficult.
ShiRui Pro Tip: When customers want a clean installation, I recommend sharing site photos or mounting drawings early. That allows us to align the cable-entry position with the wall, pole, roof structure, or conduit path instead of guessing during fabrication.
How to build an outdoor projector enclosure?
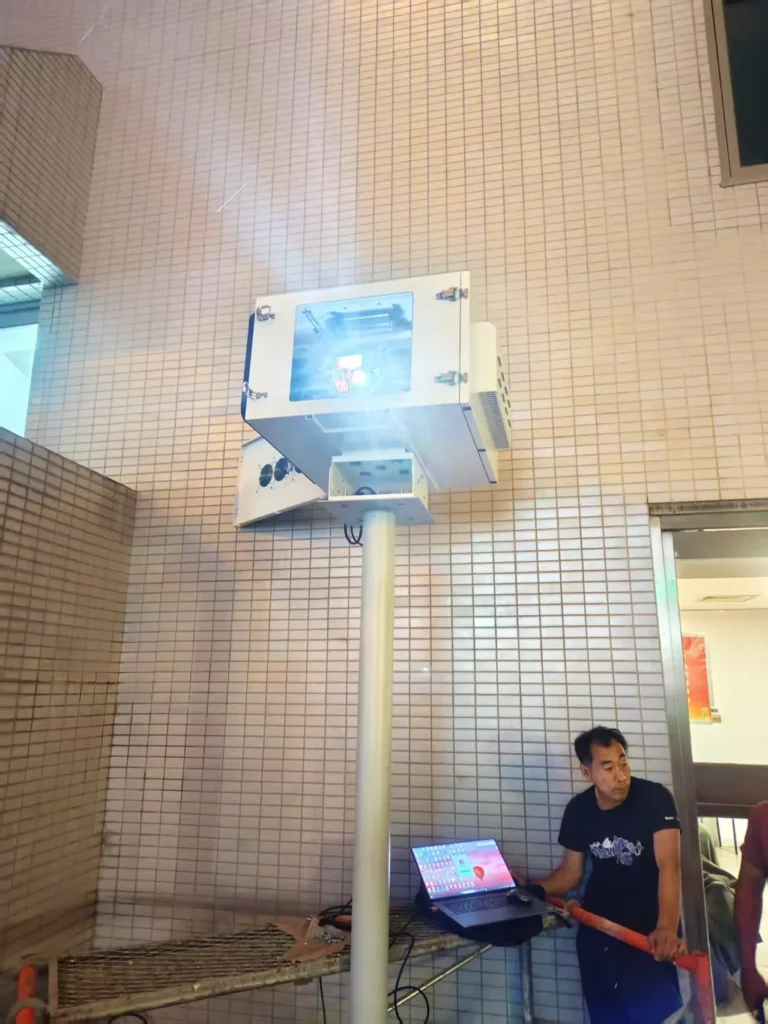
To build an outdoor projector enclosure, start with the projector model, thermal requirements, mounting method, power supply, required IP rating, viewing window, service access, and cable-entry plan. Cable entry should be designed before sheet-metal fabrication so waterproofing, airflow, connector clearance, and future maintenance are not compromised later.
Engineering Sequence for a Reliable Enclosure
A good outdoor projector enclosure begins with project data, not with the cabinet box. Cable entry, ventilation, waterproofing, and service access should be designed as one system.
A practical design sequence is:
- Confirm the projector brand, exact model, lens position, intake, exhaust, and maintenance direction.
- Define the installation method, such as pole-mounted, wall-mounted, ceiling-mounted, rooftop, ground-mounted, or custom steel structure.
- Confirm environmental requirements, including rain exposure, dust, temperature range, humidity, and required IP rating.
- Plan thermal management, including fans, filters, air-conditioning, exhaust paths, or internal circulation.
- Confirm all cable types, quantities, diameters, connector sizes, and termination methods.
- Choose the cable-entry direction based on the mounting structure and water exposure.
- Select cable glands, waterproof connectors, sealed conduit interfaces, or removable gland plates.
- Reserve space for bend radius, cable service loops, and strain relief.
- Check that cables do not block airflow or projector removal.
- Finalize drawings before cutting, coating, and fabrication.
For complex projection projects, especially projection mapping or multi-projector systems, additional cables may be needed for remote monitoring, synchronization, sensors, and control systems. These requirements should be reviewed during the RFQ stage rather than discovered during installation.
ShiRui Pro Tip: I prefer to finalize cable entry before the enclosure is fabricated. Drilling after coating can damage corrosion protection and may create sealing problems that are much harder to fix on site.
How to anchor an outdoor projector screen?
An outdoor projector screen should be anchored according to its frame type, wind exposure, surface condition, and installation environment. While this is separate from projector enclosure cable entry, both systems should be coordinated so screen placement, projector alignment, cable routing, and enclosure access remain safe, stable, and serviceable.
Screen Stability and Projector Alignment
Anchoring a screen is mainly a structural and site-installation issue, but it affects the enclosure design because projector position, cable routing, and maintenance access depend on the screen location. A stable screen helps maintain image alignment and reduces the need for frequent projector adjustment.
Key considerations include:
- Screen size and frame weight
- Expected wind load and outdoor exposure
- Ground, wall, truss, or steel-structure mounting
- Temporary versus permanent installation
- Projector throw distance and lens alignment
- Clearance for maintenance around the projector enclosure
- Cable routing between media sources, control systems, and the enclosure
- Safety requirements and local installation standards
For temporary screens, ballast, guy lines, stakes, or weighted bases may be used depending on the product design and site conditions. For permanent installations, structural anchors, frames, brackets, and foundations should be selected by qualified personnel based on the actual load and environment.
Cable routing should not be an afterthought. If the projector enclosure is mounted near a pole, wall, or truss supporting the screen, cable entry may need to align with that structure. For example, a pole-mounted enclosure may route cables through or along the pole, while a wall-mounted enclosure may use rear or bottom cable access.
ShiRui Pro Tip: I always check projector alignment and cable access together. A perfectly anchored screen still creates installation problems if the projector enclosure cannot be serviced or if cables must be pulled across exposed areas without protection.
Key Features & Comparison
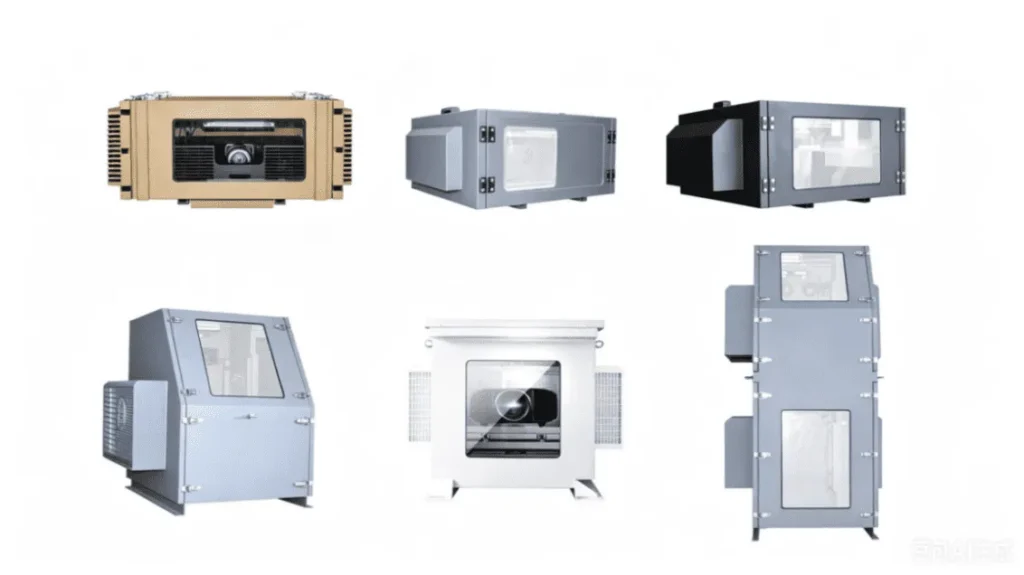
The best cable-entry design balances waterproofing, dust protection, connector clearance, cable routing, strain relief, airflow, maintenance, and future expansion. For a custom ShiRui outdoor projector enclosure, the correct solution may use cable glands, sealed gland plates, waterproof connectors, conduit interfaces, or spare sealed entry positions depending on the project.
Cable Entry Options and Common Mistakes
Based on our internal data and market analysis, here is the breakdown:
| Design Item | Good Practice | Common Mistake | Possible Problem |
|---|---|---|---|
| Cable sizing | Confirm cable diameter and connector size | Only measuring cable diameter | Connector cannot pass through |
| Gland selection | Match gland range to actual cable diameter | Using an oversized gland | Poor sealing around the cable |
| Entry direction | Choose bottom, rear, side, or custom entry based on installation | Placing entry directly in rain path | Increased water ingress risk |
| IP protection | Design the complete entry assembly for the required protection level | Assuming the gland rating alone is enough | Enclosure IP performance may be compromised |
| Pre-terminated cables | Plan split glands, gland plates, or serviceable pass-throughs | Ignoring HDMI, network, or fiber connectors | On-site hole enlargement |
| Airflow | Route cables away from intake, exhaust, fans, and AC airflow | Cable routed across air intake | Reduced cooling performance |
| Strain relief | Secure heavy or long cable runs | No cable fixation | Stress on projector connectors |
| Power and signal routing | Organize cables by function where required | Mixing all cables in one congested area | Hard maintenance and possible interference concerns |
| Spare entries | Use sealed plugs, blanking components, or replaceable gland plates | Leaving unused holes open | Water and dust ingress |
| Maintenance access | Check doors, rails, projector removal, and service loops | Ignoring the maintenance path | Difficult projector removal |
| Field modification | Finalize cable entry before fabrication | Drilling after coating | Waterproofing and corrosion risks |
Cable entry should also consider condensation. Poorly sealed openings can allow humid outside air to enter the enclosure, increasing condensation risk inside the cabinet. Therefore, waterproof cable entry should also support air and dust sealing according to the enclosure design.
For future expansion, spare entry positions can be useful, but unused openings must remain sealed. A removable gland plate or sealed blanking position is usually safer than drilling uncontrolled holes later.
ShiRui Pro Tip: For professional projects, I recommend designing spare cable capacity with sealed blanking components. That gives the installer flexibility later without sacrificing waterproofing on day one.
Cost & Buying Factors
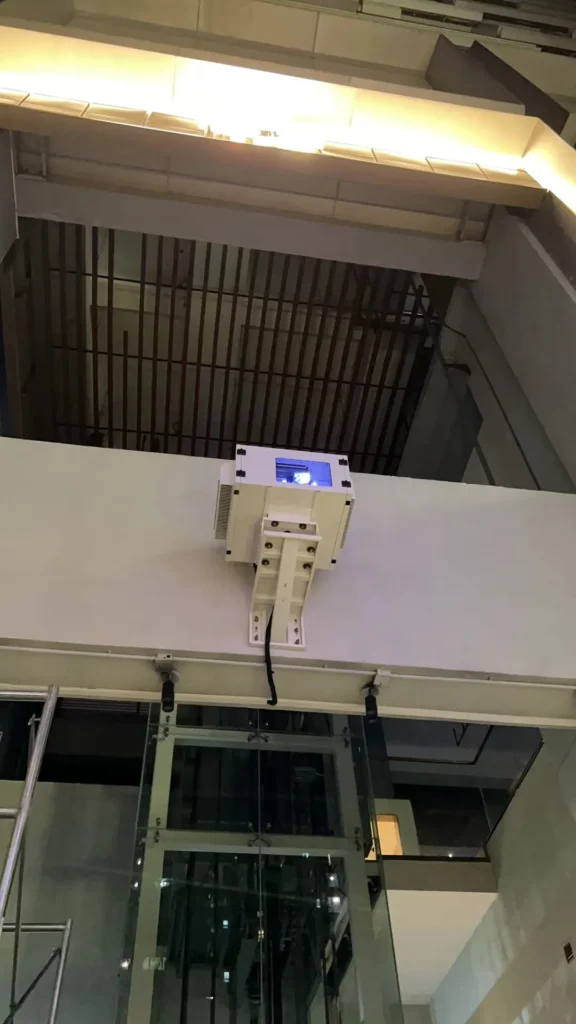
The cost of outdoor projector enclosure cable entry depends on cable quantity, connector size, required IP rating, gland or connector type, material, fabrication complexity, spare-entry planning, and installation method. The cheapest entry is not always the best choice if it increases leakage risk, blocks airflow, or requires field modification.
What Affects Cable-Entry Pricing
Cable-entry cost is usually a small part of the full enclosure price, but it can have a large impact on installation success. A simple round hole with a standard cable gland may be economical, but it may not work for pre-terminated HDMI, fiber, or network cables. A removable sealed gland plate may cost more upfront but reduce installation risk.
Based on our internal data and market analysis, here is the breakdown:
| Buying Factor | Cost Impact | Why It Matters |
|---|---|---|
| Number of cables | Medium | More cables may require more glands, larger plates, or separate routing zones |
| Connector dimensions | High | Large pre-terminated connectors may need split glands or removable sealed plates |
| Required IP rating | High | Higher protection requirements demand better sealing design and assembly control |
| Entry direction | Medium | Rear, bottom, side, or custom entry may change fabrication and installation complexity |
| Material and coating | Medium | Stainless steel, aluminum, powder coating, and corrosion protection affect modification options |
| Spare entry positions | Low to Medium | Sealed spare entries add cost but reduce future drilling risk |
| Strain relief | Low to Medium | Cable clamps, brackets, or supports protect internal connectors |
| Conduit interface | Medium | Sealed conduit connections may be needed for specific site wiring methods |
| Multi-projector design | High | More cables, power circuits, sensors, and control lines require more detailed planning |
| Documentation quality | Low upfront, high value | Cable schedules and site drawings reduce design errors |
Before requesting a quote, buyers should provide:
- Projector brand and exact model
- Power cable quantity and diameter
- Signal cable types
- Network cable quantity
- Control or communication cable requirements
- Connector width and height
- Whether cables are pre-terminated or field-terminated
- Preferred cable-entry direction
- Installation method
- Required IP rating
- Power supply information
- Grounding requirements according to the electrical design
- Future spare cable requirements
- Site photos, cable schedules, or installation drawings for complex projects
ShiRui Pro Tip: The most useful RFQ package includes the projector model, cable list, connector dimensions, installation method, and preferred entry direction. With that information, we can plan the gland configuration and internal routing before fabrication.
Conclusion
A reliable outdoor projector enclosure cable entry is part of the enclosure’s environmental protection system, not simply a hole for passing cables. Planning cable types, connector dimensions, entry direction, sealing method, strain relief, airflow clearance, and maintenance access before fabrication helps protect waterproofing, dust resistance, and long-term serviceability.
Final Planning Checklist
For custom outdoor projector enclosures, cable entry should be reviewed early because it affects both engineering and installation. On-site drilling may seem convenient, but it can damage coating, weaken corrosion protection, create sealing risks, and move cables into poor routing positions.
Use this checklist before confirming production:
- Confirm every cable type and quantity.
- Measure cable outer diameter.
- Measure connector width and height.
- Identify whether connectors can be removed.
- Confirm whether field termination is possible.
- Choose bottom, rear, side, or custom cable entry based on the mounting method.
- Select suitable cable glands, waterproof connectors, conduit interfaces, or sealed gland plates.
- Match glands to the manufacturer’s allowable cable diameter range.
- Provide strain relief for heavy or long cable runs.
- Keep cables away from projector intake, exhaust, fans, and internal airflow paths.
- Separate power and signal cables where required by the electrical design.
- Reserve bend radius and routing space.
- Protect cables from sharp sheet-metal edges.
- Use drip loops or downward routing where suitable for the installation.
- Seal all spare entry positions.
- Check maintenance doors, projector removal direction, and service loops.
- Avoid field drilling whenever possible.
Send ShiRui your projector model, cable list, connector dimensions, installation method, preferred entry direction, and required IP rating. Our team can help plan the cable-entry position, gland configuration, sealed spare positions, and internal cable routing before enclosure fabrication.
ShiRui Pro Tip: If you remember only one principle, remember this: cable entry is part of the protection system. When it is planned correctly, the enclosure is easier to install, easier to maintain, and much less likely to lose its waterproof performance in the field.