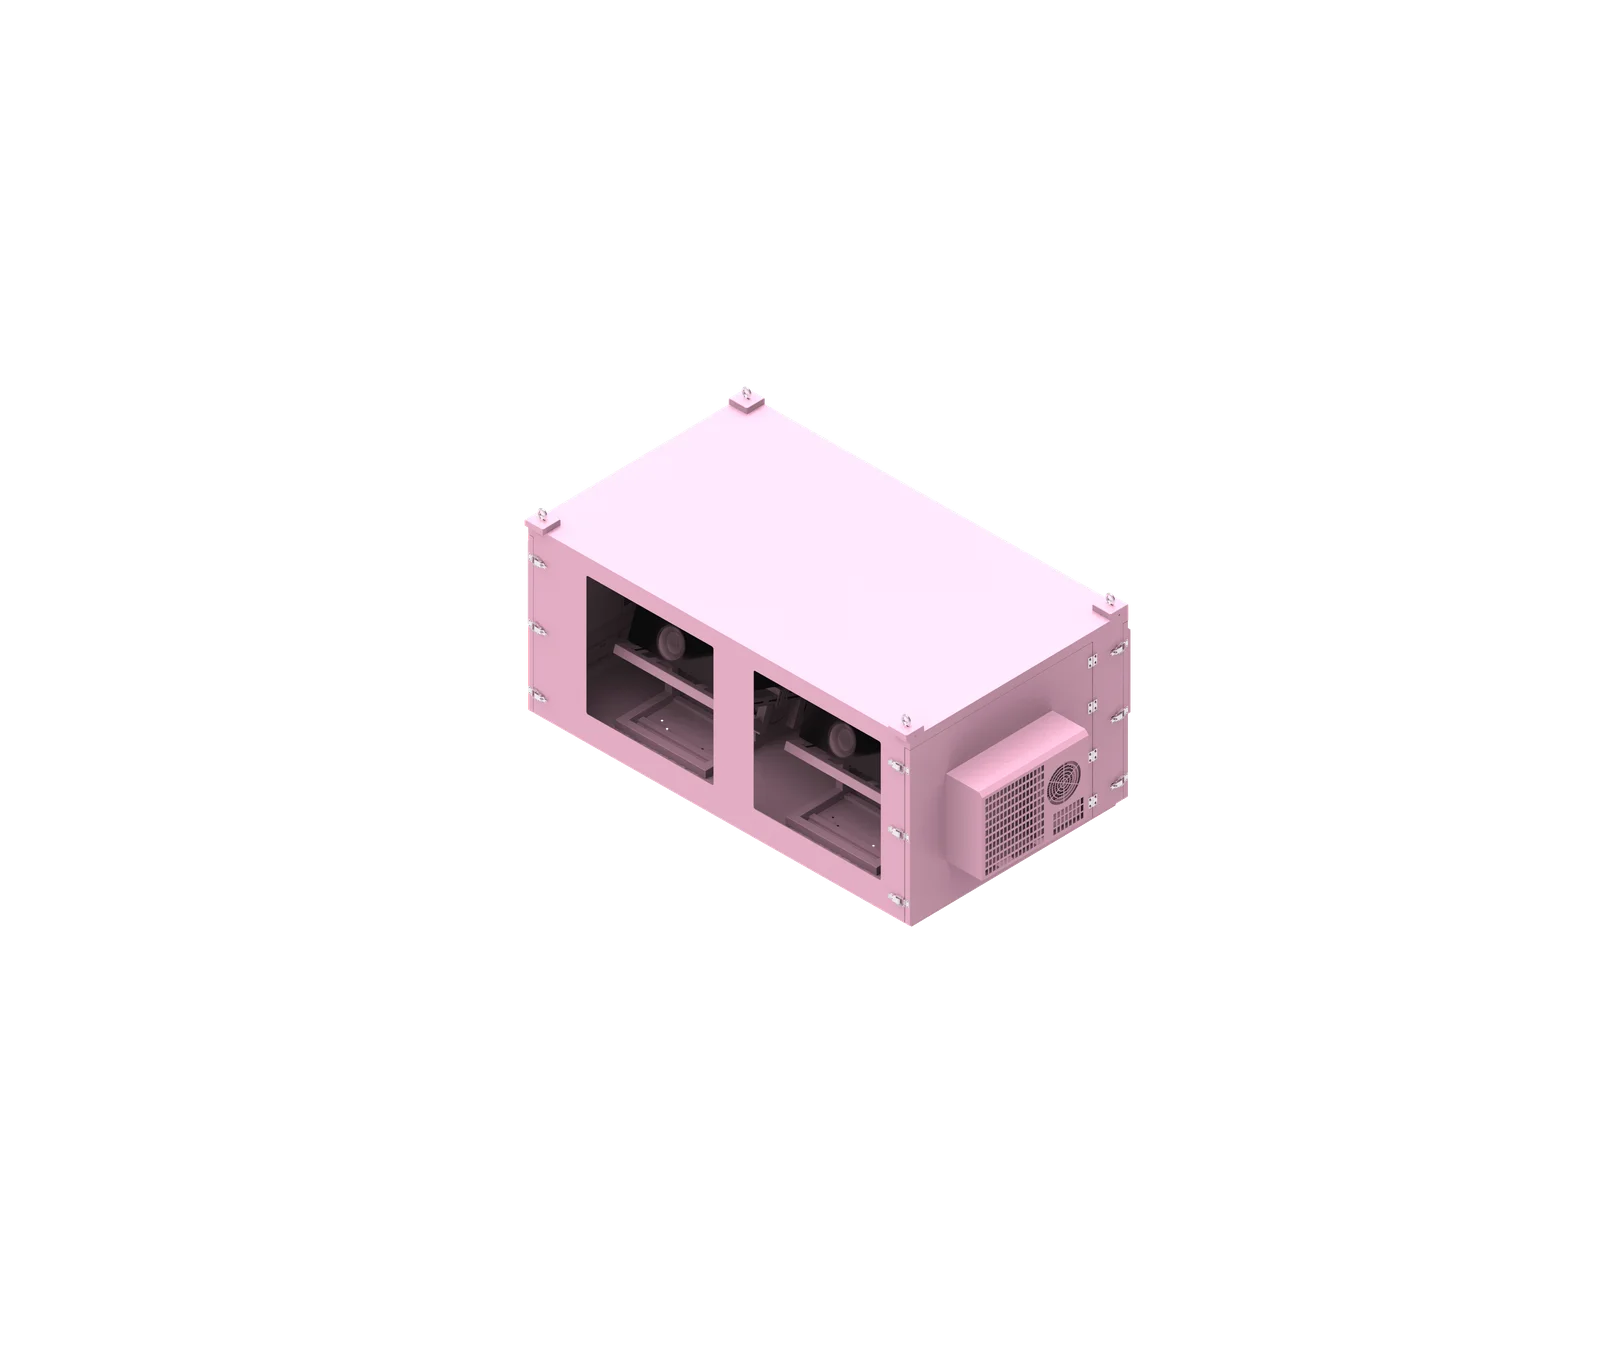
Preventing internal reflections in a projector enclosure optical window requires treating the window as part of the projector’s optical path, not as ordinary protective glazing. Reflections, ghost images, glare, and contrast loss are controlled by the relationship between the projector lens, lens shift, projection angle, window size, window orientation, optical glass quality, coatings, and internal enclosure surfaces.
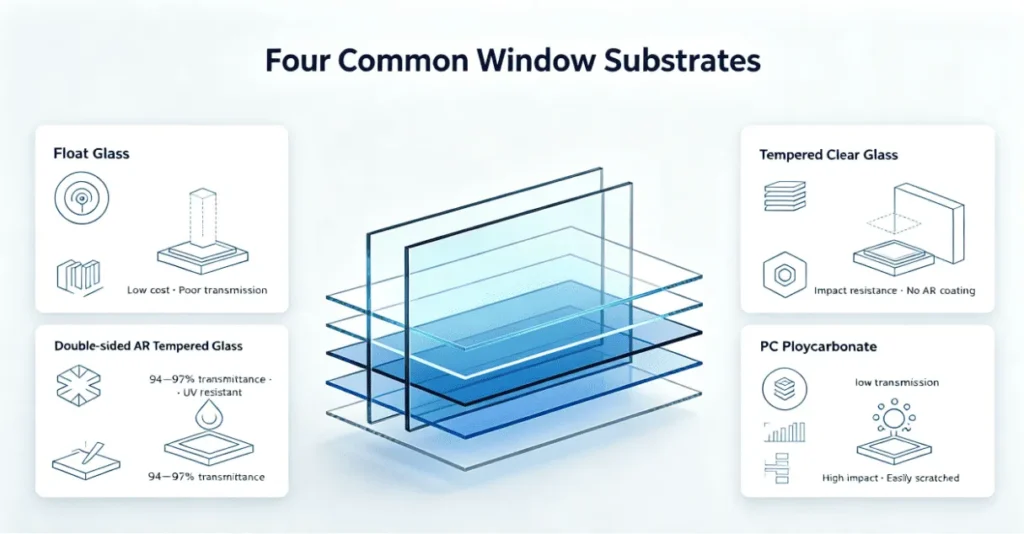
What is projector enclosure optical window?
A projector enclosure optical window is the transparent optical interface between the projector lens and the outside environment. In an outdoor projector enclosure, it protects the projector while allowing the projected light cone to pass through with minimal distortion, reflection, ghosting, glare, and contrast loss.
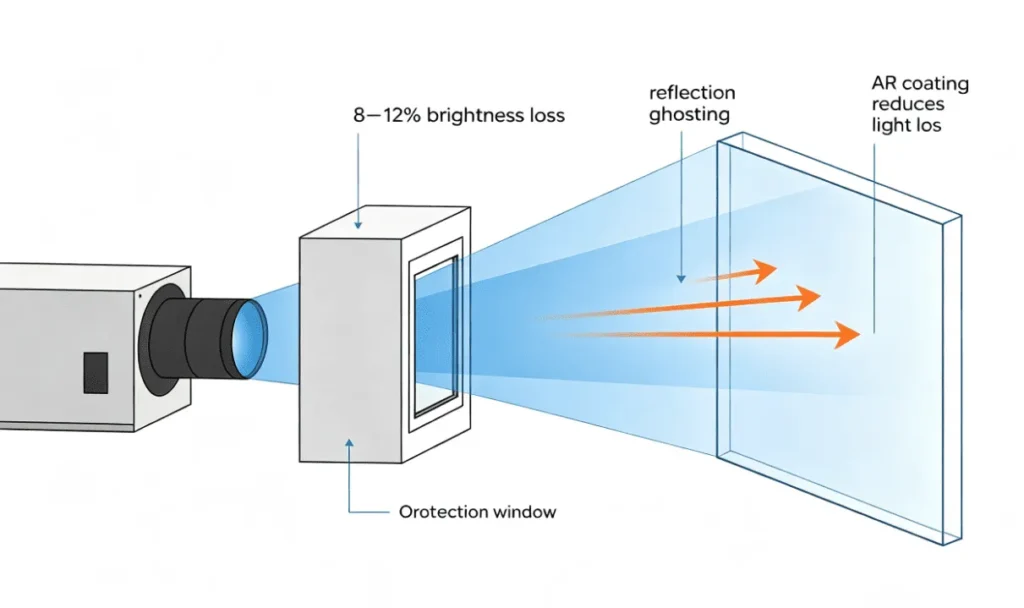
The Optical Window Is an Optical Component, Not Ordinary Glazing
A projector enclosure optical window is not simply a front panel made from glass or acrylic. It sits directly in the projection path, so its position, material, surface quality, coating, and mounting structure can influence image brightness, sharpness, contrast, and visible artifacts.
In outdoor projector enclosure optical glass design, the window must transmit the required projected light cone while preventing reflected light from returning toward the projector lens or scattering inside the enclosure.
A good design considers:
- Exact projector model
- Exact lens model
- Lens center location
- Lens shift position
- Throw ratio
- Projection distance
- Projection angle
- Lens-to-window distance
- Optical window clear aperture
- Window frame and gasket position
- Internal enclosure finish
- Condensation and contamination control
Based on our internal data and market analysis, here is the breakdown:
| Item | Ordinary Protective Panel | Projector Enclosure Optical Window |
|---|---|---|
| Main purpose | Physical protection | Optical transmission and environmental protection |
| Design reference | Enclosure opening | Projector lens and projected light cone |
| Key risk | Leakage or breakage | Reflection, ghosting, vignetting, distortion |
| Material concern | Strength and weather resistance | Optical quality, coating compatibility, flatness, durability |
| Frame concern | Mechanical support | Clear aperture, sealing, and optical clearance |
ShiRui Pro Tip: We always ask customers for the projector model and exact lens model before confirming the window layout. Centering the window on the enclosure body is risky because the lens is often not located at the physical center of the projector.
How Does projector enclosure optical window Work?
A projector enclosure optical window works by allowing the projector’s full light cone to pass through a controlled optical aperture while limiting unwanted surface reflections and internal stray light. Its performance depends on geometry, glass quality, anti-reflective treatment, enclosure finish, and accurate alignment with the real lens position.
Light Path Control and Reflection Management
The optical window sits between the projector lens and the screen. When projected light reaches the window, part of the light passes through, while some light may reflect from the inner and outer glass surfaces. If that reflected light travels back toward the projector lens or bounces inside the enclosure, it can create ghost images, flare, haze, or reduced contrast.
The correct design logic is:
Correct:
Projector Lens
      ↓
Projected Light Cone
      ↓
AR Optical Window
      ↓
Screen

Problem:
Projector Lens
      ↓
Optical Window
      ↘ Reflection
        ↘ Back toward lens / enclosure
          → Ghosting / Flare / Contrast Loss
Reflection control is different from vignetting control:
- Reflection means unwanted light bouncing between optical surfaces.
- Vignetting means part of the projected light cone is physically blocked.
An enclosure can have no vignetting but still show projector window reflection. A poorly sized window can also cause vignetting even if anti reflective optical glass is used.
Based on our internal data and market analysis, here is the breakdown:
| Optical Issue | What It Means | Typical Design Check |
|---|---|---|
| Ghost image | Secondary reflected image | Window geometry and AR coating |
| Flare | Stray light entering image path | Internal matte surfaces and baffles |
| Low contrast | Washed-out image | Reflections, dirty glass, ambient light |
| Dark image edge | Beam obstruction | Clear aperture and frame position |
| Center reflection | Return reflection path | Window orientation and lens alignment |
| Hazy image | Scattering or moisture | Cleanliness and condensation control |
ShiRui Pro Tip: AR-coated glass can reduce reflections, but it cannot correct poor optical-window geometry. We treat coating as one part of the solution, not the whole solution.
What are the benefits of projector enclosure optical window?
A properly engineered projector enclosure optical window protects the projector from outdoor conditions while preserving image quality. It helps reduce surface reflections, ghosting, glare, contamination, and internal stray light when combined with correct aperture sizing, optical glass selection, window orientation, and enclosure interior treatment.
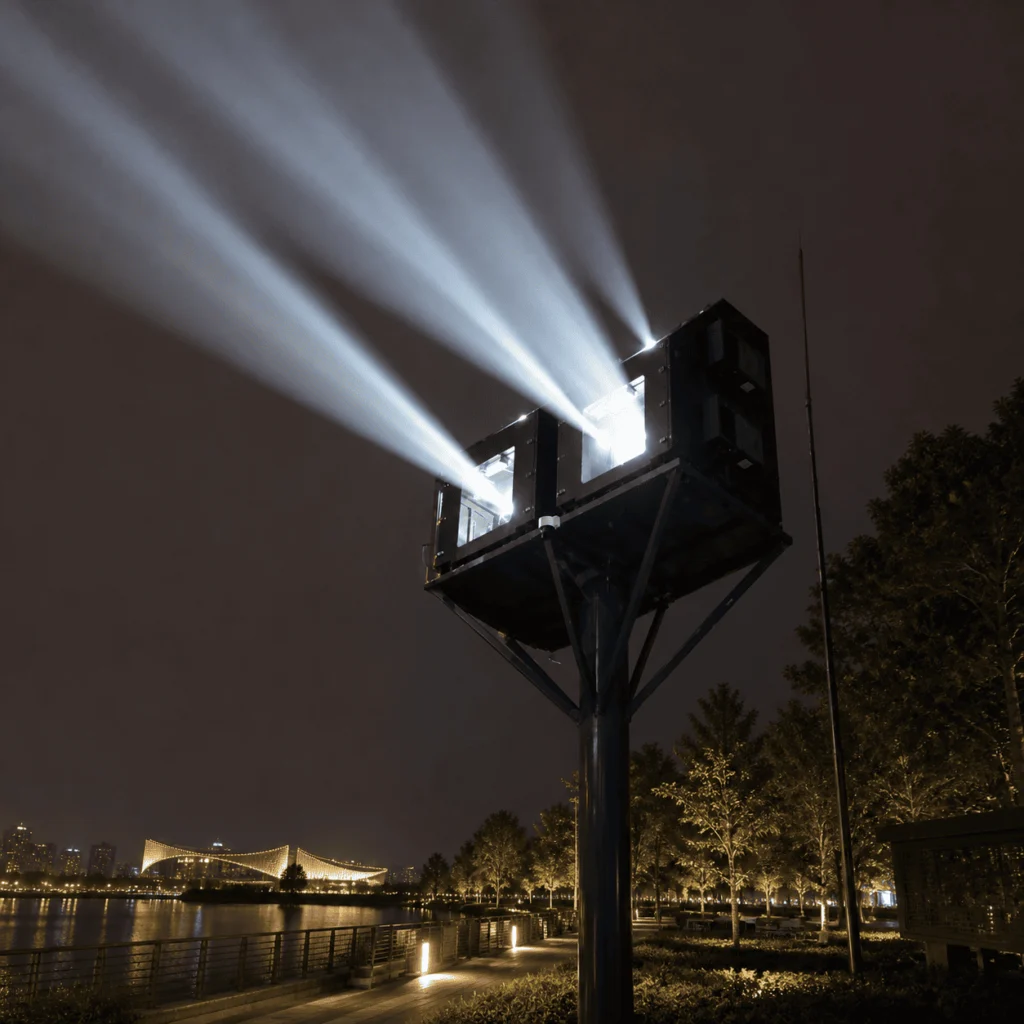
Image Protection, Environmental Protection, and Optical Stability
The main benefit of a projector enclosure lens window is that it allows the projector to operate in an outdoor or semi-outdoor environment without exposing the lens and electronics directly to dust, moisture, insects, wind, and accidental contact.
However, from an engineering perspective, protection alone is not enough. The optical window must preserve the projector’s intended light path. This is especially important for projection mapping, architectural projection, advertising displays, outdoor cinema, and installations using lens shift or non-horizontal projection angles.
Key benefits include:
- Reduced environmental exposure
The optical window separates the projector compartment from the external environment. - Better optical control
Correct design reduces projector enclosure reflection and stray-light contamination. - Improved contrast preservation
By limiting internal reflections and haze, the window helps maintain perceived contrast. - Cleaner long-term operation
A sealed window helps keep dust and contaminants away from the projector lens. - More reliable enclosure integration
The window frame, gasket, and clear aperture can be coordinated before fabrication. - Custom compatibility
The design can be adapted to the exact projector, lens, throw ratio, lens shift, and projection angle.
A well-designed outdoor projector enclosure optical glass system should be evaluated as part of the complete enclosure, not purchased as a generic transparent part.
ShiRui Pro Tip: In custom sheet-metal enclosure projects, we confirm the optical clear aperture after the frame and gasket are included. The glass may be large enough, but the usable opening can become too small after final assembly.
How to maintain a projector enclosure optical window?
Maintaining a projector enclosure optical window means keeping the glass clean, dry, accessible, and optically unobstructed. Dust, fingerprints, water spots, condensation, gasket movement, and internal contamination can all increase scattering or create symptoms that look like reflection problems.
Cleaning, Condensation Control, and Final Assembly Checks
Window cleanliness has a major influence on projection quality. Dirt and fingerprints can scatter light, creating haze and reducing contrast. Water spots can become visible during high-brightness scenes. Condensation may produce a foggy image that can be mistaken for optical reflection.
Maintenance should include both exterior and interior inspection. In outdoor projector enclosure applications, the inner glass surface can also become contaminated during installation or service.
Recommended maintenance workflow:
- Inspect the image first
Look for ghosting, haze, flare, dark corners, and contrast loss. - Check exterior contamination
Clean dust, rain marks, fingerprints, and surface deposits using suitable optical-safe methods. - Check interior contamination
Inspect the inside surface of the optical window after opening the enclosure. - Verify condensation control
Look for fogging, water droplets, or moisture marks near the window. - Inspect the frame and gasket
Confirm that the gasket has not shifted into the projected light path. - Check internal surfaces
Look for glossy metal parts, loose cables, brackets, or reflective hardware near the optical path. - Test with real content
Use dark scenes, bright objects, and high-contrast patterns to reveal ghost reflections and flare. - Verify after reassembly
Recheck the image after the window, gasket, frame, and projector mount are fully assembled.
Maintenance should not focus only on the glass surface. The optical-window system includes sealing, airflow, humidity control, internal finish, and mechanical stability.
ShiRui Pro Tip: We recommend checking the image after final assembly, not only during bench testing. A design that looks clean without the window frame may show vignetting or reflection after the gasket and mounting hardware are installed.
What is the price of projector enclosure optical window?
The price of a projector enclosure optical window depends on project-specific factors such as optical glass type, coating requirements, window size, frame design, sealing method, manufacturing tolerance, environmental durability, and whether optical verification or custom enclosure engineering is required. There is no universal price for all projectors.
Cost Drivers in Custom Optical-Window Design
Projector enclosure optical window pricing should not be evaluated only by glass size. In professional outdoor enclosure manufacturing, cost is influenced by the complete optical and mechanical design.
A larger window may provide more clearance for the projected light cone, but it does not automatically solve reflection. A tilted window may redirect reflections in some geometries, but arbitrary tilt can create alignment, sealing, or aperture problems. Anti reflective optical glass can help reduce surface reflections, but it cannot compensate for incorrect lens-to-window geometry.
Based on our internal data and market analysis, here is the breakdown:
| Buying Factor | Why It Affects Cost | Engineering Consideration |
|---|---|---|
| Projector and lens model | Determines real optical path | Exact lens data is required |
| Window size | Affects material and frame design | Must match the projected light cone |
| Optical glass quality | Influences distortion and reflection behavior | Select according to projection requirements |
| AR coating | Can reduce surface reflections | Must be specified appropriately |
| Frame and gasket | Controls sealing and clear aperture | Must not intrude into the beam |
| Window orientation | May affect reflection path | Must be evaluated by geometry |
| Enclosure finish | Helps control stray light | Matte dark surfaces may be needed |
| Verification work | Reduces project risk | Especially useful for demanding installations |
For an accurate quotation, buyers should provide:
- Projector brand
- Exact projector model
- Exact lens model
- Lens center dimensions
- Required lens shift
- Throw ratio
- Projection distance
- Image size
- Projection angle
- Projector orientation
- Installation drawings
- Required adjustment range
ShiRui Pro Tip: When customers send only the projector body dimensions, we cannot finalize a reliable optical-window price. The lens model, lens position, and projection geometry affect both the glass opening and the enclosure front-panel design.
Key Features & Comparison
The best projector enclosure optical window combines adequate clear aperture, suitable optical glass, reflection management, proper mechanical sealing, and controlled internal surfaces. The goal is not only to protect the projector but also to preserve the intended projected image without ghosting, glare, vignetting, or contrast loss.
Engineering Features That Affect Image Quality
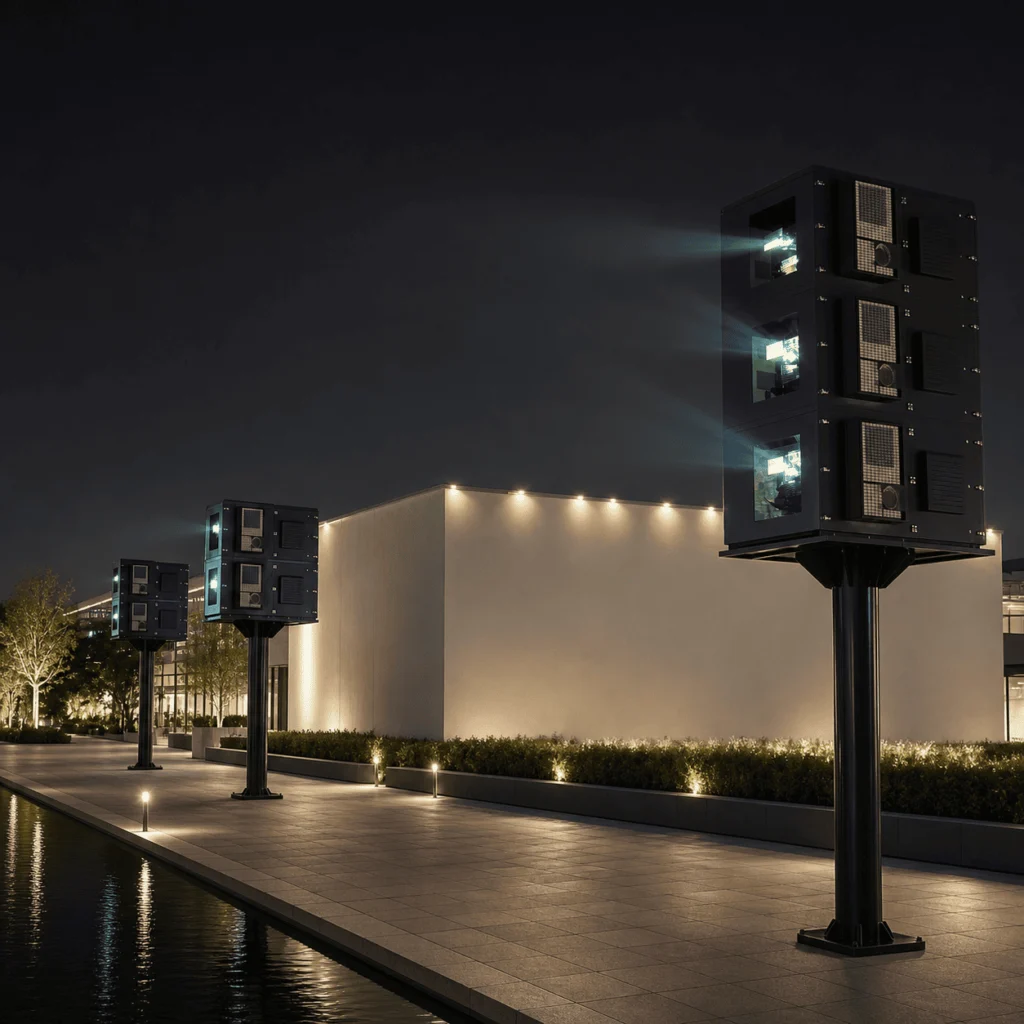
A professional projector optical window design must coordinate optical and mechanical requirements. The window frame should support and seal the glass without extending into the required optical aperture. The gasket should provide environmental sealing without blocking the light cone. Internal sheet-metal surfaces near the projection path should avoid strong directional reflections.
Based on our internal data and market analysis, here is the breakdown:
| Feature | Correct Engineering Approach | Common Mistake |
|---|---|---|
| Optical glass | Select material suitable for projection use | Using ordinary glazing without optical review |
| AR coating | Use to reduce glass-air surface reflections | Assuming coating fixes all reflection problems |
| Window size | Base on projected light cone and lens shift | Making it too small or oversized without analysis |
| Window angle | Evaluate according to real optical geometry | Applying a universal tilt angle |
| Lens center | Use actual lens-center coordinates | Centering window on projector body |
| Lens shift | Check intended operating position | Ignoring shifted beam envelope |
| Lens-to-window distance | Match enclosure geometry and beam footprint | Assuming one fixed distance works for all |
| Frame and gasket | Keep outside clear aperture | Letting gasket or flange enter the light path |
| Internal finish | Use low-reflectivity treatment where appropriate | Leaving glossy metal near the beam |
| Baffles | Design project-specific light control | Blocking airflow, service access, or lens shift |
| Condensation control | Manage humidity and temperature effects | Mistaking fogging for reflection |
| Final verification | Test after full assembly | Testing only the empty enclosure |
For multi-projector enclosures, each projector may have a different lens center, projection angle, lens shift, and optical path. Separate windows or a shared window can both be valid, but the decision should be based on beam geometry, maintenance access, structural design, and potential optical interference.
ShiRui Pro Tip: In dual-projector or projection-mapping enclosures, we avoid assuming symmetry. Two projectors in one cabinet can require different window positions, different apertures, or separate reflection-control strategies.
Cost & Buying Factors
Buying a projector enclosure optical window should begin with optical-path information, not only enclosure dimensions. Cost and reliability depend on how accurately the manufacturer can define the light cone, clear aperture, glass requirements, window orientation, sealing structure, and internal reflection-control details before fabrication.
Practical Buying Checklist for Custom Projects
For custom outdoor projector enclosure projects, the most important buying factor is whether the enclosure manufacturer understands that the window is in the optical path. A low-cost transparent panel can become expensive if it causes ghost images, blocked image corners, reflection near the center of the screen, or contrast loss after installation.
Recommended engineering workflow:
- Confirm projector model
- Confirm exact lens model
- Locate actual lens center
- Review throw ratio and projection distance
- Confirm image size
- Confirm projection angle
- Confirm lens shift requirements
- Calculate projected light path
- Determine required clear aperture
- Select suitable optical glass
- Evaluate AR coating
- Evaluate window orientation
- Control internal stray light
- Coordinate frame and gasket
- Approve technical drawing
- Build prototype or final assembly
- Perform optical verification
Based on our internal data and market analysis, here is the breakdown:
| Buyer Question | Why It Matters |
|---|---|
| What projector and lens will be used? | Defines the projected light cone |
| Where is the lens center? | Determines window position |
| Will lens shift be used? | Changes the beam footprint at the window |
| What is the projection distance and image size? | Affects projection geometry |
| Is the projector angled upward or downward? | Affects aperture and window orientation |
| Is the enclosure for one or multiple projectors? | Changes reflection and interference risk |
| Is projection mapping required? | Often requires stricter geometry review |
| How will the window be cleaned? | Affects maintenance and accessibility |
| Is condensation control included? | Prevents haze and scattering |
| Will the design be tested with the real lens? | Reduces final installation risk |
A reliable supplier should discuss reflection, vignetting, sealing, airflow, service access, internal finish, and optical verification together.
ShiRui Pro Tip: Before cutting the front sheet-metal panel, we prefer to freeze the optical-window drawing. Changing the window after fabrication can affect the frame, gasket, waterproofing, internal brackets, and even the projector mounting position.
Conclusion
Preventing internal reflections in a projector enclosure optical window requires controlling the complete optical path. Anti-reflective glass helps, but the final result depends on projector model, lens model, lens position, lens shift, projection angle, clear aperture, window orientation, internal surfaces, and final assembly quality.
Final Engineering Recommendation
A well-designed projector enclosure optical window should pass the full projected light cone while minimizing surface reflections, ghost images, flare, and internal stray light. The design should be based on the actual projector and lens configuration rather than a universal window size, universal tilt angle, or generic glass recommendation.
Common mistakes to avoid include:
- Treating the window as ordinary protective glazing
- Assuming AR coating solves every reflection problem
- Installing the window perpendicular without checking return reflection paths
- Tilting the window arbitrarily
- Ignoring the exact lens model
- Using the projector body center instead of the lens center
- Ignoring lens shift
- Making the clear aperture too small
- Allowing frame, gasket, flange, bracket, or cable to enter the light cone
- Using glossy internal surfaces near the optical path
- Ignoring condensation and contamination
- Testing without the final frame and gasket installed
- Testing without the actual projector lens configuration
For demanding projects, optical verification should use the exact projector, exact lens, intended lens shift, representative projection angle, and final assembled enclosure. Dark-scene testing, high-contrast patterns, and edge-of-image inspection can help reveal ghosting, flare, vignetting, and contrast loss before installation.
ShiRui designs and manufactures custom outdoor projector enclosures and sheet-metal enclosure systems with project-specific optical-window engineering. If you are planning an outdoor projection, projection mapping, or multi-projector installation, provide your projector and lens details before fabrication so the optical window can be engineered correctly from the beginning.
ShiRui Pro Tip: The most reliable solution is not “use AR glass” alone. The correct approach is to design the window around the real projector, real lens, real beam path, and real enclosure geometry.