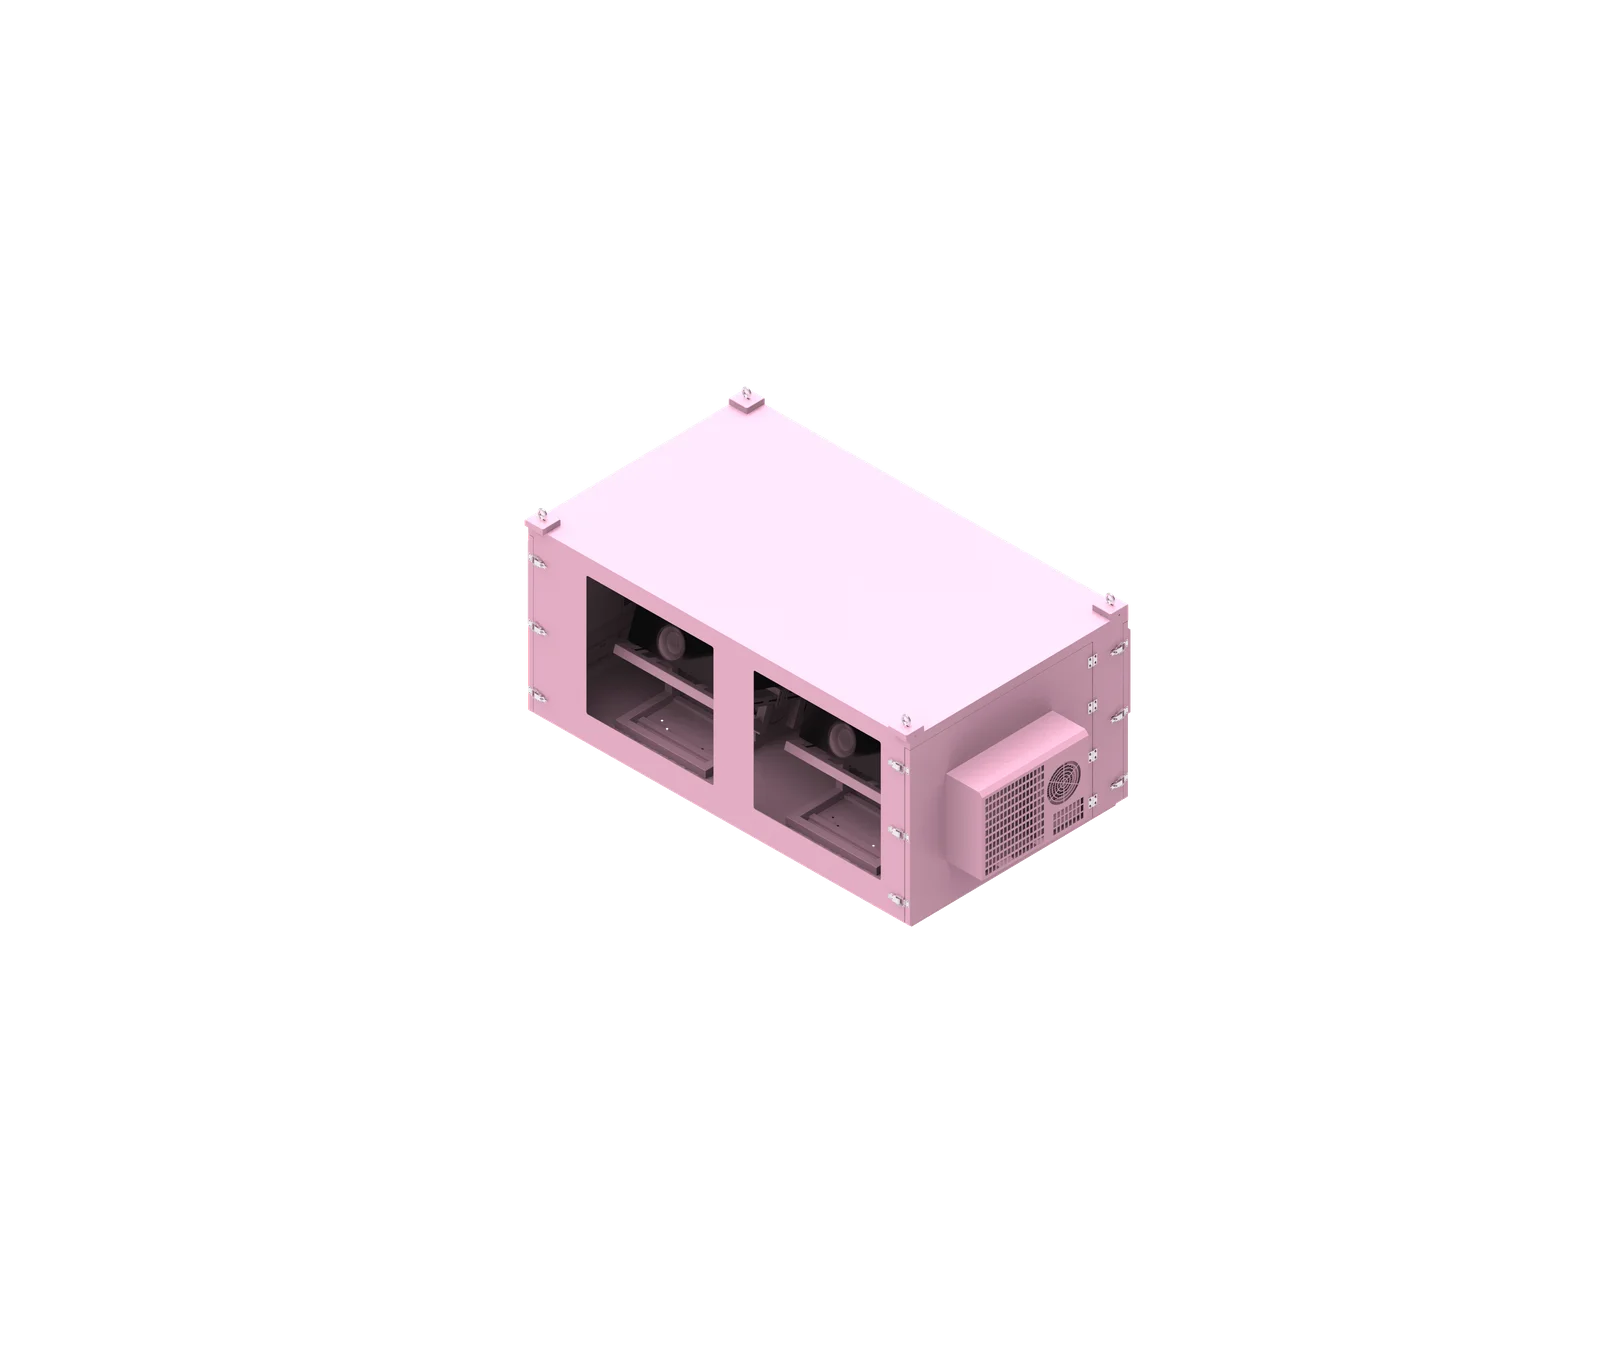
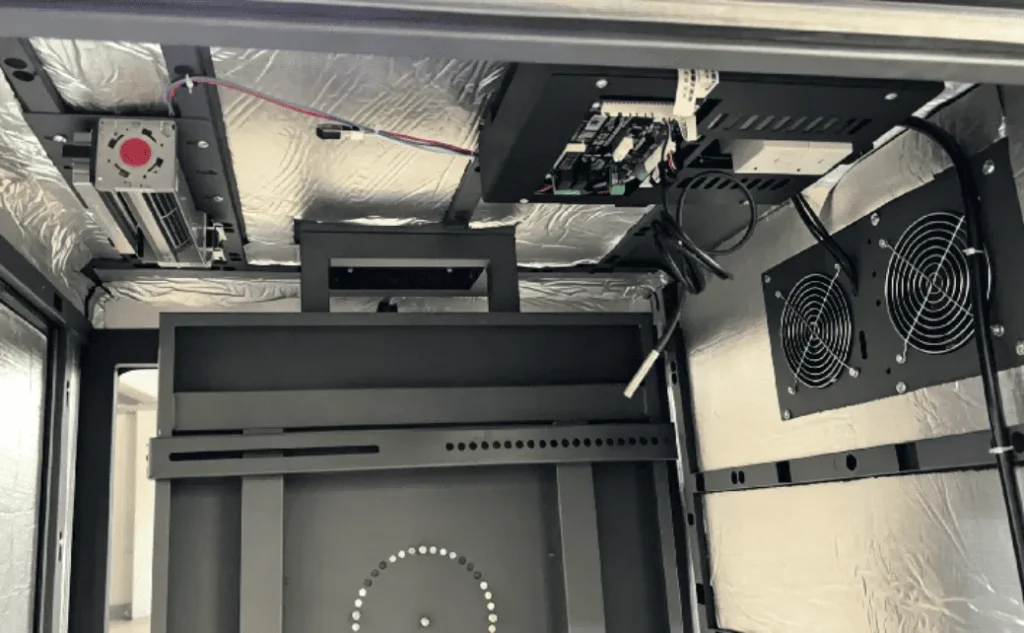
Pre-shipment testing for an outdoor projector enclosure should verify the complete protection system, not only the metal cabinet. A professional projector enclosure factory test checks structure, projector fit, optical alignment, sealing, airflow, cooling, temperature control, electrical safety, service access, documentation, and packaging against approved drawings, project specifications, customer requirements, and applicable standards.
What is outdoor projector enclosure testing?
Outdoor projector enclosure testing is the factory inspection and functional verification process used to confirm that a completed enclosure matches the approved design and can support the projector safely outdoors. It includes mechanical, optical, sealing, thermal, electrical, access, and packaging checks before the product is released for shipment.
Complete-System Quality Verification
Outdoor projector enclosure testing should be treated as system-level quality control. The enclosure is not just a sheet-metal box; it is a protective operating environment for an expensive projector. For custom projector enclosure testing, the inspection scope should be based on the exact projector model, enclosure configuration, cooling method, required IP rating, electrical design, installation method, and customer acceptance criteria.
Based on our internal data and market analysis, here is the breakdown:
| Inspection Area | What to Verify |
|---|---|
| Dimensions | Match approved drawings and manufacturing requirements |
| Projector fit | Clearance, installation path, cable access, and removal path |
| Optical window | Lens alignment, clear aperture, glass condition, and sealing |
| Doors and seals | Door operation, gasket continuity, compression, and locking |
| Cable entry | Gland position, unused-hole sealing, and drawing compliance |
| Cooling system | Fan, AC, filter, or circulation system operation |
| Airflow | No major obstruction or hot-air recirculation |
| Temperature control | Controller, sensors, alarms, heating, or cooling response |
| Electrical system | Wiring, grounding, protection devices, routing, and labeling |
| Maintenance access | Projector, filters, electrical parts, and cooling components are serviceable |
| Mounting interface | Hole positions, brackets, reinforcement, and installation orientation |
| Surface finish | Coating, scratches, fabrication defects, and exposed metal |
| Packaging | Optical glass, doors, components, and surfaces protected for transport |
Shirui Pro Tip: I always recommend treating pre-shipment inspection as a project-specific verification process. A cabinet can look perfect from the outside but still fail in airflow, maintenance access, lens alignment, or cable routing after installation.
How Does outdoor projector enclosure testing Work?
Outdoor projector enclosure testing works by comparing the finished product with approved drawings, then verifying each mechanical, optical, sealing, cooling, airflow, electrical, and maintenance function. The process should follow the project specification, not generic assumptions, because each projector model and enclosure design may require different acceptance criteria.
Recommended Factory Inspection Workflow
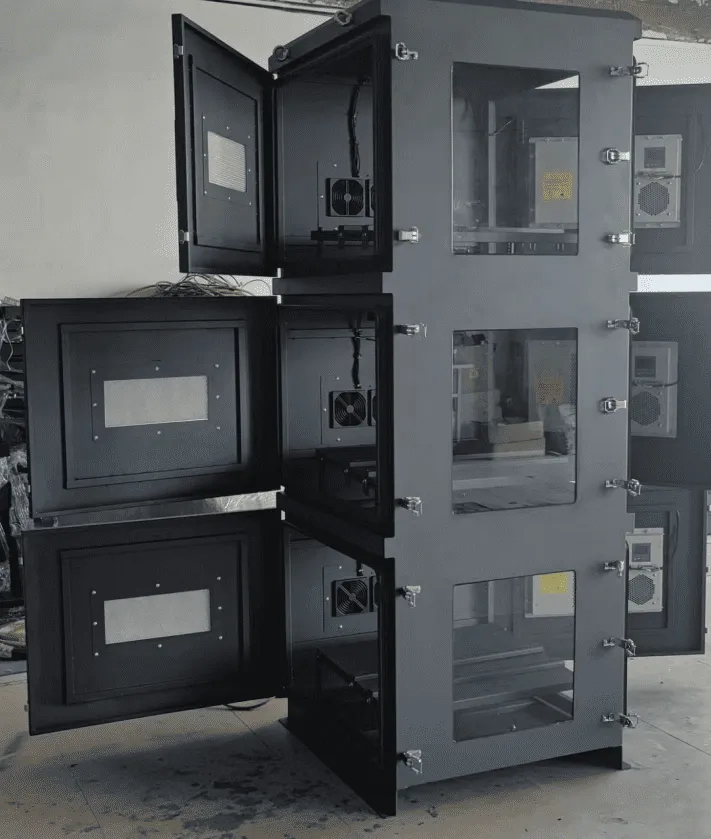
A reliable projector enclosure pre shipment inspection starts with documentation and ends with packaging release. The factory should check the enclosure in the most complete final assembly condition practical, including filters, cooling components, cable entries, internal brackets, electrical panels, and mounting accessories where applicable.
A practical workflow includes:
- Review approved drawings, order requirements, and customer-specific inspection points.
- Measure critical dimensions such as width, height, depth, internal usable space, door openings, optical-window location, and mounting-interface positions.
- Verify projector fit using the actual projector when available, or verified projector dimensions when the unit is not available.
- Inspect the internal projector mounting plate, rails, brackets, fasteners, and adjustment structures.
- Check optical-window alignment with the projector lens, including lens shift clearance and projection angle.
- Inspect optical glass for scratches, cracks, contamination, sealing defects, loose installation, or frame obstruction.
- Open and close all doors and removable panels to confirm hinge, latch, lock, clearance, and gasket performance.
- Inspect cable glands, gland plates, sealed connectors, blanking plugs, and spare openings.
- Operate the cooling system, internal circulation system, heater, sensors, and temperature controller where installed.
- Check airflow paths to confirm projector intake and exhaust air are managed correctly.
- Inspect electrical wiring, grounding or bonding, protection devices, cable routing, labeling, and component mounting.
- Simulate maintenance access, including projector removal, filter replacement, lens adjustment, and electrical service.
- Clean the enclosure, record photos, prepare inspection documents, and verify packaging before shipment.
Shirui Pro Tip: I do not consider a test complete if the enclosure is inspected empty only. The final internal layout matters because projector position, filters, cable bundles, and brackets can completely change airflow and maintenance access.
What is the 4 6 8 rule for projectors?
The 4 6 8 rule is a practical viewing-distance guideline sometimes used in projection planning, but it is not a factory acceptance standard for outdoor projector enclosures. For enclosure testing, it may support layout discussions, while actual pass/fail criteria must come from drawings, projector data, customer requirements, and site conditions.
Projection Planning Versus Enclosure QC
The 4 6 8 rule is generally used to estimate suitable viewing distances relative to image size or screen height, depending on the application. It can help buyers think about viewing comfort, image readability, and audience position. However, outdoor projector enclosure QC focuses on whether the enclosure allows the projector to operate as designed.
Based on our internal data and market analysis, here is the breakdown:
| Topic | 4 6 8 Rule Relevance | Factory Enclosure Test Relevance |
|---|---|---|
| Viewing distance | Useful for audience layout discussions | Not a direct enclosure pass/fail item |
| Screen size | Helps estimate practical viewing conditions | May affect projector angle and lens position |
| Lens alignment | Indirectly related through projection geometry | Directly checked through optical-window alignment |
| Brightness planning | Can support early project discussions | Must be based on projector and site requirements |
| Enclosure dimensions | Not determined by this rule alone | Must follow approved drawings |
| Cooling design | Not addressed by this rule | Must be tested as part of system verification |
| IP or weather protection | Not addressed | Must follow specified sealing and test requirements |
For factory inspection, the more important question is whether the lens center, optical window, projector mounting position, and projection path match the approved design. A correct viewing-distance estimate cannot compensate for a misaligned window or obstructed projection aperture.
Shirui Pro Tip: I treat projection rules as planning references only. Before shipment, I focus on measurable enclosure items: lens position, clear aperture, projector mounting, service access, airflow, and the exact drawings approved by the customer.
How can I make an outdoor projector enclosure that is weatherproof?
To make an outdoor projector enclosure weatherproof, design and test the full sealing system: doors, gaskets, optical window, cable entries, seams, cooling interfaces, access panels, and unused openings. Weatherproof performance should be verified according to the required IP rating, project method, customer criteria, and any applicable independent certification requirements.
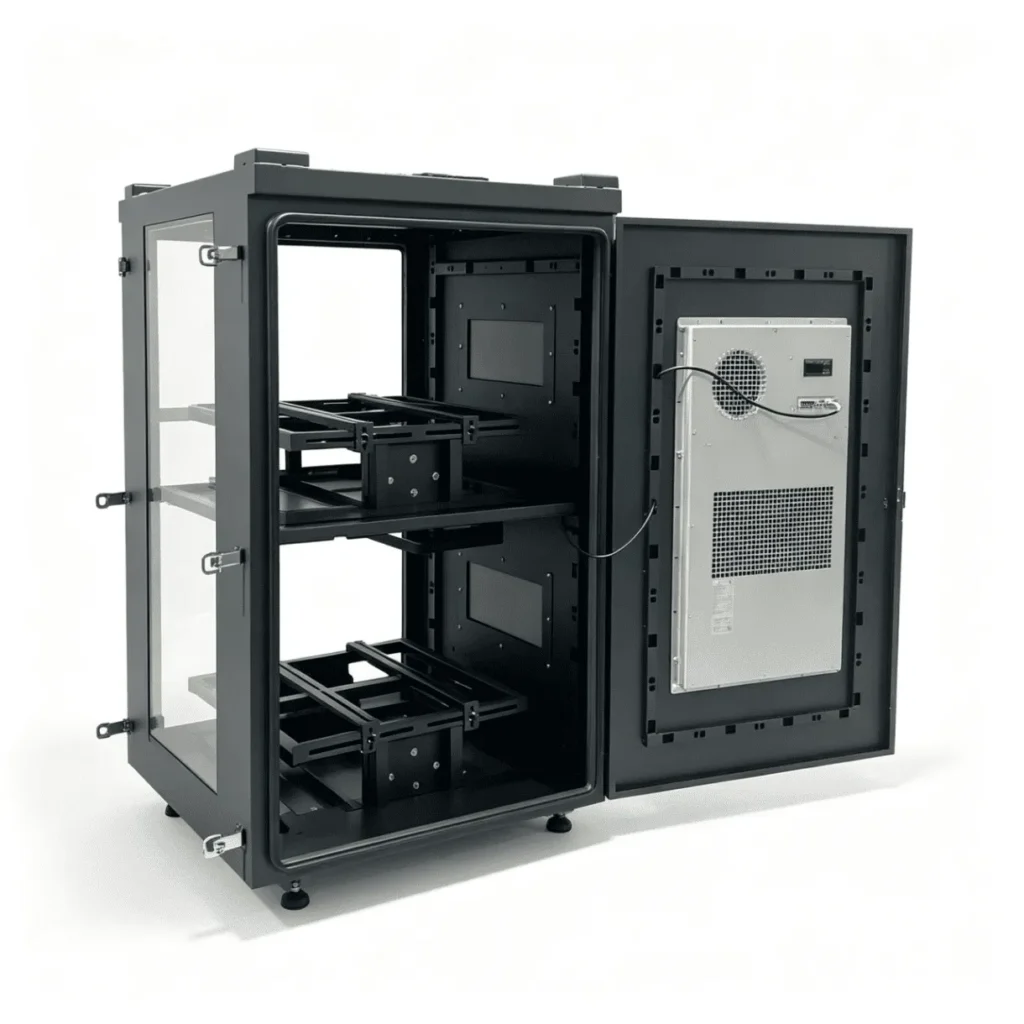
Weatherproofing Depends on Sealing Details
Weatherproofing is not achieved by the metal cabinet alone. The final enclosure must manage water, dust, condensation risk, cable penetration, and service access without compromising projector operation. For outdoor projector enclosure testing, the factory should inspect all possible ingress paths and clearly distinguish internal QC checks from accredited IP certification.
Key weatherproofing checks include:
- Confirm door gaskets are continuous, undamaged, correctly seated, and not twisted.
- Check that doors close evenly without excessive force or visible misalignment.
- Inspect the optical-window frame, gasket, glass seating, and sealing surface.
- Verify cable glands, gland plates, sealed connectors, blanking plugs, and spare openings.
- Check cooling-system interfaces, air-conditioning connections, fan openings, filters, and drainage arrangements where applicable.
- Inspect seams, welded areas, access panels, fasteners, and unused holes.
- For dust-sensitive or desert projects, inspect filters, door seals, cable entries, cooling openings, and unused penetrations.
- Confirm that waterproof or dust-protection verification follows the agreed project method.
A factory water check can be useful for quality control, but it should not automatically be presented as certified IP compliance. If an IP rating is claimed, the documentation should clarify whether the result comes from factory QC, an internal functional test, or an accredited third-party report.
Shirui Pro Tip: I pay special attention to cable entries and cooling interfaces. These areas are often modified late in production, and even a well-built enclosure can lose weather protection if unused holes or service penetrations are not sealed correctly.
How to tell if a projector lamp is bad?
A projector lamp may be bad if brightness drops noticeably, startup becomes unstable, the projector shows lamp warnings, the image flickers, color shifts, or the unit shuts down unexpectedly. However, enclosure testing should first separate lamp problems from airflow, overheating, power supply, filter blockage, or installation issues.
Lamp Symptoms and Enclosure-Related Causes
During projector enclosure quality inspection, a lamp issue should not be diagnosed too quickly. In an outdoor enclosure, reduced brightness or shutdown may be caused by the lamp itself, but it may also come from hot-air recirculation, blocked intake airflow, incorrect fan direction, dirty filters, poor cable routing, or unstable power.
Based on our internal data and market analysis, here is the breakdown:
| Symptom | Possible Lamp Cause | Possible Enclosure Cause |
|---|---|---|
| Dim image | Lamp aging or lamp mode issue | Optical glass contamination or obstruction |
| Flickering | Lamp instability | Power supply issue or control wiring problem |
| Startup failure | Lamp failure or lamp door error | Electrical circuit, wiring, or ventilation fault |
| Auto shutdown | Lamp overheating | Poor airflow, blocked exhaust, or recirculation |
| Color change | Lamp aging | Dirty optical window or projector thermal stress |
| Warning message | Lamp-hour or lamp fault alert | Sensor, airflow, or temperature-related warning |
| Intermittent operation | Lamp or ballast issue | Loose power connection or enclosure overheating |
Before shipment, the factory should verify that the enclosure does not create conditions that could be mistaken for lamp failure. This means checking projector intake clearance, exhaust removal path, filter installation, internal circulation, cable obstruction, and temperature-control response where applicable.
Shirui Pro Tip: When a projector behaves abnormally inside an enclosure, I check airflow and power before blaming the lamp. A good lamp can still fail to operate normally if hot exhaust air returns directly to the projector intake.
Key Features & Comparison
A high-quality outdoor projector enclosure should be evaluated by how well it protects and supports the projector as a complete operating system. The most important features include dimensional accuracy, optical alignment, weather sealing, thermal management, electrical reliability, airflow control, serviceability, mounting compatibility, documentation, and transport protection.
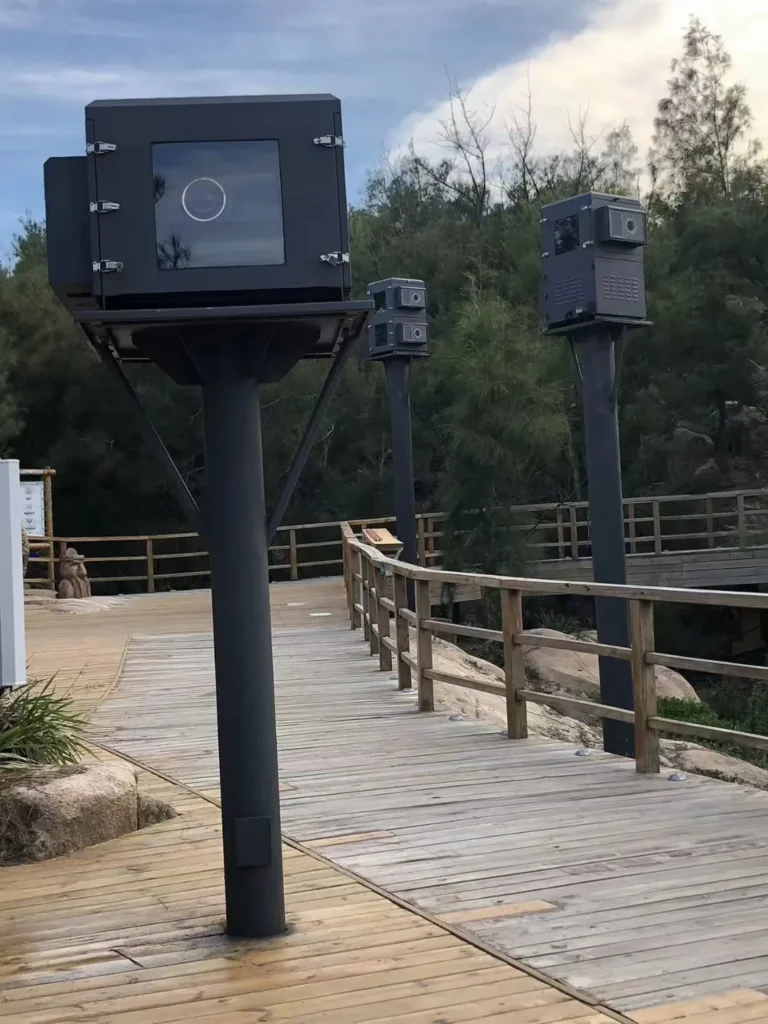
Factory QC Items That Separate a Professional Enclosure from a Basic Cabinet
A professional outdoor projector enclosure QC process verifies the enclosure from multiple engineering angles. The goal is to confirm that the product can be installed, serviced, connected, cooled, sealed, and shipped according to the approved project design.
Based on our internal data and market analysis, here is the breakdown:
| Feature | Basic Cabinet Check | Professional Shirui Factory Test |
|---|---|---|
| Dimensions | Measures outside size only | Checks overall dimensions, internal space, door openings, window position, and mounting interfaces |
| Projector compatibility | Assumes projector will fit | Verifies clearance, lens alignment, cable access, installation path, and removal path |
| Optical window | Checks glass is installed | Checks position, aperture, frame obstruction, glass condition, and sealing |
| Door system | Opens and closes door | Checks hinges, locks, latches, gasket compression, clearance, and interference |
| Environmental sealing | Visual inspection only | Checks doors, gaskets, cable entries, seams, cooling interfaces, and unused holes |
| Cooling system | Confirms fan or AC powers on | Verifies airflow path, direction, circulation, abnormal noise, vibration, and control response |
| Airflow design | Not evaluated | Checks projector intake, exhaust removal, cable obstruction, filter influence, and recirculation risk |
| Temperature control | Controller installed | Verifies sensor placement, controller response, heater/cooling activation, and alarm logic if specified |
| Electrical system | Components installed | Checks wiring, terminals, grounding/bonding, routing, labels, and functional operation |
| Maintenance access | Not simulated | Confirms projector removal, filter access, lens adjustment, and service access |
| Mounting interface | Holes present | Confirms bracket position, reinforcement, installation orientation, and drawing compliance |
| Documentation | Packing list only | May include inspection records, photos, drawings, wiring diagrams, test records, or agreed FAT documents |
| Packaging | General protection | Protects optical glass, doors, cooling parts, surfaces, accessories, and shipping orientation |
This comparison is especially important for custom projector enclosure testing. A customized enclosure may include special brackets, multi-projector layouts, air conditioning, heating, humidity control, network equipment, monitoring devices, or unusual mounting methods. Each feature should be checked against the actual approved configuration.
Shirui Pro Tip: I always tell buyers to ask what the factory tests after final assembly. A beautiful cabinet before assembly does not prove the final enclosure will manage heat, airflow, cables, maintenance, and optical alignment correctly.
Cost & Buying Factors
The cost of an outdoor projector enclosure is influenced by material, size, projector model, cooling method, IP requirement, optical glass, electrical system, sensors, mounting structure, documentation, FAT scope, and packaging. Buyers should define technical and inspection requirements early to avoid expensive changes before shipment.
What Affects Price and Pre-Shipment Inspection Scope
Projector enclosure pre shipment inspection becomes more complex as the enclosure becomes more customized. A simple fan-cooled cabinet has a different inspection scope from an air-conditioned enclosure with heating, sensors, monitoring, special coating, multi-projector layout, or strict documentation requirements.
Based on our internal data and market analysis, here is the breakdown:
| Buying Factor | Cost Impact | QC Impact |
|---|---|---|
| Projector size and weight | Larger structure and stronger mounting may be required | Fit, clearance, support rigidity, and removal path must be checked |
| Cooling configuration | Fans, filters, AC, heaters, and controls affect cost | Airflow, direction, startup, access, and controller response must be tested |
| Required IP level | Higher sealing requirements may increase design complexity | Doors, gaskets, cable entries, windows, and interfaces need stricter verification |
| Optical window type | Coated or special optical glass may cost more | Glass handling, cleanliness, sealing, and obstruction checks become critical |
| Electrical design | Power distribution, sensors, and controls add complexity | Wiring, grounding/bonding, routing, labels, and functional checks are required |
| Mounting method | Pole, wall, ceiling, or platform mounting may need custom brackets | Hole positions, reinforcement, and installation orientation must match drawings |
| Documentation | More records require more engineering and QC time | Inspection reports, photos, wiring diagrams, and FAT records may be needed |
| FAT requirement | Customer witness testing may add schedule and preparation work | Scope and acceptance criteria must be agreed before shipment |
| Packaging and transport | Large or sensitive products need stronger protection | Glass, doors, cooling equipment, orientation, and accessories must be checked |
Before ordering, buyers should confirm the exact projector model, quantity, cooling configuration, required IP level, electrical requirements, installation method, mounting interface, cable requirements, test requirements, documentation requirements, and acceptance criteria.
Shirui Pro Tip: I recommend confirming FAT items before production starts, not after the enclosure is built. Late changes to cable entries, cooling layout, or mounting interfaces can affect both cost and delivery schedule.
Conclusion
A structured pre-shipment inspection helps identify enclosure problems before installation on site. For custom outdoor projector enclosures, the most important principle is simple: test the complete enclosure system, not only the cabinet shell, and verify every critical function against approved drawings and project-specific requirements.
Final Pre-Shipment Checklist for Buyers and Manufacturers
A professional outdoor projector enclosure should leave the factory only after its mechanical, thermal, airflow, electrical, optical, sealing, maintenance, and packaging functions have been checked. The exact test methods and acceptance criteria should be based on project specifications, customer requirements, applicable standards, and verified factory test data.
Use this final checklist as a practical guide:
- Dimensions verified against approved drawings.
- Projector fit and installation path confirmed.
- Projector mounting structure checked for alignment and rigidity.
- Optical window position, clear aperture, glass condition, and sealing inspected.
- Doors, hinges, locks, latches, and gaskets checked.
- Cable entries, glands, blanking plugs, and unused openings verified.
- Cooling system operated and checked for correct function.
- Internal airflow reviewed for obstruction and hot-air recirculation risk.
- Temperature-control system, sensors, heaters, fans, or AC response verified where applicable.
- Electrical wiring, grounding/bonding, protection devices, routing, and labels inspected.
- Maintenance access and projector removal path tested.
- Mounting interfaces checked against the installation design.
- Surface finish, coating, fasteners, and fabrication quality inspected.
- Interior cleaned to remove dust, metal debris, loose fasteners, and manufacturing residue.
- Final photos, inspection records, drawings, wiring diagrams, or FAT documents prepared as required.
- Packaging, accessory list, shipping orientation, and transport protection verified.
For buyers, the best result comes from agreeing on inspection items and acceptance criteria before shipment. Shirui supports project-based outdoor projector enclosure testing and can align factory QC with the actual enclosure design, projector model, cooling configuration, electrical system, and documentation requirements.
Shirui Pro Tip: My final release question is always this: if the enclosure arrives on site tomorrow, can the projector be installed, powered, cooled, aligned, serviced, and protected as designed? If the answer is not clearly yes, the enclosure is not ready to ship.