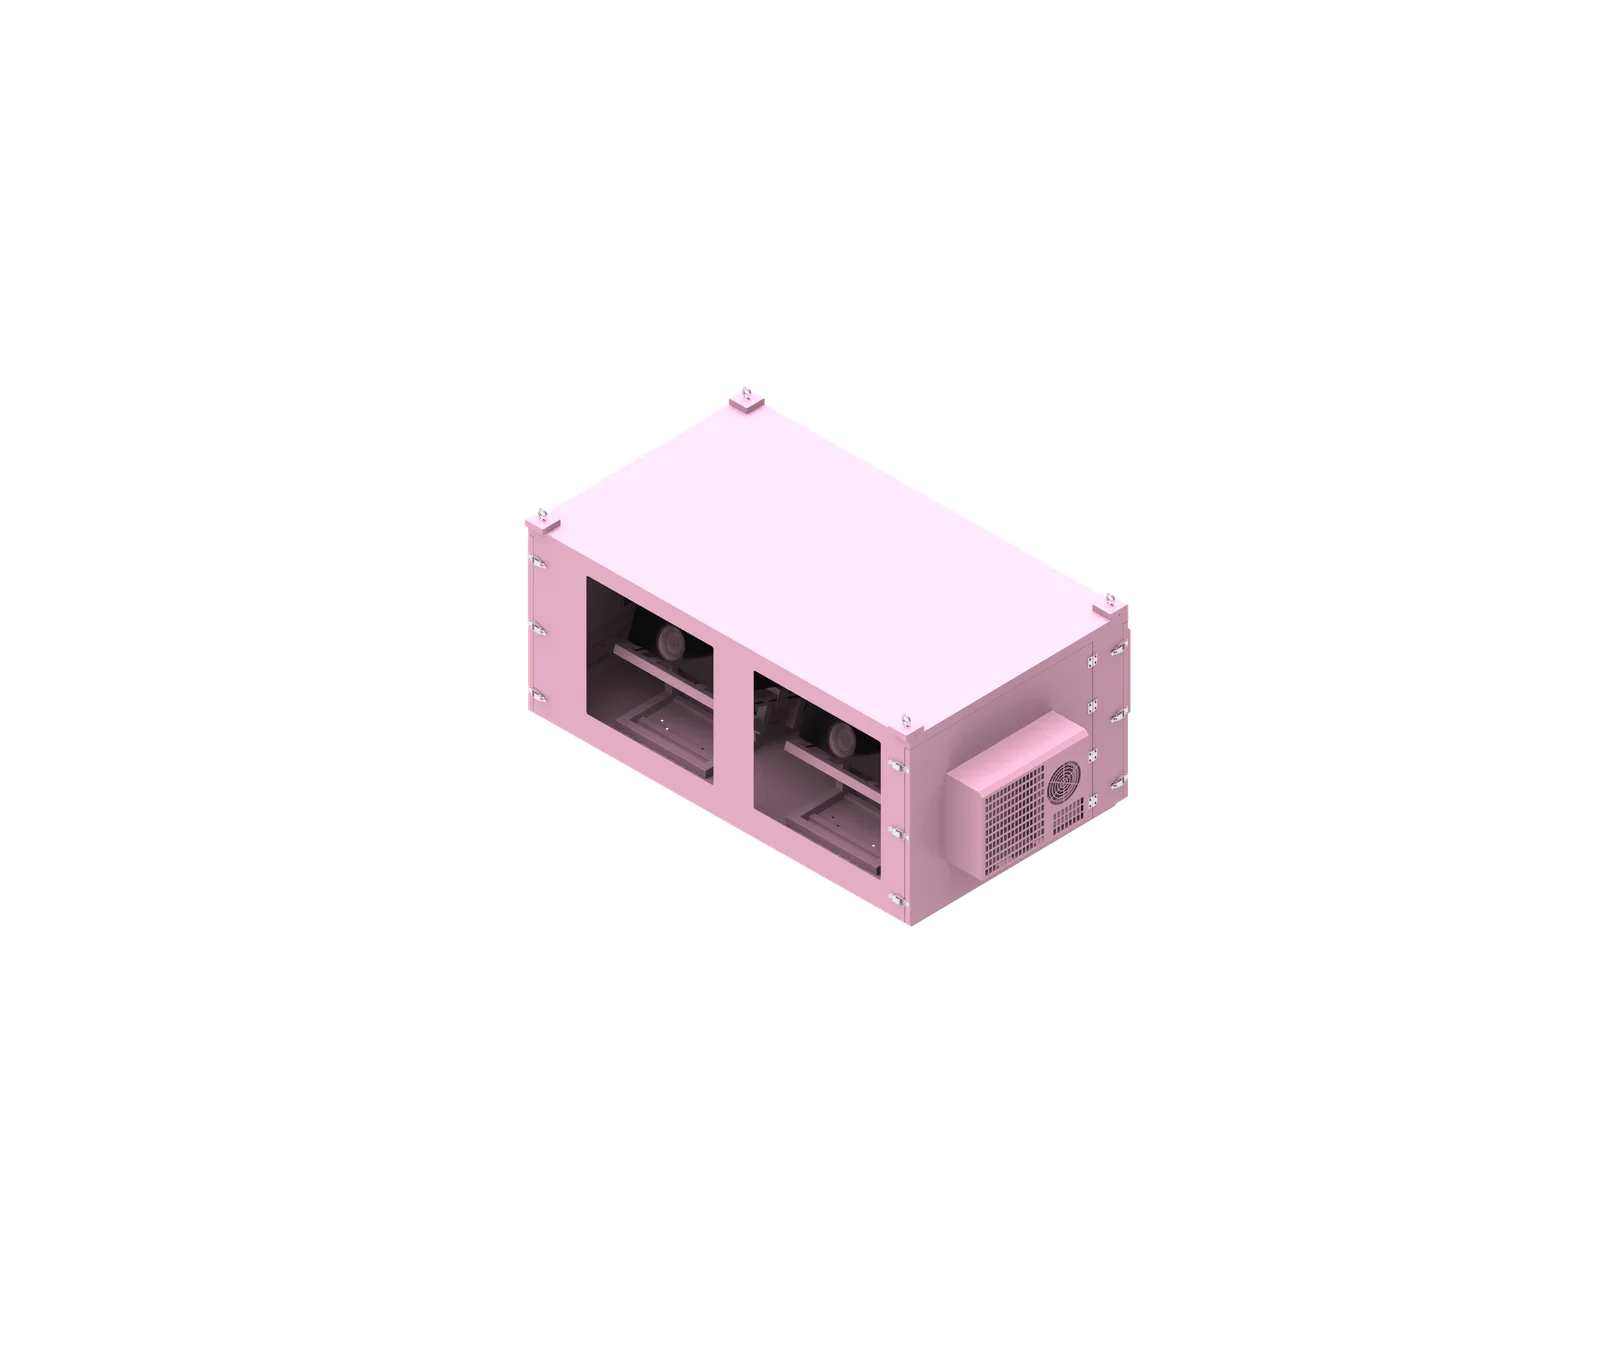
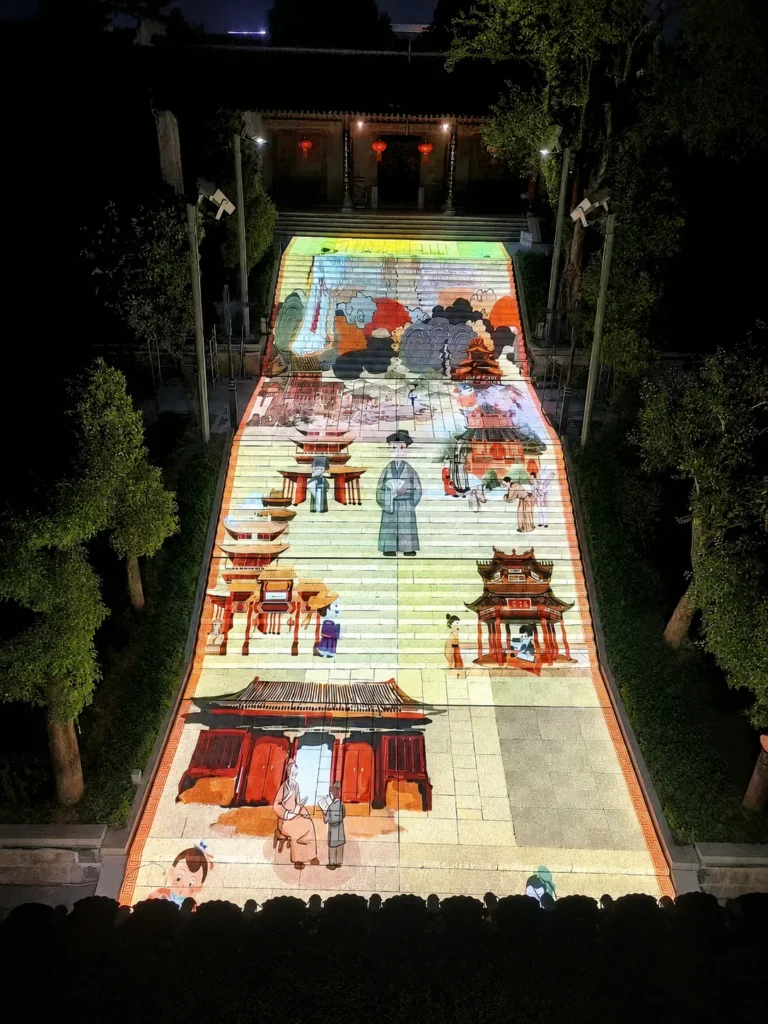
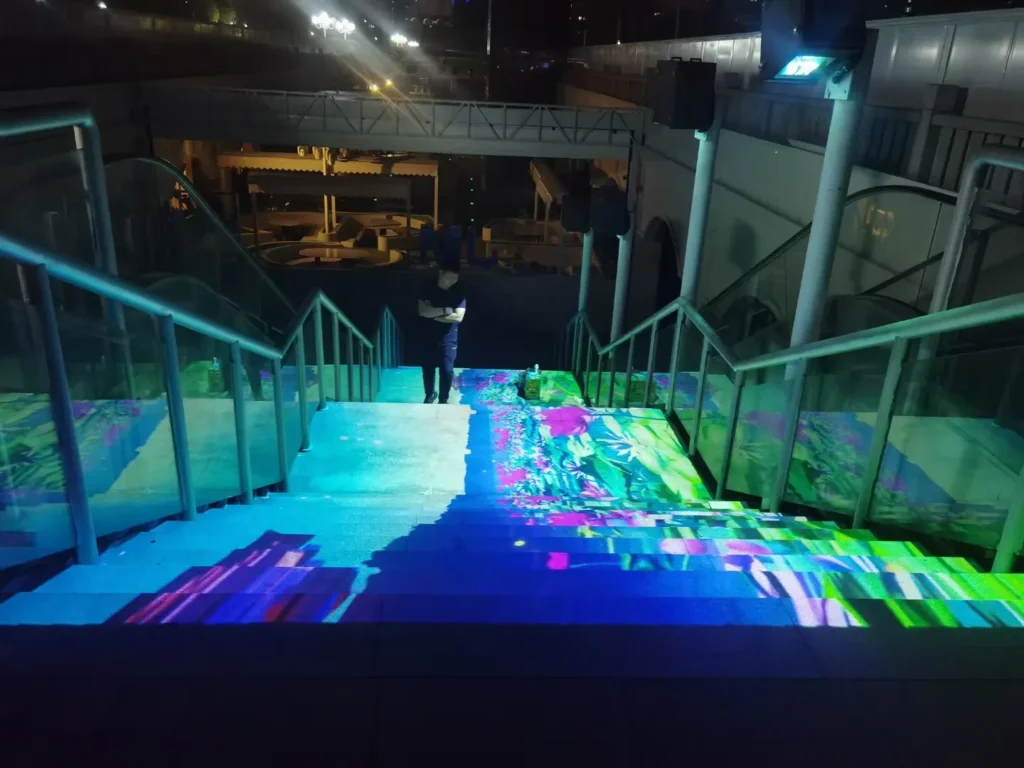
Permanent ground, floor, and stair projection exposes a projector to rain splash, dust, insects, heat buildup, condensation, vibration, theft risk, and unusual projection angles. A purpose-built outdoor projector enclosure protects the equipment while maintaining airflow, optical clarity, drainage, and service access. For AV integrators and projection-mapping contractors, the enclosure must be specified around the projector, lens, site climate, mounting angle, and maintenance plan—not chosen as a generic box.
What is outdoor projector enclosure?
An outdoor projector enclosure is a protective housing designed to let a projector operate outdoors while controlling weather exposure, airflow, temperature, humidity, cable entry, and optical output. For ground projection, stair projection, and downward projection, the enclosure also needs special mounting geometry, drainage planning, and lens-window alignment.
Functional Definition for Outdoor Projection Projects
An outdoor projector enclosure is not just a waterproof projector box. It is an engineered outdoor projector housing that supports the projector mechanically, protects it environmentally, and keeps the optical path usable for long-term operation.
For floor projection and staircase projection, the enclosure often works at steep or downward angles. That changes how weight is supported, where rainwater collects, how air moves through the cabinet, and how technicians access the projector.
Based on our internal data and market analysis, here is the breakdown:
| Installation Type | Typical Projection Direction | Enclosure Challenge | Key Specification Focus |
|---|---|---|---|
| Ground projection | Downward or steep angled | Lens alignment, splash protection, drainage | Downward projection projector mount, optical glass position |
| Floor projection | Overhead or angled downward | Heat exhaust separation, anti-theft mounting | Projector enclosure for floor projection, service access |
| Stair projection | Angled across steps or multi-level | Geometry correction, multiple beam paths | Projector enclosure for staircase projection, lens placement |
| Wall projection | Horizontal or slight upward/downward | Rain and sun exposure | Weatherproof projector enclosure, cable sealing |
| Projection mapping | Site-specific angles | Thermal stability and alignment repeatability | Outdoor projection mapping enclosure, rigid mounting |
For a ShiRui enclosure design, the engineering input should include [PROJECTOR MODEL], [PROJECTOR DIMENSIONS], [PROJECTOR HEAT OUTPUT OR POWER CONSUMPTION], [INSTALLATION ANGLE], and [ENCLOSURE DIMENSIONS]. These determine the cabinet structure before accessories such as filters, heaters, drainage channels, or locks are finalized.
ShiRui Pro Tip: I always start with the projector and lens geometry, not the enclosure size. If the lens centerline, throw angle, and service direction are wrong, even a strong IP-rated enclosure can become difficult to install and maintain.
How Does outdoor projector enclosure Work?
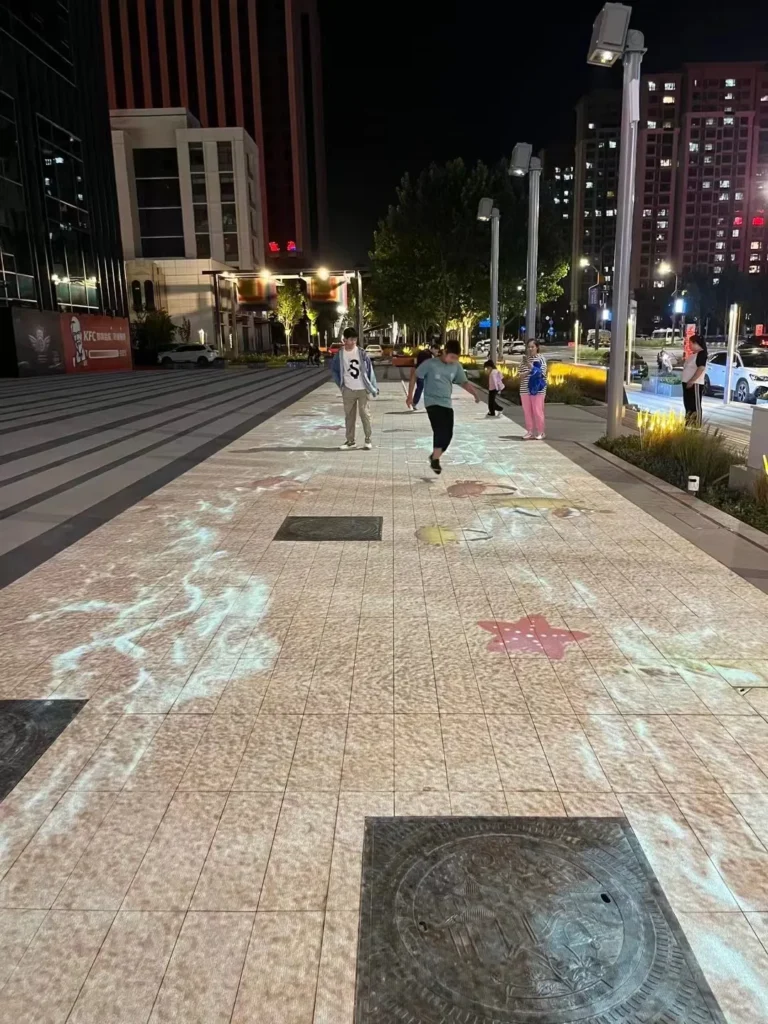
An outdoor projector enclosure works by combining mechanical support, weather shielding, controlled ventilation, optical transmission, cable protection, drainage, and service access. In downward projection, it must also prevent exhaust recirculation, avoid water accumulation near the optical window, and keep the projector balanced at the specified installation angle.
Operating System Inside a Weatherproof Projector Enclosure
A professional outdoor projector enclosure manages several systems at the same time. The projector generates heat, the outdoor environment introduces water and dust, and the installation angle changes airflow and drainage behavior. The enclosure must balance protection with ventilation because sealing a projector inside an unventilated box can quickly create thermal and condensation problems.
Key operating elements include:
- Projector support frame
Holds [PROJECTOR MODEL] securely at the required [INSTALLATION ANGLE] and keeps the lens aligned with the optical window. - Filtered air intake
Allows controlled airflow while reducing dust, insects, and debris. The filter should be defined as [FILTER TYPE]. - Exhaust path
Removes hot air without allowing it to recirculate into the projector intake. The expected airflow should be documented as [COOLING AIRFLOW]. - Climate-control components
Depending on the site, a climate controlled projector enclosure may include fans, heaters, thermostats, humidity sensors, or anti-condensation controls. - Optical glass window
Provides the projection path while resisting outdoor exposure. The specification should include [OPTICAL GLASS TRANSMISSION], not ordinary acrylic unless it is proven suitable for the optical and environmental conditions. - Cable entry and sealing
Power, signal, and control cables should enter through protected glands or conduits that match the enclosure’s environmental design. - Drainage and corrosion protection
Drainage openings must be placed where water actually collects at the chosen angle. Material and coating should be listed as [ENCLOSURE MATERIAL].
Methodology box — how project measurements should be collected
- Manufacturer specifications: projector dimensions, power consumption, lens shift range, exhaust direction, and operating limits from the projector datasheet.
- Third-party standards: declared ingress protection should be recorded as [DECLARED IP RATING AND TEST STANDARD], without assuming that IP rating alone prevents condensation.
- ShiRui own test data: site records such as [FIELD TEST LOCATION], [TEST DURATION], [AMBIENT AND INTERNAL TEMPERATURE RECORDS], [HUMIDITY RANGE], and [ORIGINAL INSTALLATION PHOTOS].
- Maintenance evidence: filter condition, service time, drainage inspection, and [MAINTENANCE INTERVAL].
- If no field data is available, use an engineering calculation only and label it clearly as: Illustrative example — not a field-test result.
ShiRui Pro Tip: I do not treat IP rating as a complete climate-control solution. IP protection helps manage water and dust entry, but condensation is driven by temperature, humidity, airflow, and dew point conditions.
What are the benefits of outdoor projector enclosure?
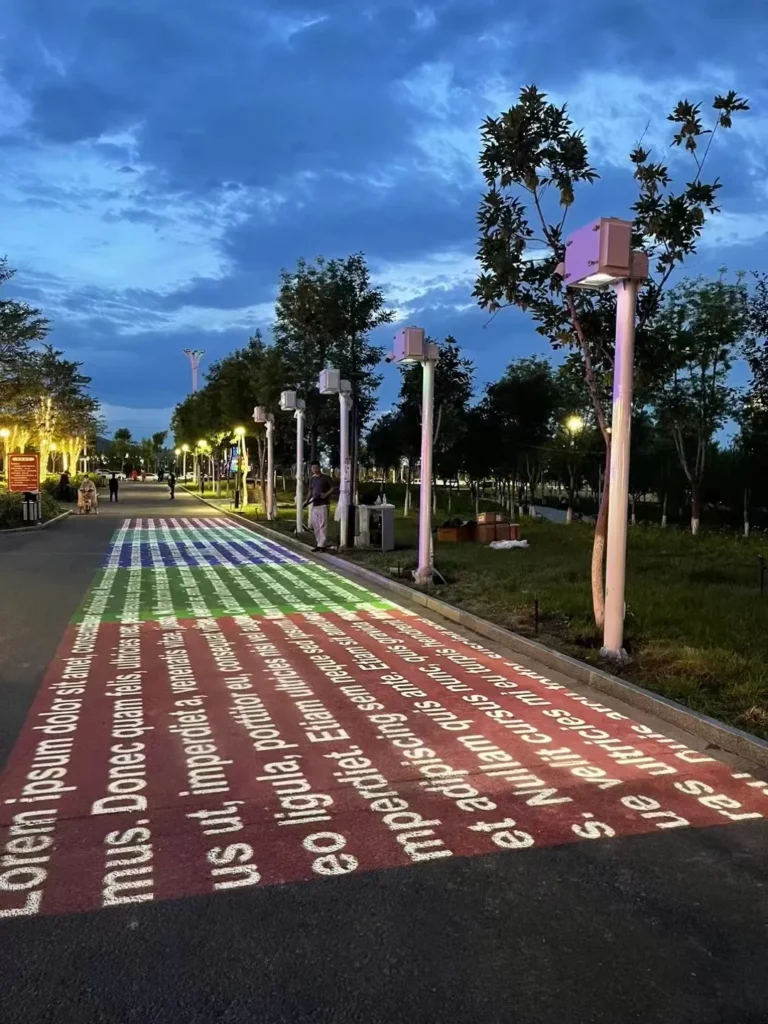
The main benefits of an outdoor projector enclosure are equipment protection, stable alignment, controlled cooling, improved serviceability, and safer long-term operation in rain, dust, humidity, insects, salt air, and public environments. For ground and stair projection, it also supports accurate downward-angle mounting and cleaner optical output.
Practical Advantages for Integrators and Site Owners
A properly specified outdoor projector enclosure reduces project risk during installation and operation. It helps protect the projector from direct weather while allowing the heat it produces to escape. For attractions, museums, commercial plazas, and themed environments, the enclosure also makes maintenance more predictable.
Based on our internal data and market analysis, here is the breakdown:
| Benefit | Why It Matters | Specification Detail to Confirm |
|---|---|---|
| Weather protection | Reduces exposure to rain, dust, insects, and splash | [DECLARED IP RATING AND TEST STANDARD] |
| Thermal control | Helps avoid heat buildup inside the enclosure | [PROJECTOR HEAT OUTPUT OR POWER CONSUMPTION], [COOLING AIRFLOW] |
| Condensation management | Reduces risk from humidity cycling | [HUMIDITY RANGE], anti-condensation control strategy |
| Optical consistency | Keeps the projection path clearer and more stable | [OPTICAL GLASS TRANSMISSION], glass angle and sealing |
| Secure installation | Protects against movement and tampering | Locking hardware, anti-theft brackets, tamper-resistant fasteners |
| Easier maintenance | Reduces downtime and access difficulty | [MAINTENANCE INTERVAL], service door direction |
| Better angle control | Supports ground, stair, and downward projection geometry | [INSTALLATION ANGLE], adjustable internal mounting plate |
Ground projection, floor projection, and stair projection all benefit from enclosure customization. A projector enclosure for floor projection may require overhead mounting and downward projection stability, while a projector enclosure for staircase projection may require single-projector or multi-projector alignment across multiple step surfaces.
ShiRui Pro Tip: I recommend planning maintenance access before finalizing the bracket. If a technician cannot remove the filter, clean the optical glass, or slide out the projector safely, the installation will become expensive to maintain.
How to maintain an outdoor projector enclosure?
Maintenance for an outdoor projector enclosure should include filter inspection, optical glass cleaning, drainage checks, cable-entry inspection, fan operation checks, corrosion review, and internal temperature or humidity record review. The maintenance interval depends on dust, rainfall, insects, salt air, projector heat output, and operating hours.
Maintenance Workflow for Long-Term Outdoor Operation
A weatherproof projector enclosure should be maintained as part of the AV system, not only when image quality drops. Outdoor environments change by season, and ground-level or stair installations often collect dust, leaves, splash residue, and insects faster than elevated wall-mounted systems.
Recommended maintenance workflow:
- Inspect the exterior shell
Check [ENCLOSURE MATERIAL], coating, fasteners, hinges, locks, and any signs of corrosion or physical damage. - Clean the optical window
Use cleaning methods compatible with the specified glass. Confirm whether the material is optical glass and record [OPTICAL GLASS TRANSMISSION] if measured. - Check air intake and exhaust paths
Confirm filters are not clogged and exhaust is not blowing back into the intake. Record filter condition at 30, 60, or 90 days if possible. - Inspect drainage points
Confirm drainage openings are still at the low points after final installation angle adjustment. Incorrect drainage location is a common failure point. - Verify fans, heaters, and sensors
Confirm fan operation, thermostat settings, humidity control, and anti-condensation response if included. - Review internal conditions
Compare [AMBIENT AND INTERNAL TEMPERATURE RECORDS] and [HUMIDITY RANGE] against the design assumptions. - Document with photos
Keep [ORIGINAL INSTALLATION PHOTOS] and maintenance photos for future troubleshooting.
Maintenance records should distinguish between manufacturer projector limits, third-party environmental standards, and ShiRui site observations. For example, a projector datasheet may define allowable operating conditions, an IP standard may describe enclosure ingress testing, and ShiRui field records may show actual internal temperature behavior at [FIELD TEST LOCATION].
ShiRui Pro Tip: I like to photograph the filter, optical glass, intake opening, exhaust opening, and drainage point at every service visit. Those five photos often explain most outdoor projection performance changes.
What is the price of outdoor projector enclosure?
The price of an outdoor projector enclosure depends on projector size, heat output, material, IP design, climate-control hardware, optical glass, mounting angle, anti-theft features, corrosion resistance, and customization level. Ground projection and stair projection enclosures usually cost more than simple horizontal housings because the mechanical and drainage requirements are more complex.
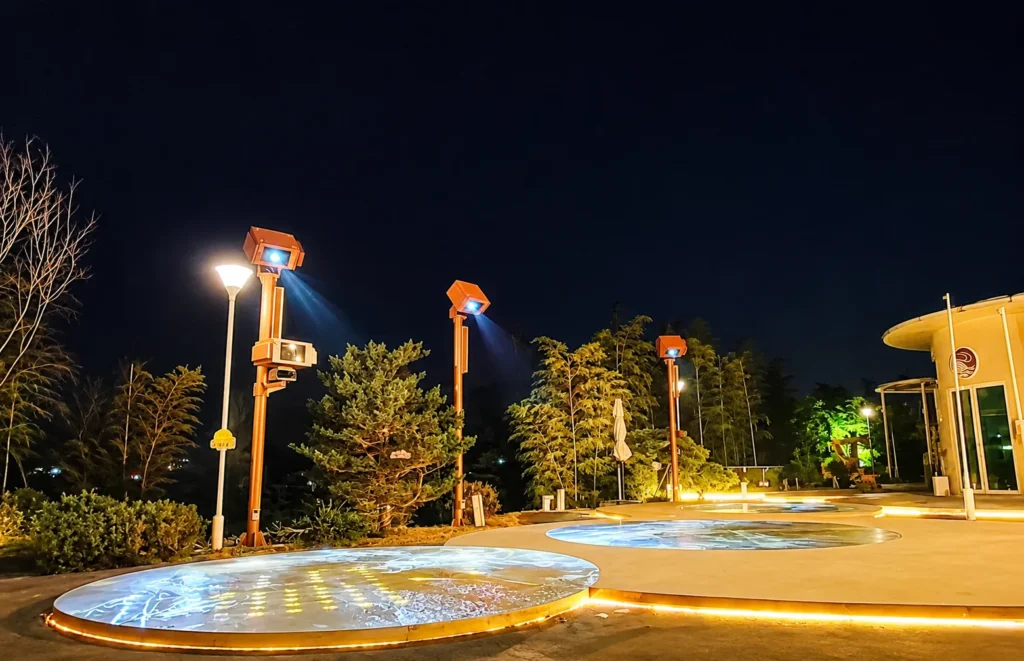
Pricing Factors for Custom Outdoor Projector Housing
A quotation for an outdoor projector enclosure should be based on project conditions, not only the projector brightness or enclosure length. Two projects using the same projector may require different housing designs if one is installed under a roof and the other is exposed to rain, salt air, dust, and public access.
Based on our internal data and market analysis, here is the breakdown:
| Cost Factor | Lower Complexity | Higher Complexity |
|---|---|---|
| Projector size | Compact body, standard lens | Large chassis, long lens, special lens shift |
| Heat output | Lower power consumption | High [PROJECTOR HEAT OUTPUT OR POWER CONSUMPTION] requiring stronger airflow |
| Climate | Mild, shaded, low dust | High humidity, heavy rainfall, salt air, dust, insects |
| Mounting angle | Horizontal or slight tilt | Severe downward angle or staircase projection geometry |
| Cooling system | Basic filtered ventilation | Climate controlled projector enclosure with sensors and heating |
| Optical path | Standard glass location | Angled optical window, high-transmission optical glass |
| Security | Private controlled space | Public area requiring anti-theft design |
| Access | Easy ground-level service | Restricted access requiring slide rails or special doors |
Buyers should provide [PROJECTOR MODEL], [PROJECTOR DIMENSIONS], [INSTALLATION ANGLE], [OPERATING TEMPERATURE RANGE], and local climate information before requesting pricing. This helps avoid under-specifying the enclosure and later adding costly modifications.
ShiRui Pro Tip: I would be cautious with any enclosure quote that does not ask about heat output, airflow, projection angle, and drainage. Those four details directly affect the real design cost.
Key Features & Comparison
A high-quality outdoor projector enclosure should include a rigid structure, filtered ventilation, heat management, condensation strategy, optical glass, protected cable entry, corrosion-resistant materials, drainage, service access, and anti-theft options. For stair and ground projection, lens position and installation angle are just as important as the declared IP rating.
Feature Comparison for Specification Review
Based on our internal data and market analysis, here is the breakdown:
| Feature | Basic Outdoor Box | Professional Outdoor Projector Enclosure | Why It Matters for Ground and Stair Projection |
|---|---|---|---|
| Structural design | Generic cabinet | Projector-specific internal mounting plate | Maintains lens position at [INSTALLATION ANGLE] |
| Environmental protection | Simple sealed shell | Weatherproof projector enclosure with defined ingress strategy | Helps manage rain, dust, insects, and splash |
| IP documentation | Unclear claim | [DECLARED IP RATING AND TEST STANDARD] documented | Separates marketing claims from verifiable standards |
| Cooling | Passive or unplanned vents | Filtered intake, controlled exhaust, [COOLING AIRFLOW] | Reduces heat buildup and exhaust recirculation |
| Condensation control | Often ignored | Heating, ventilation, humidity monitoring, or anti-condensation logic | IP rating alone does not prevent condensation |
| Optical window | Ordinary acrylic or unknown material | Optical glass with [OPTICAL GLASS TRANSMISSION] | Reduces distortion, haze, and heat-related optical issues |
| Cable entry | Open holes or loose glands | Protected cable glands, conduit strategy, strain relief | Reduces water paths and cable damage |
| Drainage | Not angle-specific | Drainage placed for the final installed orientation | Critical for downward projection and stair installations |
| Corrosion protection | Standard finish | [ENCLOSURE MATERIAL] and coating selected for the site | Important for coastal, humid, or industrial environments |
| Security | Simple latch | Locks, concealed fasteners, anti-theft brackets | Important in public scenic and commercial sites |
| Service access | Difficult removal | Filter doors, hinged panels, slide-out projector access | Reduces maintenance time and alignment disturbance |
Common design mistakes include sealing a projector in an unventilated box, ignoring exhaust recirculation, using ordinary acrylic in the optical path, placing drainage openings above the actual low point, positioning air intakes where rain splash collects, and designing the enclosure so the projector cannot be removed without disturbing the mount.
For single-projector stair mapping, one unit may cover multiple steps if the throw distance, brightness, lens, and geometry correction are suitable. For multi-projector stair mapping, each projector enclosure must be coordinated for overlap, service clearance, cable routing, heat exhaust, and synchronized alignment.
ShiRui Pro Tip: I always check the airflow path with the projector installed, not just with an empty enclosure. The projector body can block vents or redirect exhaust in ways that are not obvious from cabinet drawings alone.
Cost & Buying Factors
The best buying decision starts with a complete specification: projector model, lens, enclosure orientation, local climate, available service access, operating schedule, and environmental risks. A lower-cost enclosure can become expensive if it lacks airflow, condensation control, optical glass, drainage, or maintenance access required by the site.
Step-by-Step Buying Checklist
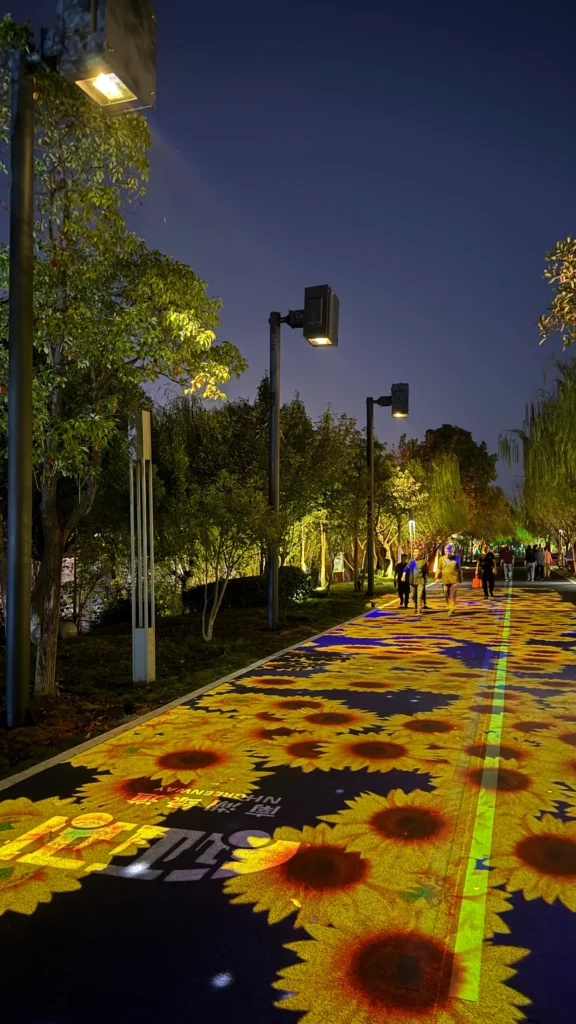
Before selecting an IP65 projector enclosure, waterproof projector box, or custom outdoor projection mapping enclosure, document the actual operating conditions. This reduces redesign risk and helps the enclosure manufacturer size the cabinet, mounting plate, cooling system, and optical window correctly.
Use this specification checklist:
- Projector information
Provide [PROJECTOR MODEL], [PROJECTOR DIMENSIONS], [PROJECTOR HEAT OUTPUT OR POWER CONSUMPTION], lens model, lens shift range, and exhaust direction. - Projection geometry
Define whether the project is ground projection, floor projection, stair projection, wall projection, or severe downward projection. Include [INSTALLATION ANGLE] and site drawings. - Environmental exposure
Record rainfall, dust, humidity, insects, salt air, public access, shade, and [OPERATING TEMPERATURE RANGE]. - Ingress protection requirement
Specify [DECLARED IP RATING AND TEST STANDARD]. Do not assume this alone solves condensation. - Thermal and humidity strategy
Define [COOLING AIRFLOW], [FILTER TYPE], heater needs, fan controls, and humidity monitoring. - Optical window requirement
Confirm glass size, angle, anti-reflection needs, and [OPTICAL GLASS TRANSMISSION]. - Mounting and balance
Confirm bracket strength, center of gravity, downward projection projector mount design, and vibration conditions. - Drainage and cable routing
Locate drainage at the installed low point and protect power, signal, and control cable entries. - Maintenance plan
Define [MAINTENANCE INTERVAL], filter access, glass cleaning access, and projector removal method. - Evidence collection plan
Record [FIELD TEST LOCATION], [TEST DURATION], [AMBIENT AND INTERNAL TEMPERATURE RECORDS], and [ORIGINAL INSTALLATION PHOTOS] after installation.
If field data is not yet available, an engineering calculation can be used for preliminary planning, but it should be marked: Illustrative example — not a field-test result. Final validation should be based on measured site conditions and documented service records.
ShiRui Pro Tip: I ask for site drawings early because the enclosure is only one part of the system. Cable paths, service clearance, visitor access, rain direction, and mounting structure can change the best enclosure design.
Conclusion
A reliable outdoor projector enclosure for ground, floor, and stair projection must be designed around the projector, lens, angle, climate, airflow, condensation risk, optical window, drainage, and maintenance workflow. The right enclosure protects the equipment while supporting stable image alignment and practical service in permanent outdoor installations.
Final Specification Guidance for Project Teams
For AV integrators, projection-mapping contractors, scenic attractions, museums, and commercial property owners, the enclosure should be specified as part of the projection system. A standard outdoor projector housing may be acceptable for simple wall projection, but ground projection and stair projection require closer attention to angle, balance, airflow, drainage, and service access.
Before procurement, confirm:
- [PROJECTOR MODEL]
- Lens model and throw geometry
- [PROJECTOR DIMENSIONS]
- [PROJECTOR HEAT OUTPUT OR POWER CONSUMPTION]
- [INSTALLATION ANGLE]
- [ENCLOSURE MATERIAL]
- [ENCLOSURE DIMENSIONS]
- [DECLARED IP RATING AND TEST STANDARD]
- [OPERATING TEMPERATURE RANGE]
- [HUMIDITY RANGE]
- [COOLING AIRFLOW]
- [FILTER TYPE]
- [OPTICAL GLASS TRANSMISSION]
- [FIELD TEST LOCATION] and expected environmental exposure
- [MAINTENANCE INTERVAL]
- [ORIGINAL INSTALLATION PHOTOS] or site drawings if available
To request a ShiRui project specification, provide the projector model, lens, installation angle, local climate, mounting location, cable path, service access requirements, and site drawings. With these details, ShiRui can help define a weatherproof projector enclosure or climate controlled projector enclosure suitable for ground projection, floor projection, staircase projection, or outdoor projection mapping.
ShiRui Pro Tip: Send the projector datasheet, lens information, installation angle, and site photos together. With those four items, I can usually identify the main enclosure risks before the mechanical design begins.