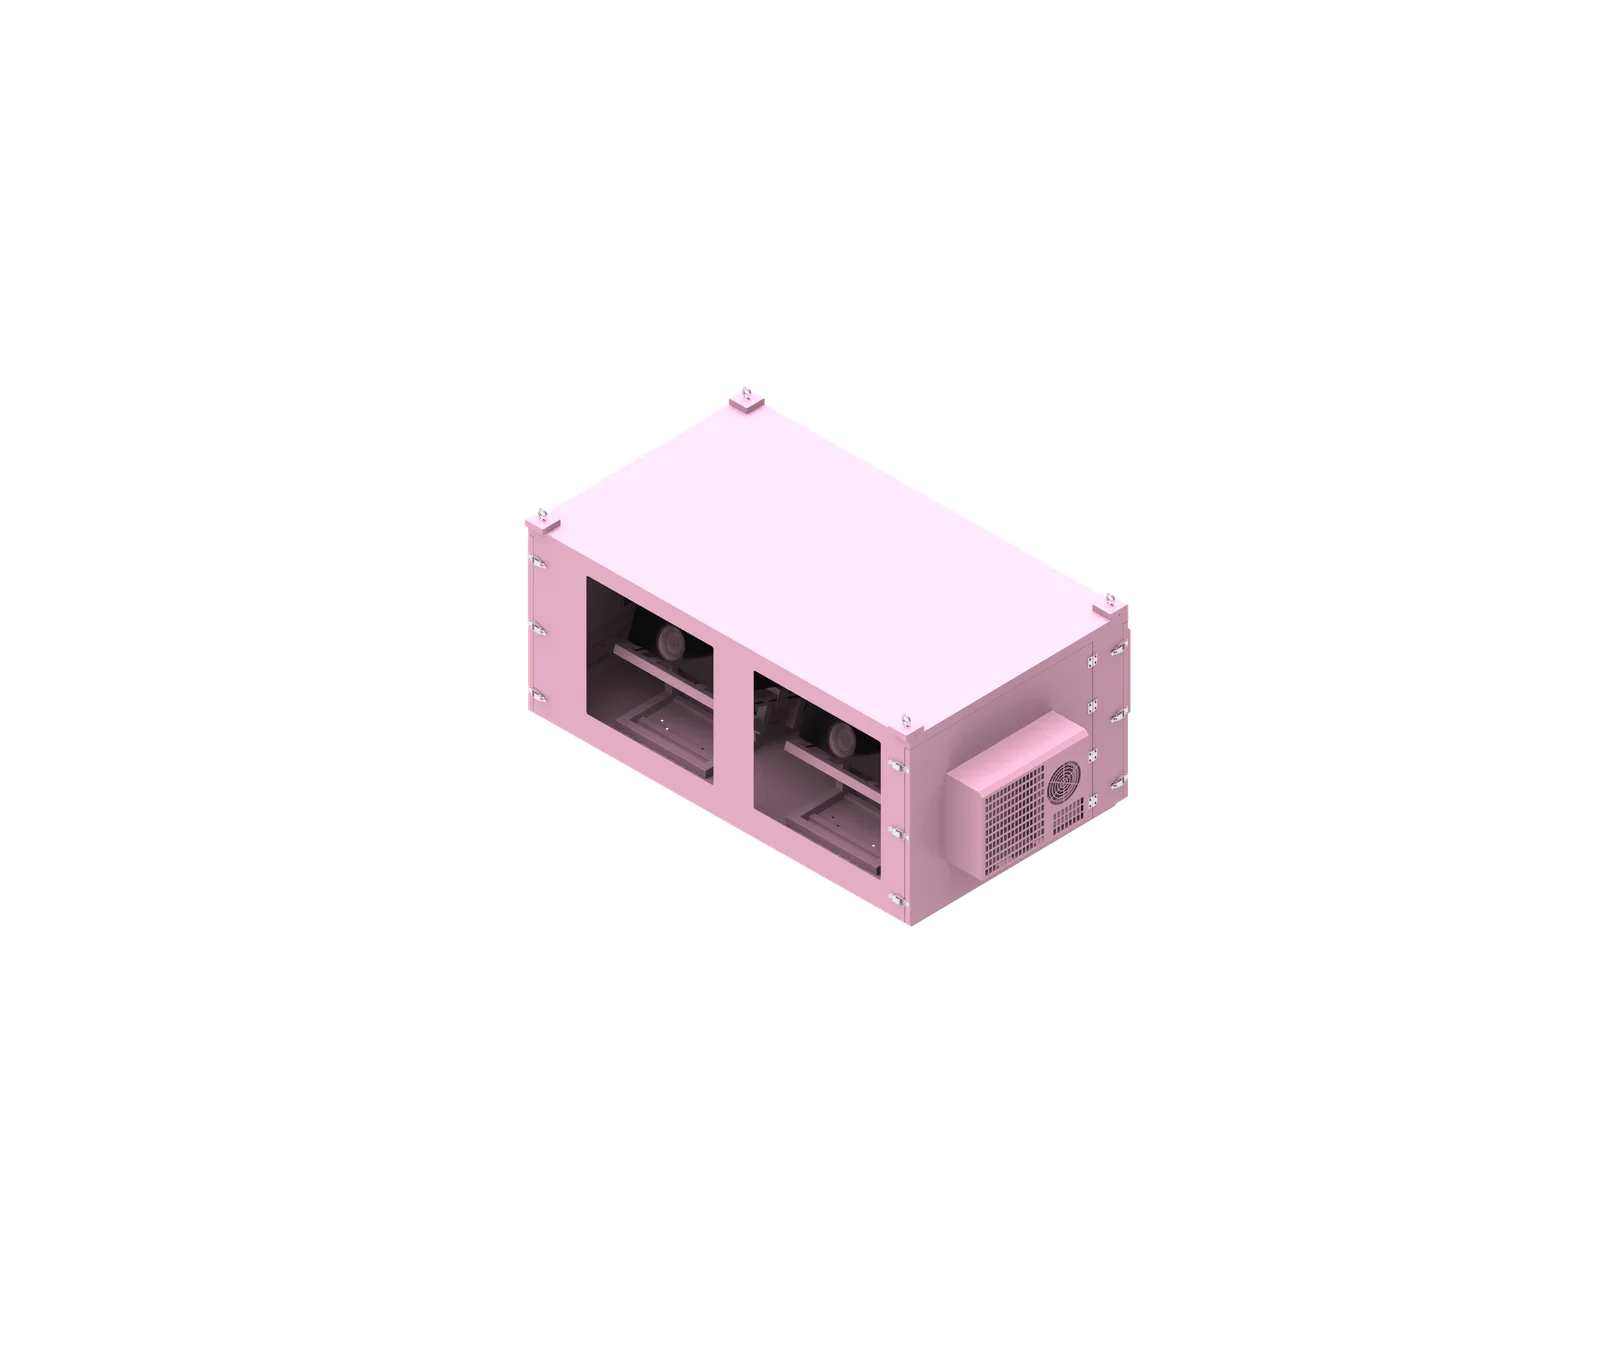
Outdoor projector enclosure monitoring should focus on the measurements that protect image equipment, explain faults, and support maintenance decisions: temperature, humidity, condensation risk, cooling/heating status, power, leakage, door status, connectivity, projector status, and alarm history. The goal is not simply to display more data, but to know where each reading comes from, when it becomes unreliable, and what to check first before taking action.
What is outdoor projector enclosure monitoring?
Outdoor projector enclosure monitoring is the structured collection, display, logging, and alarm handling of enclosure and projector operating data. It helps maintenance teams understand whether the projector’s environment, power supply, cooling system, and access status remain within the limits defined by the projector manual, enclosure design, and project requirements.
What Monitoring Should—and Should Not—Mean
Outdoor projector enclosure monitoring is not the same as automatic protection or remote control. Monitoring tells you what is happening, where the data came from, and whether an alarm condition exists. Automatic protection may shut down equipment or trigger cooling according to a defined control strategy. Remote control may allow authorized users to change operating states.
For AV integrators, scenic night-tour operators, and maintenance teams, the most useful monitoring system separates real-time status from stored logs and separates environmental data from projector diagnostic data. A temperature alarm, for example, should not automatically be interpreted as projector failure; it may point to a blocked air path, hot ambient conditions, an open door, a failed fan, or a stale sensor value.
A practical outdoor projector enclosure monitoring plan should define:
- Measurement point: where the sensor or data source is located.
- Data type: live value, event status, fault code, log entry, or calculated value.
- Alarm basis: projector manufacturer limits, enclosure design confirmation, site acceptance criteria, or project-specific risk assessment.
- Response workflow: who receives the alarm, what they check first, and how recovery is recorded.
- Data validity: whether the reading is live, stale, missing, or unknown.
SuiRui Pro Tip: We recommend treating every displayed value as evidence with a source, not as a final conclusion. If a dashboard shows “normal,” first confirm whether the data is current, correctly placed, and relevant to the actual projector inlet or risk area.
How Does outdoor projector enclosure monitoring Work?
Projector enclosure remote monitoring works by collecting data from sensors, equipment interfaces, controllers, and event logs, then sending valid readings to a platform for display, alarms, and history. The system should distinguish sensor measurements, controller commands, equipment feedback, and calculated risk indicators such as dew-point margin.
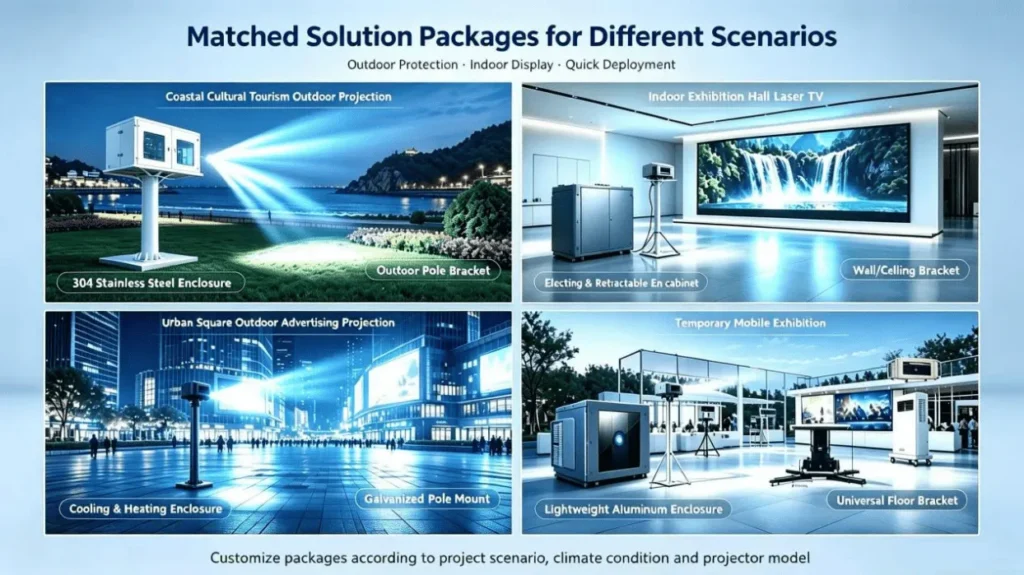
Data Flow From Field Measurement to Maintenance Action
A monitoring system normally begins at the enclosure: temperature sensors, humidity sensors, leakage probes, door contacts, power meters, cooling feedback, and projector communication interfaces provide data. A local controller or gateway may process these signals and forward them to a monitoring platform through the project’s chosen communication method, such as Wi-Fi, Ethernet, or 4G.
The critical point is that different data types have different meanings. A cooling “ON” command means the controller requested cooling. It does not prove that a fan is spinning, that an air conditioner is producing cold air, or that the projector inlet temperature is improving. Similarly, a projector power state does not prove the projected image is visible or correctly aligned.
A reliable projector enclosure remote monitoring workflow should follow this sequence:
- Collect the field signal from the correct measurement point or equipment interface.
- Validate the reading by checking timestamp, sensor state, and communication status.
- Compare against the correct basis such as the projector manual, enclosure design, or approved commissioning values.
- Trigger the appropriate alarm level with delay, debounce, and recovery rules suitable for the risk.
- Log the event history including occurrence time, recovery time, notification status, and corrective action.
- Correlate related data before deciding whether the issue is environmental, electrical, mechanical, operational, or data-quality related.
SuiRui Pro Tip: I would never base a shutdown decision on one isolated number unless the project specification requires it. Correlate inlet temperature, cooling feedback, ambient temperature, projector load, and data freshness before escalating—except where the projector or site safety rules require immediate protection.
How far should a projector be from a 70 inch screen?
The distance from a projector to a 70-inch screen depends on the projector’s throw ratio, not the enclosure alone. For outdoor installations, monitoring still matters because enclosure placement affects airflow, cable routes, access, and environmental exposure, while the image distance must follow the lens specification for the selected projector model.
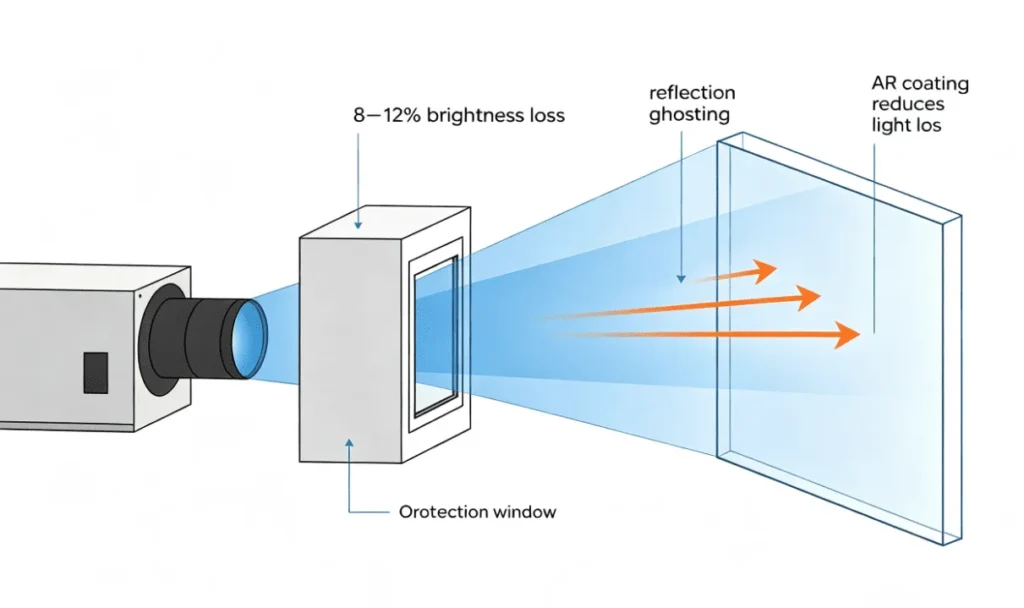
Throw Distance and Enclosure Planning
A 70-inch screen size is a projection geometry question first. The basic formula is:
Throw distance = Image width × Throw ratio
A 70-inch 16:9 screen is approximately 61 inches wide. If a projector has a 1.2:1 throw ratio, the approximate throw distance would be 61 × 1.2 = 73.2 inches. This is only an example; the actual distance must be confirmed from the projector’s lens chart and zoom range.
For enclosure planning, distance affects more than image size. Long cable runs, exposure direction, maintenance access, thermal loading, and airflow paths may all influence the final location. Monitoring should verify the enclosure conditions after the projector is installed at its actual operating distance.
| Planning Item | Why It Matters | Monitoring Relevance |
|---|---|---|
| Throw ratio | Determines projector-to-screen distance | Not directly monitored, but affects enclosure location |
| Lens shift and zoom | Supports image alignment | May require access during commissioning |
| Cable distance | Influences signal reliability | Connectivity logs may help diagnose dropouts |
| Enclosure position | Affects sun, rain, airflow, and service access | Impacts temperature, humidity, leakage, and door events |
| Projector inlet location | Determines cooling risk | Requires dedicated projector enclosure temperature monitoring point |
SuiRui Pro Tip: Before fixing an outdoor enclosure in place, I would confirm both the optical throw distance and the airflow direction. A perfect image position can still become a maintenance problem if the projector inlet sits in a heat pocket.
How dark does it need to be to use an outdoor projector?
Outdoor projection usually performs best after sunset or in controlled low-light conditions, but the required darkness depends on projector brightness, screen gain, image size, ambient lighting, and content type. Monitoring helps by confirming that enclosure temperature, humidity, and power remain stable during the actual night-time operating window.
Ambient Light and Operating Conditions
Darkness requirements are not determined by the enclosure monitoring system. They are determined by the projector, screen, installation environment, and viewing expectations. Sports viewing, projection mapping, cinema playback, and scenic night-tour content may each have different brightness and contrast requirements.
However, the operating time affects environmental risk. Evening temperature changes can increase relative humidity and condensation risk. A projector enclosure that operates safely in the afternoon may face dew-point issues later at night, especially near water, vegetation, stone surfaces, or metal structures.
For monitoring, the focus should be on the conditions during the real show schedule:
- Ambient temperature trend: confirms how the outdoor environment changes before, during, and after operation.
- Relative humidity trend: helps evaluate moisture load but must be interpreted with temperature.
- Dew-point calculation: possible when suitable air temperature and RH data are available.
- Relevant surface temperature: required if assessing condensation risk on optical windows or other cooler surfaces.
- Projector inlet temperature: confirms whether the projector is receiving acceptable intake air during the show.
- Power and cooling status: helps distinguish environmental change from equipment operating state.
SuiRui Pro Tip: I recommend checking logs across the full event window, not just at startup. Many moisture and thermal problems appear after the site cools down, when humidity rises and surfaces may approach dew point.
What is the best projector to watch football outside?
The best outdoor football projector depends on brightness, resolution, motion handling, input latency, installation distance, and environmental protection needs. From a monitoring perspective, the enclosure should track the operating conditions that affect reliability during long matches, including projector inlet temperature, cooling response, power status, and data freshness.
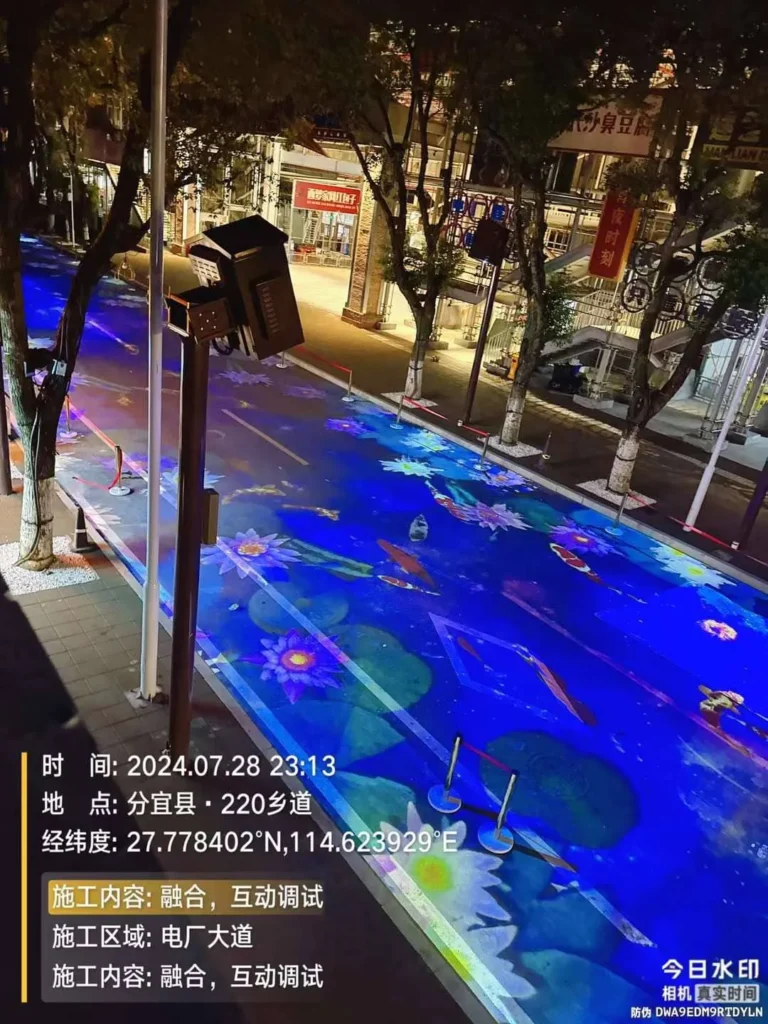
Selecting for Long Outdoor Viewing Sessions
Football viewing places different demands on a projector than short demo playback. Matches run for extended periods, often in the evening, with bright graphics, fast motion, and audience expectations for continuous operation. The projector should be selected according to the screen size, expected ambient light, mounting distance, signal source, and service environment.
For enclosure monitoring, the important question is not only “which projector is best?” but also “which measurements are needed to support that projector outdoors?” A high-brightness projector can produce significant heat, and its inlet requirements should be respected in the enclosure design.
| Projector Selection Factor | Why It Matters Outdoors | Monitoring Connection |
|---|---|---|
| Brightness | Supports visibility on larger screens | Higher heat load may require closer temperature tracking |
| Throw ratio | Determines mounting distance | Affects enclosure location and cable route |
| Input handling | Supports live sports sources | Input status may be available only on compatible models |
| Cooling requirements | Protects projector operation | Requires inlet temperature and cooling system monitoring |
| Runtime | Matches full event duration | Alarm history and power logs help diagnose interruptions |
| Service access | Supports field maintenance | Door status logs help document access events |
SuiRui Pro Tip: I would match the monitoring scope to the actual projector model. Some projectors expose detailed status data, while others provide limited signals, so the enclosure monitoring plan should not assume every model supports the same interface.
Key Features & Comparison
The most important projector enclosure monitoring metrics are projector inlet temperature, enclosure air temperature, ambient temperature, relative humidity, dew point, condensation-related surface temperature, cooling/heating status, power data, leakage, door status, connectivity, projector status, and alarm history. Each metric needs a defined source and alarm logic.
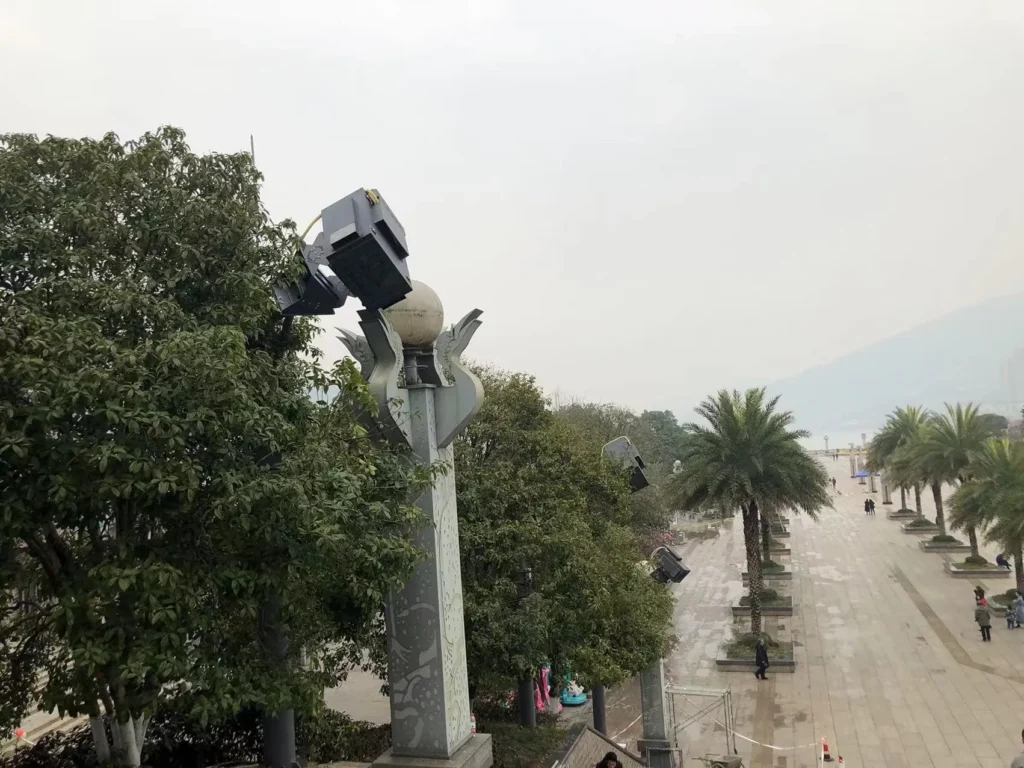
Key Monitoring Metrics and First Checks
Because no verified SuiRui controller point table, sensor specification, or original project log was provided here, the following table is a practical planning framework rather than a claim that every SuiRui enclosure includes every item as standard. Some metrics require additional sensors, projector interface integration, power metering, or project-specific configuration.
| Metric | Measurement Point or Data Source | Why It Matters | Alarm Basis | First Check |
|---|---|---|---|---|
| Projector inlet temperature | Air sensor near each projector intake; per projector where airflow differs | Confirms whether the projector receives acceptable intake air | Projector manual and confirmed enclosure thermal design | Check sensor placement, cooling status, projector load, door state, ambient temperature |
| Enclosure air temperature | Internal air point away from direct hot exhaust or controller heat | Shows general enclosure thermal condition | Enclosure design criteria and project acceptance values | Compare with inlet temperature and ambient trend |
| Ambient temperature | Outdoor shaded air point near the enclosure, if configured | Explains external heat load | Site design assumptions and local operating requirements | Check whether ambient exceeds design assumptions |
| Projector internal temperature | Projector interface, if supported | Indicates internal projector condition | Projector manufacturer diagnostic thresholds | Compare with inlet air temperature and projector operating mode |
| Relative humidity | Internal and/or ambient RH sensor, if configured | Indicates moisture level but not condensation alone | Project-specific risk assessment with temperature context | Check temperature trend and dew-point calculation |
| Dew-point temperature | Calculated from suitable air temperature and RH | Helps assess condensation risk | Calculated condition, not a universal alarm limit | Confirm air sensor location and calculation source |
| Dew-point margin | Relevant surface temperature − local air dew-point temperature | Assesses condensation risk on a specific surface | Project-specific margin requirements | Confirm both surface and local air measurement points |
| Optical window surface temperature | Surface sensor on or near the relevant window area, if configured | Needed to assess window condensation risk | Dew-point margin and optical risk assessment | Check if the surface is cooler than surrounding air |
| Fan running status | Fan feedback contact, tachometer, or controller status if supported | Shows whether ventilation equipment is responding | Equipment feedback and control logic | Distinguish command from actual running feedback |
| Fan speed | Tachometer or supported fan controller interface | Helps detect degraded airflow where supported | Manufacturer or project criteria | Do not infer airflow from speed alone; check filters and air path |
| Air conditioner status | AC running feedback or fault interface if supported | Confirms cooling equipment response | AC fault output and enclosure temperature response | Compare command, feedback, and temperature trend |
| Heater status | Heater command and feedback if supported | Reduces low-temperature or condensation risk in some designs | Project control strategy | Check RH, dew point, and relevant surface temperature |
| Filter condition | Differential pressure sensor, maintenance counter, or visual inspection record depending on design | Blocked filters reduce airflow | Sensor threshold or maintenance plan | Do not claim clog detection without an actual detection method |
| Mains power status | Power input monitor or meter | Identifies supply interruptions | Electrical design and site operating rules | Check upstream supply and scheduled shutdown records |
| Projector branch status | Branch circuit monitor, relay feedback, or power meter | Shows whether projector circuit is energized | Project electrical plan | Distinguish standby from fault |
| Voltage/current | Electrical meter where configured | Supports diagnosis of load changes and abnormal supply | Equipment requirements and electrical standards | Review startup, standby, and operating mode |
| Power and energy log | Meter with energy recording capability | Supports operating history analysis | Project reporting needs | Confirm meter capability and logging interval |
| Water leakage | Leakage sensor at base, drain area, cable entry area, or risk zone | Detects water presence where sensor is installed | Event state from configured sensor | Inspect for rain ingress, condensate, drain blockage, or cleaning water |
| Door status | Door magnetic switch or access sensor | Documents opening, duration, and access timing | Security and maintenance process | Compare with registered maintenance activity |
| Communication heartbeat | Gateway/controller/platform heartbeat | Shows whether system is reporting | Project communication policy | Distinguish site device offline from platform/network issue |
| Last valid sample time | Sensor or controller timestamp | Prevents stale data being treated as live | Data validity rule | Mark stale or unknown instead of normal |
| Sensor fault status | Sensor diagnostic state if supported | Avoids interpreting missing data as zero or safe | Sensor/interface diagnostics | Check wiring, address, power, and communication |
| Projector power state | Projector interface, if supported | Indicates projector on/standby/off state | Projector protocol and schedule | Do not assume image is normal |
| Projector error code | Projector interface, if supported | Supports fault diagnosis | Projector manufacturer documentation | Compare with environmental and power logs |
| Projector input status | Projector interface, if supported | Helps diagnose no-signal conditions | Projector protocol | Check source, cable, switcher, and network distribution |
| Lamp/laser hours | Projector interface or maintenance record | Supports planned maintenance | Projector maintenance requirements | Confirm model-specific reporting availability |
| Alarm history | Platform/controller log | Shows time, duration, frequency, recovery, and response | Project alarm policy | Review event sequence before assigning cause |
Temperature monitoring deserves special care. A control board temperature is not the same as air temperature at the projector inlet. An enclosure average temperature cannot prove that every projector intake is within limits, especially in dual-projector or multi-projector installations with different airflow paths. Monitor current value, peak value, and trend, and relate them to projector mode, ambient conditions, door state, and cooling operation.
Humidity monitoring also requires context. A fixed RH percentage is not a universal safe boundary. When suitable air temperature and RH data are available, dew point can be calculated. Condensation risk for a specific surface should use:
Dew-point margin = Relevant surface temperature − Local air dew-point temperature
Without a surface temperature measurement for the optical window or other cooler component, condensation assessment has limits and should not be presented as proof of zero risk.
SuiRui Pro Tip: I prefer naming sensors by function and location, such as “Projector A inlet air” or “Window inner surface,” instead of generic labels like “Temp 1.” Clear naming prevents wrong conclusions during an alarm.
Cost & Buying Factors
The cost of projector enclosure monitoring is driven less by a single dashboard and more by the monitoring scope: number of sensors, measurement locations, projector interface integration, electrical metering, leakage detection, door status, data logging, alarm workflow, and commissioning validation. Pricing should follow the confirmed project requirements.
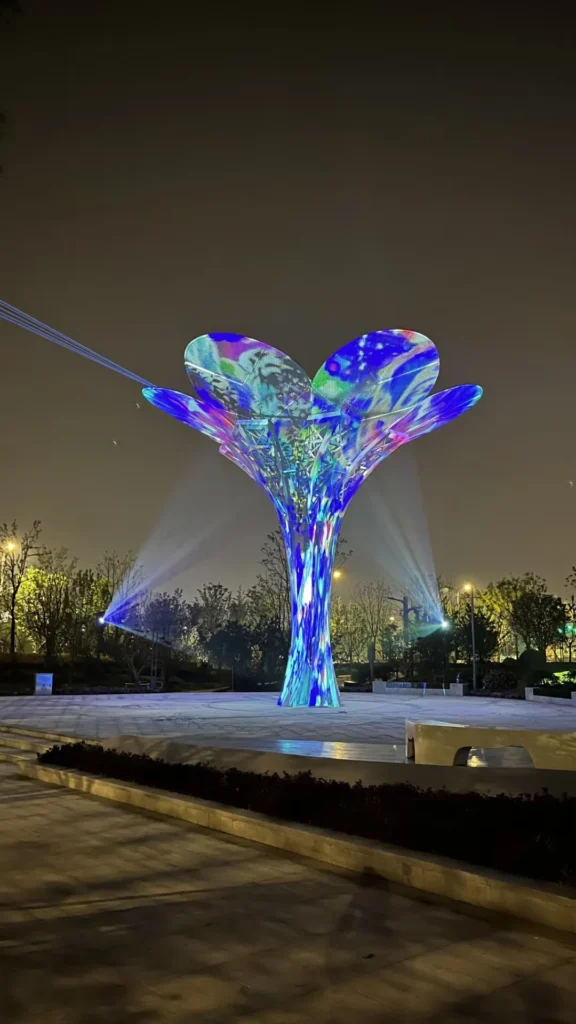
How to Specify Monitoring Scope Before Budgeting
For this topic, the buying decision should begin with risk and maintenance requirements, not with a generic feature list. A simple installation may only need basic temperature, humidity, door, and alarm logging. A high-value projection mapping project may need per-projector inlet temperature, dew-point margin at optical windows, cooling feedback, power metering, projector status integration, and detailed alarm records.
Some monitoring items may be project recommendations rather than standard features. Others may require additional hardware, compatible equipment interfaces, or custom integration. Without a confirmed SuiRui configuration list for a specific model or project, it would be inaccurate to claim that every enclosure includes every sensor or data point.
Key buying factors include:
- Projector model and interface capability: determines whether power state, errors, input status, or usage hours can be read.
- Cooling method: fan, air conditioner, heat exchanger, heater, or mixed system changes the monitoring points.
- Number of projectors: each projector may need its own inlet temperature point if airflow differs.
- Condensation risk: optical window or metal surface monitoring may require additional surface sensors.
- Electrical monitoring depth: basic power presence is different from voltage, current, power, and energy logging.
- Site access and response time: determines alarm escalation and maintenance record requirements.
- Data retention needs: affects projector enclosure data logging duration and report format.
- Integration requirements: determines whether the system must connect with an existing venue platform or maintenance workflow.
SuiRui Pro Tip: Before requesting a quotation, prepare the projector model, enclosure cooling method, installation environment, and required alarm list. That allows the monitoring scope to be discussed realistically instead of assuming functions that may require extra sensors or integration.
How should alarms be logged and maintained?
A projector enclosure alarm system should record more than whether an alarm occurred. It should capture event time, enclosure ID, trigger condition, notification record, corrective action, recovery time, and recurrence. Alarm history helps separate temporary events, unresolved faults, delayed responses, and repeated maintenance issues.
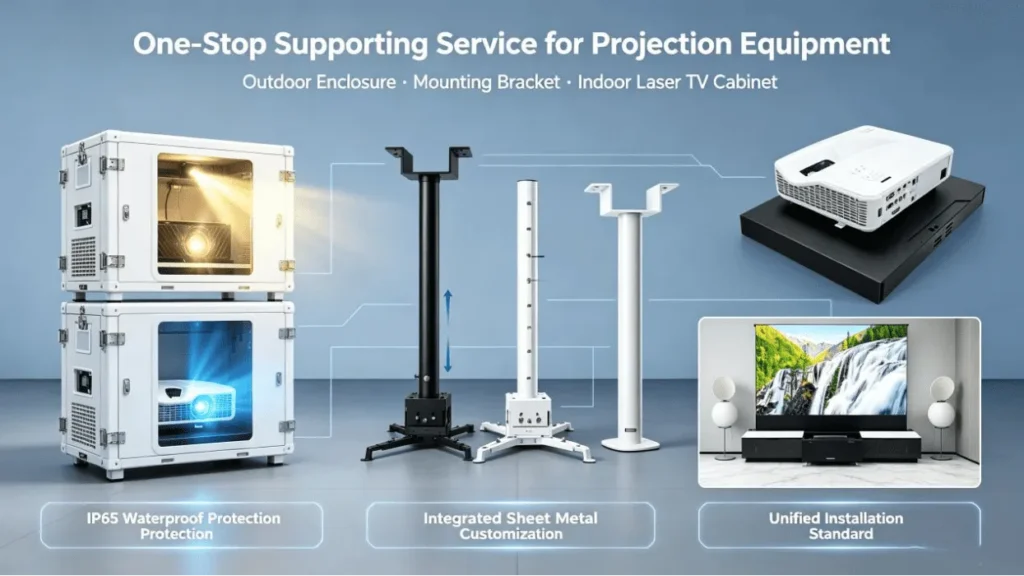
Alarm Records, Escalation, and Response Evidence
An alarm is a process, not a single message. A proper record should distinguish the abnormal event, controller alarm generation, platform receipt, notification delivery, personnel acknowledgement, corrective action, and recovery. Sending an alarm does not mean the maintenance team has handled it.
Alarm logic should also separate pre-warning, serious alarm, and emergency protection where applicable. Delay and debounce can reduce nuisance alarms, but they must not override equipment protection requirements or safety rules. For critical overheating, water leakage, or electrical events, response rules should follow the projector manufacturer, enclosure design, and project operation plan.
The following is a blank template for field use. It is not a test result and should not be treated as evidence of SuiRui project performance.
| Event Time | Enclosure ID | Metric or Status | Trigger Condition | Notification Record | Corrective Action | Recovery Time |
|---|---|---|---|---|---|---|
A useful alarm review should ask:
- When did the condition begin?
- When did the controller generate the alarm?
- When did the platform receive it?
- Was the notification sent and delivered?
- Did a person acknowledge it?
- What action was taken?
- When did the condition recover?
- Has the same alarm repeated?
SuiRui Pro Tip: I recommend reviewing repeated short alarms separately from one long alarm. Repetition often points to threshold placement, unstable equipment feedback, intermittent power, or an environmental condition that appears only during certain operating windows.
How do you diagnose abnormal monitoring data?
Abnormal monitoring data should be diagnosed by correlating related metrics rather than reacting to one value alone. Compare measurement point, timestamp, cooling command, equipment feedback, projector load, door state, power status, ambient conditions, and alarm history before concluding whether the cause is thermal, mechanical, electrical, operational, or data-related.
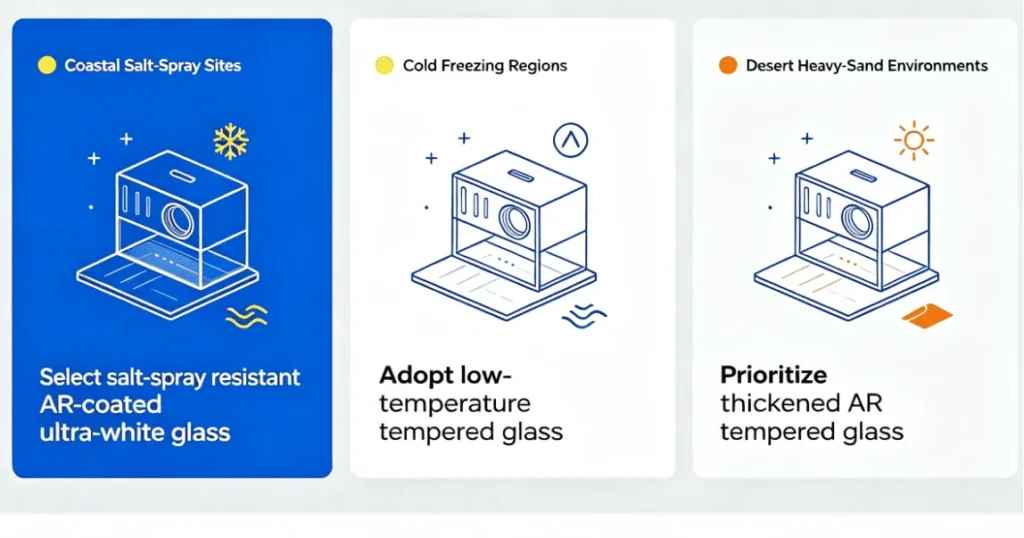
Joint Diagnosis Using Hypothetical Scenarios
The following scenarios are hypothetical examples for explaining troubleshooting logic. They are not presented as SuiRui customer cases or verified project records.
Scenario A: Projector inlet temperature keeps rising, but the platform shows cooling ON.
Do not immediately conclude that the air conditioner or fan is damaged. “Cooling ON” may mean only that the controller issued a command. The first step is to check whether the cooling device has actual running feedback, fault feedback, or measurable temperature response.
Suggested checks:
- Confirm the sensor is located at the relevant projector inlet, not near a controller board or unrelated air zone.
- Check whether the cooling status is a command, feedback signal, or fault output.
- Review ambient temperature and whether outdoor conditions exceed the design assumption.
- Confirm whether the projector is running in a high-brightness or high-load mode.
- Check door status, filter maintenance records, air path obstruction, and exhaust recirculation risk.
- Compare current temperature, peak temperature, and trend after cooling starts.
- If supported, compare projector internal temperature or error code with enclosure readings.
Scenario B: Temperature remains unchanged for a long time, and the last valid update time has stopped.
Do not interpret this as excellent temperature stability. The priority is data validity. If the last valid sample time has stopped, the displayed value may be cached. It should be marked as Stale or Unknown, not real-time normal.
Suggested checks:
- Review the sensor timestamp and platform receipt time.
- Check whether the whole enclosure is offline or only one sensor is missing.
- Distinguish gateway/network failure from sensor communication failure.
- Confirm whether the platform is displaying a cached last value.
- Avoid interpreting missing data as 0°C, 0%RH, or “no alarm.”
- Check whether local control continues during network interruption according to the actual project design.
| Symptom | Possible Data Interpretation | What Not to Assume | First Diagnostic Direction |
|---|---|---|---|
| Cooling ON but inlet temperature rises | Command may exist without effective cooling | Do not assume airflow or cooling capacity is normal | Check feedback, sensor placement, load, ambient, air path |
| Stable temperature with old timestamp | Cached value may be displayed | Do not assume stable environment | Check data freshness and communication status |
| RH high but no dew-point review | Moisture risk unclear | Do not use RH alone as condensation proof | Calculate dew point if suitable data exists |
| Leakage alarm triggered | Water detected at sensor location | Do not assume source immediately | Inspect ingress, condensate, drain, cleaning activity |
| Projector power ON | Projector may be energized | Do not assume image is visible | Check input, error code, signal chain, on-site image |
SuiRui Pro Tip: My preferred troubleshooting order is data validity first, measurement location second, equipment feedback third, and environmental context fourth. This prevents wasted site visits caused by stale values or mislabeled sensors.
FAQ
The most common questions about outdoor projector enclosure monitoring involve which temperature point matters most, whether humidity alone proves condensation safety, and how to handle missing data. The short answer is that each reading needs a defined location, a valid timestamp, and an alarm basis tied to the projector and project design.
Practical Answers for Maintenance Teams
Which temperature should be monitored inside a projector enclosure?
The most important temperature is usually the projector inlet air temperature, because it reflects the air entering the projector cooling path. Enclosure air temperature and ambient temperature are also useful, but they should not replace inlet monitoring. For dual-projector or multi-projector systems, each projector may need separate inlet monitoring depending on airflow and risk assessment.
Is relative humidity enough to assess condensation risk?
No. Relative humidity must be interpreted together with temperature. When suitable air temperature and RH data are available, dew point can be calculated. To assess condensation risk on a specific surface, such as an optical window, the relevant surface temperature is also needed. Without surface temperature data, condensation evaluation remains limited.
What should happen when monitoring data stops updating?
The system should mark the data as Stale or Unknown rather than continuing to show it as real-time normal. A sensor communication loss should not become 0°C, 0%RH, or “no alarm.” Maintenance teams should check the last valid sample time, platform receipt time, gateway status, network status, and individual sensor state.
- Temperature monitoring: prioritize projector inlet measurement and trend review.
- Humidity monitoring: combine RH, air temperature, dew point, and surface temperature where needed.
- Data quality: verify timestamps before trusting displayed values.
- Alarm response: record notification, acknowledgement, corrective action, and recovery.
SuiRui Pro Tip: If a dashboard cannot clearly show whether data is live or stale, I would treat that as a monitoring design issue. Accurate status labeling is just as important as the sensor value itself.
Conclusion
Effective outdoor projector enclosure monitoring is built around meaningful metrics, correct sensor placement, reliable timestamps, clear alarm logic, and disciplined maintenance records. The best system does not simply collect more data; it helps teams understand what is happening, what is uncertain, and what should be checked first.
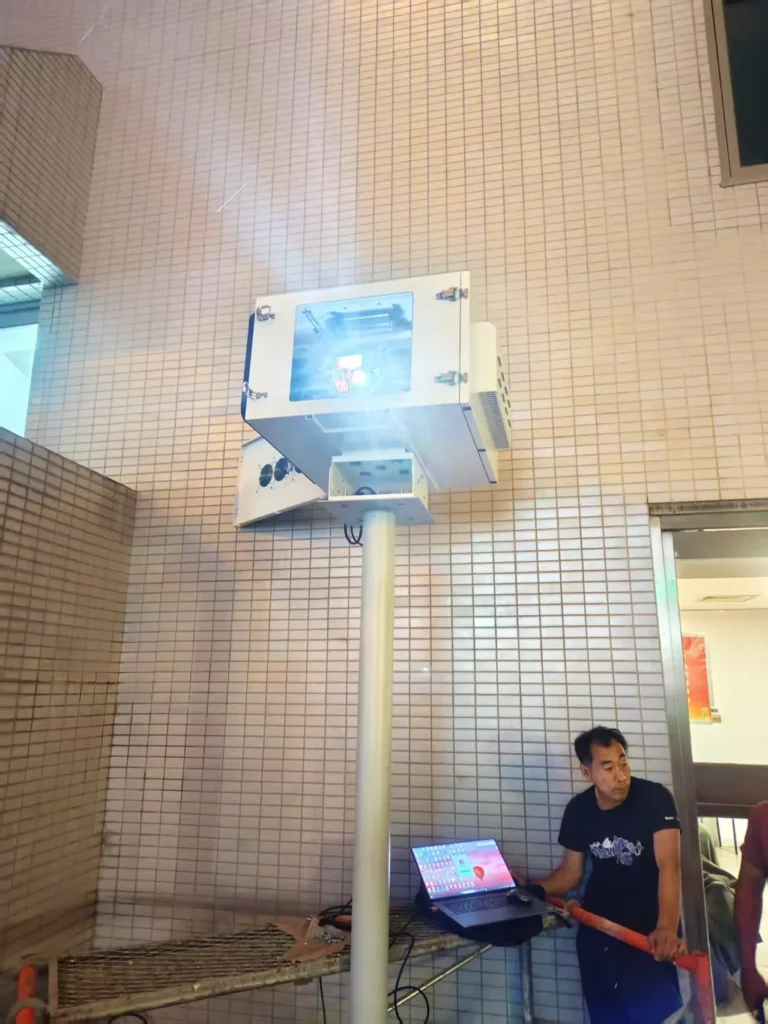
Building a Monitoring Plan Around Real Project Conditions
For outdoor projection projects, monitoring should be specified according to the actual projector, enclosure, cooling method, site environment, operating schedule, and maintenance workflow. Temperature, humidity, condensation risk, cooling/heating status, power, leakage, door status, connectivity, projector operating status, and alarm history all have value, but only when their sources and limits are clearly defined.
SuiRui can discuss an appropriate monitoring scope based on project requirements, but unconfirmed features should not be assumed as standard across all configurations. If a project requires per-projector inlet temperature, optical window condensation assessment, power metering, projector interface data, or detailed alarm logging, those requirements should be confirmed during design and integration.
Before finalizing the monitoring plan, prepare:
- Projector brand and model.
- Number of projectors per enclosure.
- Cooling and heating method.
- Expected ambient temperature and humidity conditions.
- Enclosure installation location and exposure.
- Existing network or communication environment.
- Required sensors and alarm outputs.
- Required data logging and maintenance records.
- Projector interface data needed, if supported.
- Alarm escalation and response responsibilities.
For deeper planning, connect this metric-focused checklist with your existing remote monitoring basics article and installation/commissioning checklist if those pages already exist on your website. Avoid adding placeholder links until the target URLs are confirmed.
SuiRui Pro Tip: When discussing a project, send the projector model, cooling method, site environment, existing network, and desired monitoring items first. That lets us evaluate what can be monitored directly, what needs additional hardware, and what should remain a maintenance inspection item rather than a dashboard claim.