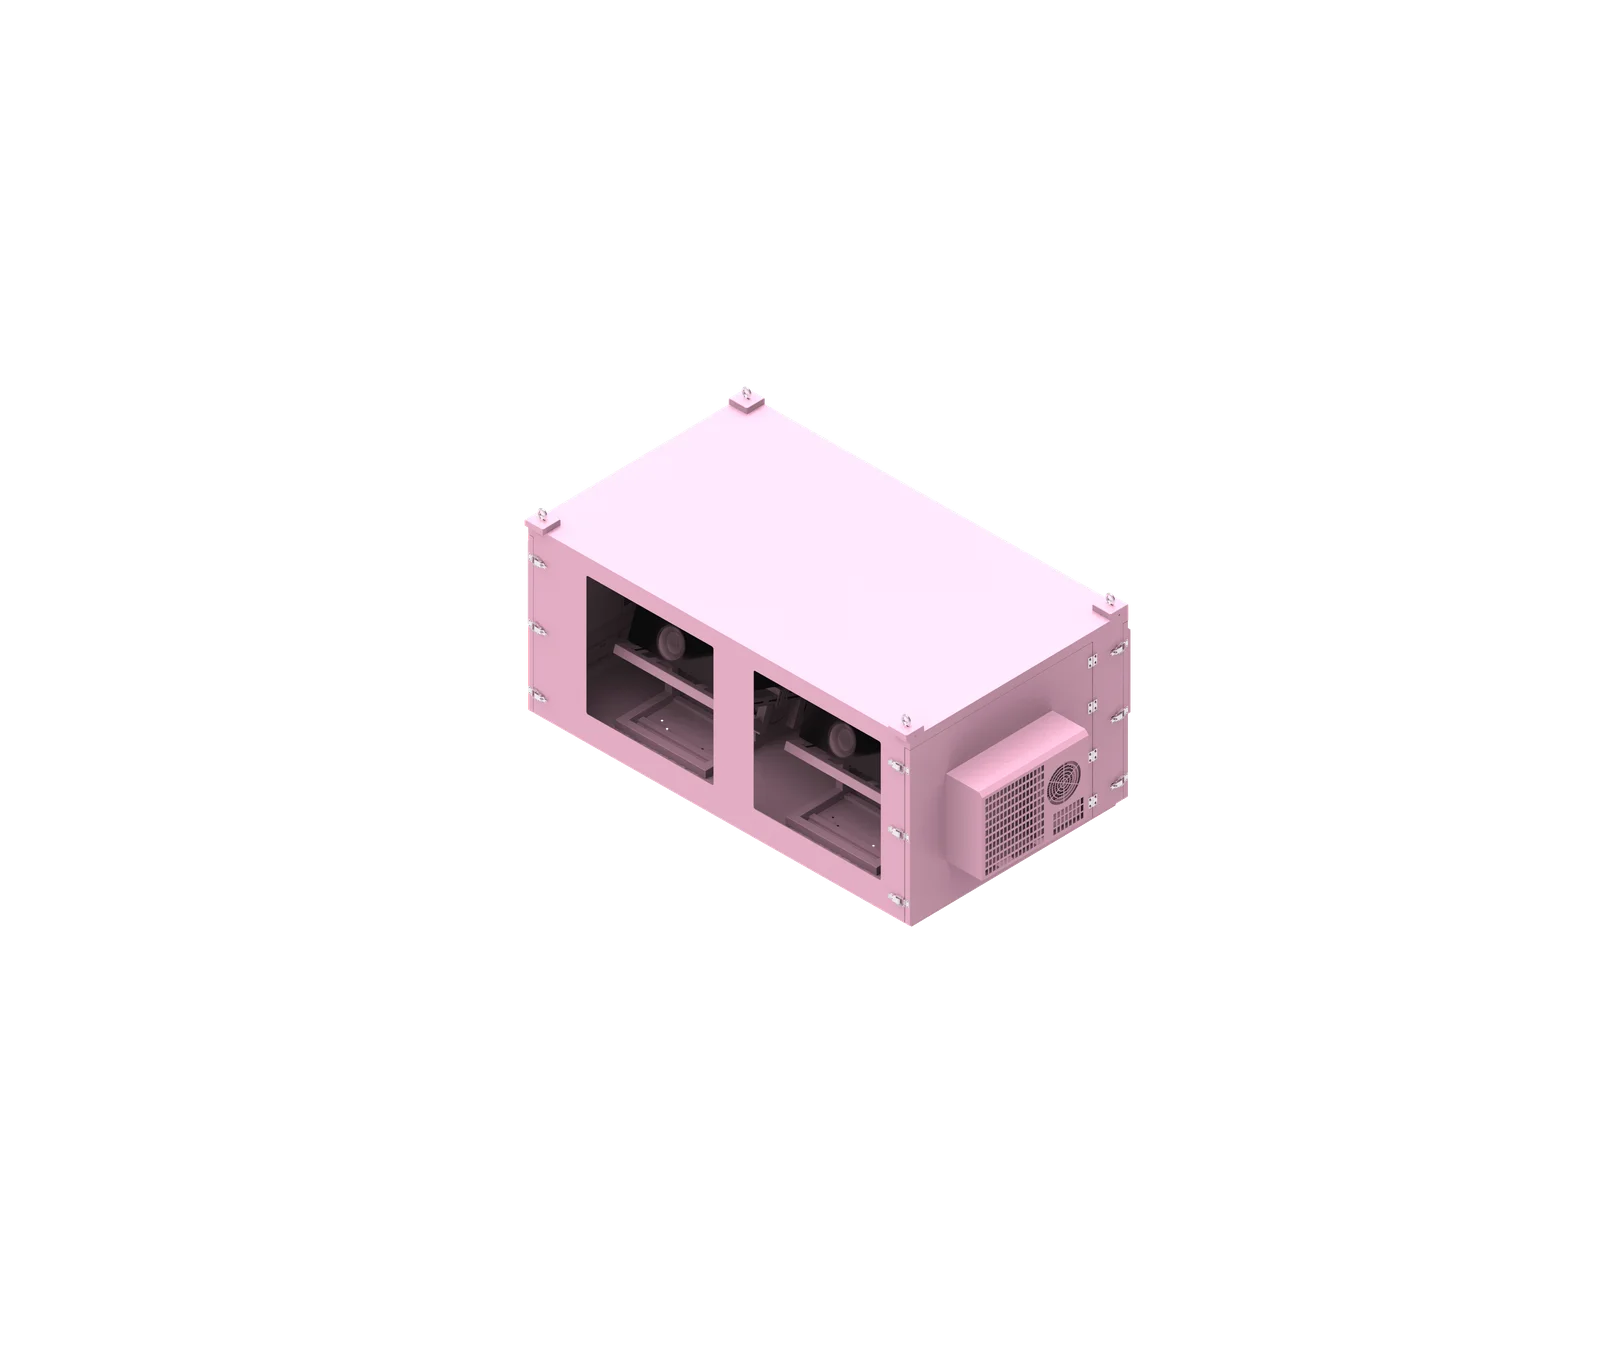
When you send an exact projector brand and model to a projector enclosure manufacturer, the real engineering process begins. The model helps the manufacturer identify the projector’s dimensions, airflow, lens position, power demand, and service requirements, but it is not enough by itself. For a custom outdoor projector enclosure, ShiRui also evaluates the site environment, installation method, cables, operating schedule, and maintenance access before finalizing the design.
Video Guide: Take a closer look at an outdoor waterproof projector case designed to house and protect professional projection equipment in long-term outdoor projects.
What is custom projector enclosure?
A custom projector enclosure is an engineered protective cabinet designed around a specific projector model, lens, installation site, and operating environment. It is not just a box that matches projector dimensions; it must coordinate airflow, thermal control, optical alignment, cable access, mounting structure, and maintenance space.
Video Guide: Get an introduction to waterproof enclosures for outdoor projectors and their role in professional projection systems. This video gives buyers, AV integrators, and project contractors a practical overview of dedicated projector housing for permanent outdoor installations and project applications.
Engineering Purpose of a Custom Projector Enclosure
A custom projector enclosure protects professional projection equipment from outdoor and semi-outdoor risks while allowing the projector to operate as intended. After receiving the projector model, a manufacturer should confirm the brand, exact model number, configuration, lens model where applicable, and quantity.
This is important because “20,000-lumen projector,” “Panasonic projector,” or “large outdoor projector” is not enough for engineering. Different projectors with similar brightness may have different dimensions, intake locations, exhaust paths, power consumption, connector positions, lens offsets, and maintenance requirements.
Based on our internal data and market analysis, here is the breakdown:
| Customer Sends | Manufacturer Checks | Design Result |
|---|---|---|
| Projector Model | Dimensions & Weight | Cabinet Size |
| Projector Model | Intake & Exhaust | Airflow Layout |
| Power Data | Heat Load | Cooling System |
| Lens Model | Lens Center & Shift | Optical Window |
| Site Climate | Temperature & Humidity | Thermal Control |
| Installation Method | Structure & Access | Mounting Design |
| Cable Requirements | Connector Positions | Cable Entry |
| Operating Schedule | Thermal Demand | System Configuration |
For ShiRui, projector enclosure customization starts with verified equipment information and then expands into application information. The projector model tells us what equipment is being protected; the project environment tells us how the enclosure must perform.
ShiRui Pro Tip: I always ask customers for the exact projector model and lens model first, but I never treat that as the complete design brief. The enclosure must fit the projector, the site, the installation method, and the maintenance plan at the same time.
How Does custom projector enclosure Work?
A custom projector enclosure works by creating a controlled protective environment around the projector while preserving the projector’s original optical path, airflow requirements, electrical connections, and service access. The enclosure must manage weather exposure, heat, dust, humidity, cables, structure, and installation constraints as one integrated system.
Video Guide: Discover a waterproof projector enclosure designed for professional outdoor projection systems. The video explains how a purpose-built housing can support projector protection and equipment stability in demanding outdoor environments.
Engineering Workflow After Receiving the Projector Model
Once the projector model is received, the manufacturer should not immediately fabricate a cabinet. A professional projector enclosure manufacturer follows a review process to avoid airflow conflicts, lens obstruction, cable interference, and maintenance problems.
Recommended engineering workflow:
- Confirm projector brand, exact model number, configuration, lens model, and quantity.
- Review the projector manufacturer’s technical documentation, including specifications, installation manual, dimensions, weight, power consumption, airflow, clearances, lens information, and connector locations.
- Check physical dimensions, including width, height, depth, feet, mounting points, lens protrusion, connector clearance, and required installation clearance.
- Confirm projector weight because it affects the base plate, internal support structure, mounting rails, enclosure rigidity, installation method, and total equipment load.
- Map air intake and exhaust locations to ensure the enclosure does not block the projector’s original cooling system.
- Evaluate heat load using verified electrical and thermal information where available, not projector brightness alone.
- Select a suitable thermal-management concept based on projector requirements and site conditions.
- Check the lens model, lens center, lens shift range, projection angle, and optical-window position.
- Review power supply, cable types, connector locations, and cable-entry requirements.
- Confirm project location, climate, humidity, dust, rain exposure, sunlight exposure, and operating schedule.
- Plan mounting, service access, internal layout, technical drawings, customer confirmation, fabrication, assembly, inspection, and shipment.
The enclosure works correctly only when these requirements are coordinated. For example, adding cooling equipment without mapping projector exhaust may cause hot air to recirculate into the intake. Likewise, making the cabinet only slightly larger than the projector may leave no practical room for cables, lens adjustment, filters, doors, or service access.
ShiRui Pro Tip: I recommend treating airflow as a design path, not an accessory. Before deciding fan, air conditioner, or ventilation layout, confirm where the projector breathes in, where it exhausts, and how the enclosure prevents hot air from returning to the intake.
What are the benefits of custom projector enclosure?
The main benefit of a custom projector enclosure is that it protects the projector while supporting reliable operation in the actual installation environment. A well-designed enclosure improves environmental protection, thermal control, optical accuracy, cable management, structural safety, and serviceability compared with a generic cabinet or improvised outdoor box.
Video Guide: Learn how a waterproof projector box supports professional outdoor projection systems. The video presents a purpose-built enclosure solution for projector equipment used in permanent installations, commercial venues, and project-based outdoor applications.
Practical Benefits for Outdoor Projection Projects
For B2B projects such as building projection mapping, scenic night tours, landscape projection, stadium projection, and multi-projector installations, the enclosure is part of the projection system. It directly affects usability, reliability, and maintenance.
Key benefits include:
- Better equipment fit: The enclosure can be designed around verified projector dimensions, mounting points, lens protrusion, and connector locations.
- Improved airflow planning: Intake and exhaust paths can be arranged to support the projector’s original cooling system instead of blocking it.
- More suitable thermal control: Cooling, heating, ventilation, humidity control, or isolated circulation can be selected according to the projector and project environment.
- Accurate optical-window placement: The window can be positioned around the actual lens center, lens model, projection angle, and lens-shift requirements.
- Cleaner cable integration: Power, HDMI, SDI, Ethernet, fiber, control, and other project cables can enter through coordinated cable-entry points.
- Stronger mounting design: Pole, wall, ceiling, platform, steel-structure, or custom mounting can be considered during enclosure engineering.
- Easier maintenance: Doors, access panels, internal clearance, lens access, cable access, and cooling-system service space can be planned before fabrication.
- Reduced redesign risk: Customer drawing confirmation helps identify mismatches before sheet-metal cutting, bending, welding, surface treatment, and assembly.
A custom outdoor projector enclosure is especially valuable when the same projector may be used in very different environments. A mild outdoor site, hot desert location, coastal installation, dusty industrial site, cold climate, or high-humidity environment may each require different enclosure configurations.
ShiRui Pro Tip: I advise buyers not to judge an enclosure only by its external appearance. The real value is inside: airflow separation, service clearance, mounting strength, cable planning, and optical alignment usually determine whether the enclosure performs well on site.
How to maintain a custom projector enclosure?
Maintaining a custom projector enclosure means keeping the optical window, airflow path, cooling system, seals, cable entries, doors, mounting points, and internal electrical components in working condition. Maintenance planning should be considered during design, because a projector that fits inside the enclosure may still be difficult to service.
Maintenance Access Should Be Designed Before Fabrication
Maintenance is not only an after-sales activity. It should influence the enclosure layout from the beginning. When ShiRui reviews a custom outdoor projector enclosure project, we consider how technicians will install, remove, adjust, connect, inspect, and clean the system.
A practical maintenance plan should include:
- Projector installation and removal access
The enclosure should allow technicians to place or remove the projector without damaging the lens, cables, optical window, or internal components. - Lens adjustment access
If the projector requires focus, zoom, lens shift, or lens replacement, the access direction should be planned around the actual projector and lens model. - Cable service access
Connector locations should be checked so power, signal, network, and control cables can be connected and replaced when needed. - Cooling-system inspection
Fans, filters, air-conditioning components, heaters, temperature controllers, sensors, or other thermal components should be reachable if they are part of the selected design. - Optical-window cleaning
The window should be accessible for cleaning because dust, water marks, salt deposits, or fingerprints may affect image quality. - Door and sealing inspection
Hinges, locks, gaskets, cable glands, and access panels should be inspected according to site conditions and project maintenance practices. - Mounting and structure check
Outdoor installations may involve vibration, wind exposure, structural loads, and repeated service activity, so mounting interfaces should remain secure.
Maintenance intervals should not be invented generically. They should be based on the project environment, operating schedule, equipment configuration, and customer maintenance procedures.
ShiRui Pro Tip: I prefer to review maintenance access with the customer before production drawings are confirmed. It is much easier to change door direction, cable entry, or internal layout on a drawing than after the enclosure has been fabricated.
What is the price of custom projector enclosure?
The price of a custom projector enclosure depends on verified projector data, enclosure size, material selection, thermal-management method, electrical configuration, optical-window design, mounting structure, environmental requirements, quantity, and documentation needs. A reliable quotation should be based on engineering review rather than a universal price list.
What Determines the Quotation
A projector enclosure manufacturer should avoid quoting only from projector brightness or a rough description. A professional quotation requires both equipment information and application information.
Main price-influencing factors include:
- Projector size and weight: Larger or heavier projectors may require stronger internal structure, larger doors, reinforced mounting, and more complex handling.
- Thermal-management concept: Forced-air ventilation, temperature-controlled ventilation, industrial air-conditioning, heating, humidity management, or isolated cooling architecture can affect cost differently.
- Site environment: Heat, cold, humidity, rain exposure, dust, sand, direct sunlight, and coastal conditions may change material, sealing, cooling, and surface-treatment requirements.
- Optical-window design: Lens model, lens center, projection angle, lens shift, window size, glass type, and frame design influence engineering and fabrication.
- Electrical system: Fans, air conditioner, heater, temperature controller, sensors, power distribution, monitoring, and protection components should be priced only when they apply.
- Mounting method: Pole-mounted, wall-mounted, ceiling-mounted, platform-mounted, steel-structure-mounted, or custom mounting systems can require different interfaces.
- Cable-entry requirements: Power, HDMI, SDI, Ethernet, fiber, control, and other cables require coordinated entry positions and environmental sealing.
- Quantity and customization level: One-off custom units and batch production may involve different engineering, tooling, fabrication, and confirmation requirements.
Instead of asking only “What is the price?”, buyers should send the projector brand, exact model, lens model, quantity, project location, ambient temperature range, humidity and environmental conditions, installation method, projection distance, projection angle, operating hours, power supply, required protection expectations, site photos, and installation drawings if available.
ShiRui Pro Tip: I recommend requesting a technical quotation, not just a commercial number. The quotation should clearly reflect the enclosure configuration, thermal concept, mounting approach, cable-entry plan, and any assumptions that still need customer confirmation.
Key Features & Comparison
The key features of a custom projector enclosure include engineered cabinet sizing, airflow layout, thermal control, optical-window alignment, electrical integration, mounting design, cable entry, sealing strategy, and service access. These features should be selected according to verified projector documentation and actual project conditions, not copied from a generic enclosure.
Custom Design Features Compared With Generic Cabinets
Based on our internal data and market analysis, here is the breakdown:
| Design Area | Generic Cabinet Approach | Custom Projector Enclosure Approach | Why It Matters |
|---|---|---|---|
| Projector Fit | Based mainly on approximate size | Based on exact model, dimensions, lens, feet, and connector clearance | Prevents mechanical interference and poor service access |
| Airflow | Vents added generally | Intake and exhaust mapped to projector airflow | Reduces risk of blocked cooling or hot-air recirculation |
| Heat Control | One cooling idea used broadly | Cooling concept selected from verified power, heat, ambient conditions, and operating schedule | Avoids relying on brightness alone for thermal design |
| Optical Window | Placed near expected lens area | Designed around lens center, lens model, projection geometry, and lens shift | Prevents image obstruction and alignment problems |
| Mounting | Basic support or flat base | Mounting interface matched to pole, wall, ceiling, platform, steel structure, or custom support | Improves installation safety and maintenance access |
| Cable Entry | Standard hole position | Coordinated with projector connectors, site cables, sealing, and service direction | Reduces cable strain and access problems |
| Maintenance | Considered after fabrication | Planned during layout and drawing confirmation | Makes projector removal, cleaning, and service more practical |
| Documentation | Limited or informal | Technical drawings confirmed before fabrication | Helps catch mismatches before manufacturing begins |
The most important comparison is not simply “standard versus custom.” It is “assumption-based design versus verified engineering.” A professional enclosure should be designed around the projector manufacturer’s documentation, customer drawings, and confirmed site information.
ShiRui Pro Tip: I always check whether the lens center, cable side, exhaust side, and service-door direction agree with the installation plan. If these four items conflict, the enclosure may look correct in a catalog but fail during installation.
Cost & Buying Factors
When buying a custom projector enclosure, the best decision comes from matching the enclosure design to the projector, environment, and installation requirements. Buyers should compare engineering capability, drawing confirmation, thermal design logic, material and fabrication quality, electrical integration, maintenance planning, and communication clarity—not only the lowest initial quote.
Buying Checklist for B2B Projects
A strong purchasing process helps both the buyer and the manufacturer avoid redesign, installation delay, or operational problems. Before finalizing a custom outdoor projector enclosure order, prepare the project information that affects engineering.
Recommended information to send:
- Projector brand
- Exact projector model
- Lens model where applicable
- Quantity
- Project location
- Maximum and minimum ambient temperature from project data
- Humidity and environmental conditions
- Rain, dust, sand, salt-spray, sunlight, or other exposure information where relevant
- Installation method
- Projection distance
- Projection direction and angle
- Installation height
- Target surface
- Projector orientation
- Operating schedule
- Power supply
- Cable types entering the enclosure
- Required protection expectations
- Site photos
- Installation drawings if available
When comparing suppliers, ask how they will review the projector’s technical documentation, dimensions, weight, airflow, heat load, lens geometry, power requirements, connector locations, cable entry, mounting method, maintenance access, and customer drawing confirmation.
Avoid decisions based only on cabinet dimensions or projector brightness. Brightness can be relevant to the projection project, but it is not a complete basis for enclosure thermal design. Actual power consumption, heat generation, ambient temperature, solar heat gain, enclosure construction, operating hours, and other internal electrical loads should be evaluated where applicable.
ShiRui Pro Tip: I suggest buyers send site photos and installation drawings as early as possible. The projector model tells us the equipment, but the site information tells us how the enclosure must actually be installed, cooled, accessed, and maintained.
Conclusion
Sending the projector model is the starting point of custom enclosure engineering, not the end of the information-gathering process. A professional manufacturer should use the exact model to evaluate dimensions, airflow, heat load, lens geometry, electrical needs, maintenance access, and the real installation environment before finalizing the enclosure design.
Final Engineering Recommendation
For a custom outdoor projector enclosure, the best first step is to send the exact projector model and lens model together with basic project information. This allows ShiRui to design around real equipment data instead of relying on generic cabinet dimensions.
A complete design path should follow this logic:
- Projector model confirmation
- Technical specification review
- Dimensions and weight check
- Airflow mapping
- Heat-load evaluation
- Lens and lens-shift evaluation
- Site environment review
- Cooling-method selection
- Mounting design
- Optical-window design
- Cable-entry planning
- Power distribution review
- Maintenance-access planning
- Enclosure dimension definition
- Technical drawing preparation
- Customer confirmation
- Fabrication
- Thermal and electrical system assembly
- Functional inspection
- Shipment
The projector model is essential because it anchors the design to verified equipment information. However, the same projector may require different enclosure configurations in different climates, mounting conditions, operating schedules, or projection geometries. The right enclosure is therefore the result of both projector data and project data.
ShiRui Pro Tip: If you want the engineering review to move efficiently, send the projector model, lens model, site conditions, installation method, operating schedule, cable list, and available drawings together. That gives us enough context to design a practical enclosure instead of guessing around incomplete information.