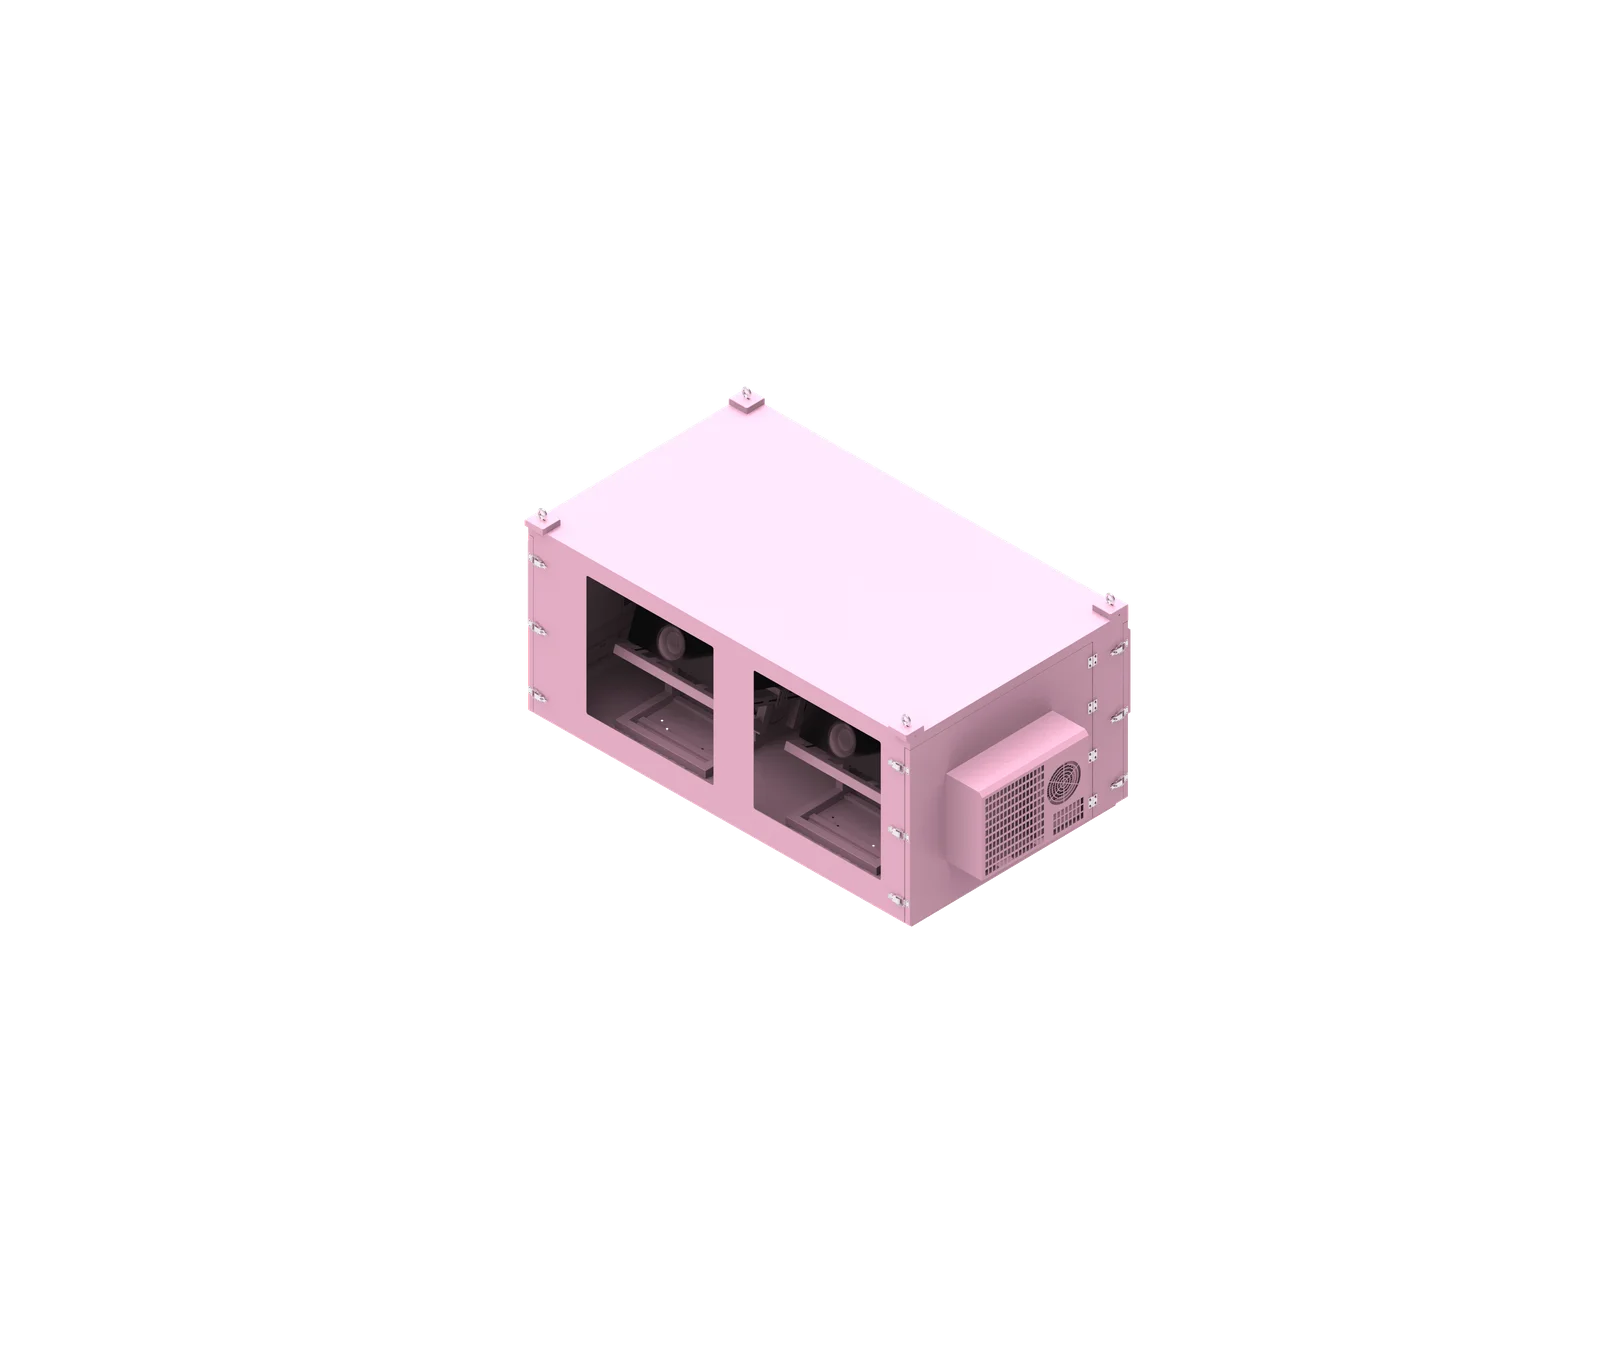
Before an outdoor projector enclosure leaves the factory, inspection should confirm that the complete protection system matches the approved project requirements. For ShiRui, this means checking not only the sheet-metal cabinet, but also projector compatibility, lens alignment, optical window, cooling, airflow, electrical systems, sealing, accessories, documentation, and packaging before shipment to the project site.
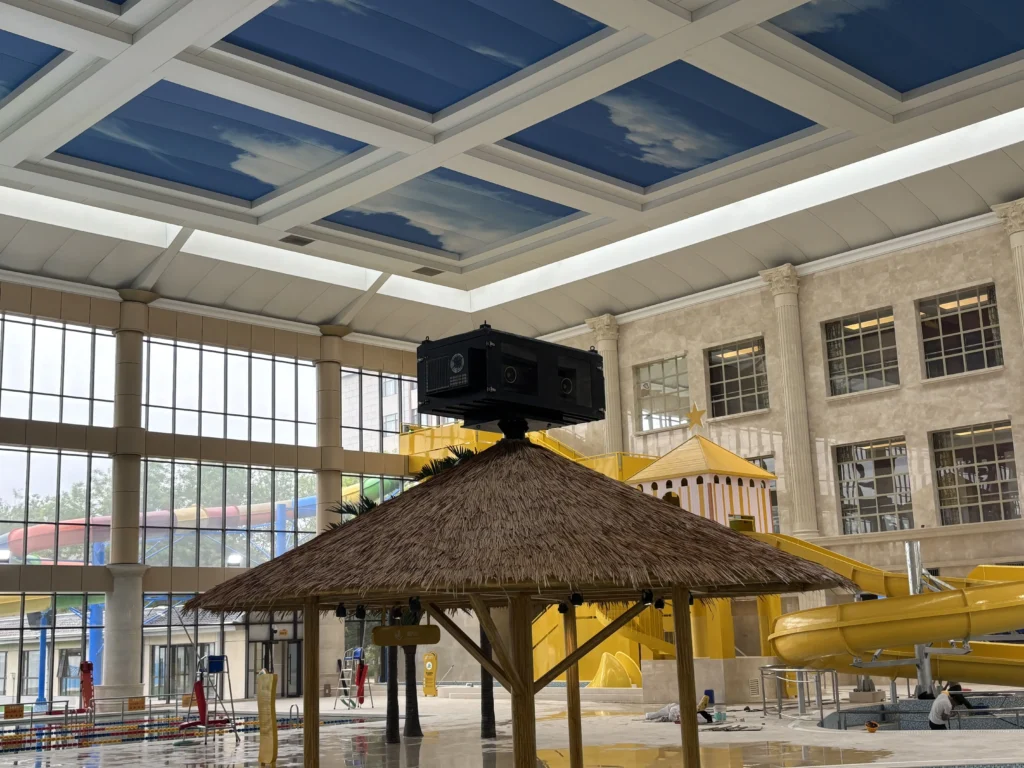
What is outdoor projector enclosure pre shipment inspection?
Outdoor projector enclosure pre shipment inspection is the final factory review performed before a completed enclosure is packed and released. It confirms that the finished enclosure matches the approved drawings, projector model, lens configuration, cooling design, electrical layout, accessories, documentation, and agreed QC or FAT requirements.
Complete-System Release Check
A proper projector enclosure quality inspection should verify the enclosure as a complete outdoor projection protection system, not only as a fabricated cabinet. The inspection reference should be the latest approved technical drawing, customer specification, exact projector model, exact lens model, final configuration, and agreed project checklist.
Key inspection references usually include:
- Latest approved general arrangement drawing
- Internal layout drawing
- Projector and lens model information
- Cable-entry drawing
- Mounting-interface drawing
- Electrical schematic where applicable
- Cooling and airflow proposal
- Customer-approved FAT or QC checklist
- Required documentation and packing list
Based on our internal data and market analysis, here is the breakdown:
| Inspection Area | What Should Be Confirmed | Main Risk if Missed |
|---|---|---|
| Mechanical structure | Dimensions, doors, brackets, mounting holes | Installation mismatch on site |
| Projector compatibility | Correct model, fit, access, removal path | Projector cannot be installed or serviced |
| Optical system | Lens center, window position, clear aperture | Image obstruction or alignment issue |
| Thermal system | Fans, filters, AC, heater, airflow path | Overheating or unstable operation |
| Electrical system | Wiring, grounding, controls, protection devices | Unsafe or non-functional system |
| Sealing | Gaskets, cable entries, unused openings | Water or dust ingress |
| Accessories | Keys, filters, brackets, spares | Delayed installation |
| Documentation | Drawings, records, manuals | Unclear site installation or acceptance |
| Packaging | Glass protection, fixation, labels | Transit damage |
ShiRui Pro Tip: We always treat pre-shipment inspection as a system release decision. A projector enclosure should be released for shipment only after the complete system—not just the cabinet shell—has been checked.
How Does outdoor projector enclosure pre shipment inspection Work?
Outdoor projector enclosure pre shipment inspection works by comparing the finished enclosure against approved engineering documents, then checking mechanical fit, optical alignment, thermal performance functions, electrical systems, sealing details, accessories, records, and packaging. The inspection sequence should follow the agreed QC or FAT checklist, not assumptions or generic tolerances.

Recommended Factory Inspection Workflow
A practical projector enclosure factory inspection should follow a controlled sequence. The goal is to find factory-correctable issues before the enclosure reaches the project site, where rework is slower, more expensive, and more disruptive.
Recommended workflow:
- Confirm the latest approved drawing is being used.
- Verify enclosure model, projector model, projector quantity, and lens model.
- Check overall dimensions and critical interface dimensions against the drawing.
- Confirm projector fit, mounting position, connector access, airflow clearance, and removal path.
- Inspect optical-window position, clear aperture, glass condition, and reflection risk where applicable.
- Open and close all doors, locks, hinges, removable panels, and service covers.
- Inspect door gaskets, frame flatness, cable entries, and unused openings.
- Verify cooling-system configuration, fan direction, filter installation, AC installation, heater installation, and airflow path.
- Operate temperature-control, humidity-control, monitoring, and alarm functions where included.
- Inspect electrical panel, wiring organization, grounding, bonding, labels, and protection devices against the approved design.
- Check mounting interfaces, brackets, fasteners, locks, keys, accessories, and spare parts.
- Review surface finish, corrosion-protection details, product labels, drawings, manuals, and test records.
- Clean the enclosure, take final photos, protect the optical window, secure internal components, and inspect packaging.
A routine final QC inspection and a formal Factory Acceptance Test are not always the same. Final QC is the manufacturer’s standard release inspection. FAT is a project-specific acceptance process agreed with the customer. Large, complex, or high-value projection projects may require both.
ShiRui Pro Tip: We recommend freezing the inspection checklist before production completion. If the checklist is unclear at shipment time, the factory and buyer may inspect different things and still think they are aligned.
What are the benefits of outdoor projector enclosure pre shipment inspection?
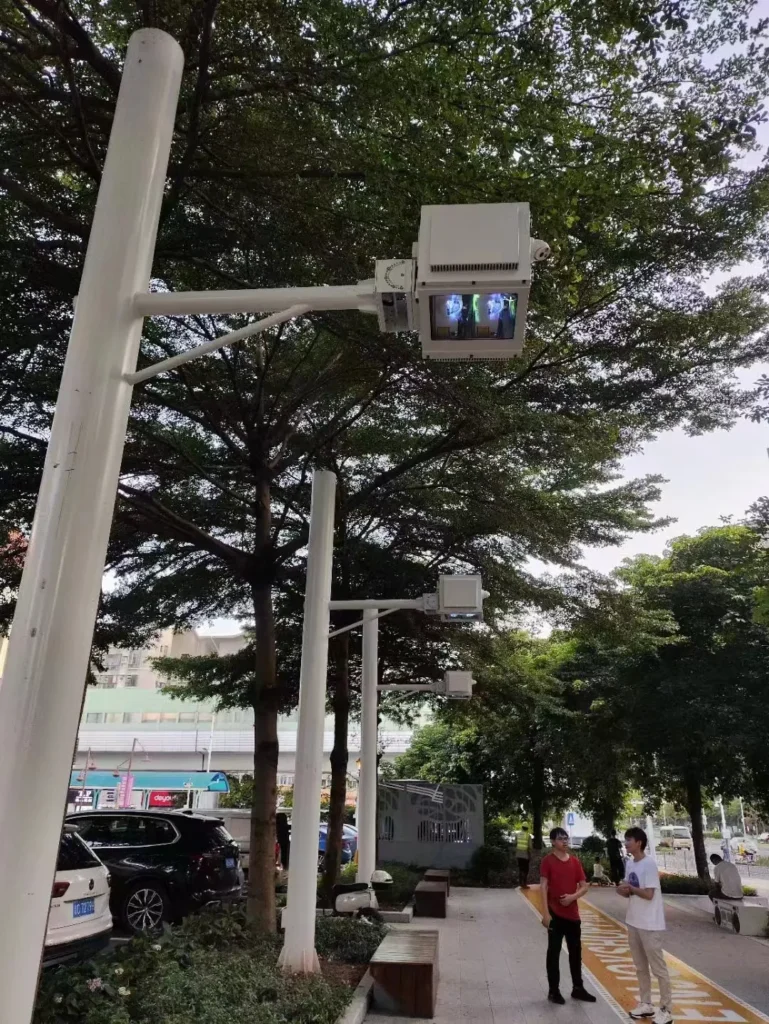
The main benefit is risk reduction before delivery. A structured projector enclosure pre shipment checklist helps identify incorrect dimensions, wrong projector or lens assumptions, airflow problems, missing accessories, unsealed openings, optical-window issues, and documentation gaps while they can still be corrected inside the factory.
Practical Benefits for AV Projects
For AV integrators, projection engineering companies, project managers, procurement teams, consultants, and contractors, inspection before shipment protects both the schedule and the installation outcome. Outdoor projection systems often involve custom brackets, special lens positions, climate-control components, and site-specific cable routing, so small factory omissions can cause major delays later.
Common pre-shipment mistakes include:
- Checking only exterior appearance and ignoring internal projector fit
- Shipping without confirming the exact projector model
- Ignoring the exact interchangeable lens model
- Visually centering the optical window instead of aligning it to the lens center
- Forgetting to verify clear aperture under lens shift or zoom conditions
- Testing cooling with doors open instead of checking the intended airflow path
- Ignoring fan direction or filter installation
- Leaving spare cable holes or unused openings unsealed
- Missing mounting brackets, cable glands, keys, filters, or spare parts
- Treating a factory water check as formal IP certification
- Packing the enclosure without protecting the optical glass
- Shipping with outdated drawings or incomplete inspection records
Based on our internal data and market analysis, here is the breakdown:
| Benefit | Why It Matters on Site |
|---|---|
| Fewer installation delays | Projector, bracket, cable, and mounting issues are caught early |
| Better optical reliability | Lens/window alignment and clear aperture are verified before packing |
| Lower thermal risk | Cooling components and airflow paths are checked as a system |
| Cleaner handover | Records, drawings, labels, and packing lists support site acceptance |
| Reduced transport damage | Glass, cooling equipment, and internal parts receive dedicated protection |
| Better procurement control | Buyers can confirm accessories and spares before dispatch |
ShiRui Pro Tip: The most valuable inspection item is often not the most expensive component. A missing key, blocked cable entry, wrong lens assumption, or unprotected optical window can delay an entire projection schedule.
How to maintain an outdoor projector enclosure pre shipment inspection?
To maintain an effective outdoor projector enclosure pre shipment inspection process, keep the checklist project-specific, drawing-controlled, and configuration-based. Update it whenever the projector, lens, cooling method, electrical design, mounting interface, accessories, or documentation requirements change, and record only the tests actually performed.

Keeping the Checklist Accurate and Useful
A custom projector enclosure QC process should be maintained like an engineering document. It should not be copied blindly from a previous project unless the enclosure configuration, projector, lens, and environmental requirements are truly the same.
Checklist maintenance should include:
- Use the latest approved technical drawing as the master reference.
- Confirm that revisions are controlled and old drawings are removed from the inspection station.
- Link the checklist to the exact projector brand, model, quantity, and lens model.
- Add only project-relevant thermal, electrical, monitoring, and alarm items.
- Separate standard final QC items from customer-agreed FAT items.
- Include accessory and spare-parts verification before packing.
- Require final photo records when useful for shipment condition evidence.
- Record actual test results without inventing values, durations, or performance claims.
- Clearly identify any formal documentation required for IP rating, electrical compliance, or project acceptance.
- Review recurring field issues and add preventive checks to future checklists.
A maintained inspection system should also distinguish between factory QC and certified compliance. For example, a factory water-ingress check can be part of the agreed QC process, but it should not automatically be described as formal IP certification unless the correct test standard, configuration, scope, and documentation apply.
ShiRui Pro Tip: We prefer checklists with project-specific blanks instead of generic yes/no boxes. If an inspector must write the projector model, lens model, drawing revision, and accessory quantity, mistakes become easier to catch.
What is the price of outdoor projector enclosure pre shipment inspection?
The price of outdoor projector enclosure pre shipment inspection depends on inspection scope, enclosure complexity, project documentation, testing requirements, FAT involvement, batch quantity, and whether customer witnessing or third-party inspection is required. A basic final QC review is different from a detailed project-specific Factory Acceptance Test.
Pricing Scope and Cost Drivers
There is no universal inspection price because the required work depends on the enclosure configuration and acceptance requirements. A simple fan-cooled single-projector enclosure may need a shorter checklist than a large air-conditioned multi-projector enclosure with remote monitoring, heaters, sensors, custom brackets, and project-specific documentation.
Based on our internal data and market analysis, here is the breakdown:
| Cost Factor | Typical Impact on Inspection Effort |
|---|---|
| Single vs. multi-projector design | More projector positions require more fit, airflow, and optical checks |
| Actual projector available or not | Physical fit verification is stronger when the real unit is available |
| Interchangeable lens requirements | Lens model, shift range, aperture, and geometry need closer review |
| Cooling complexity | AC, heaters, filters, sensors, and internal circulation add test items |
| Electrical and monitoring scope | More controllers, sensors, alarms, and outputs increase verification time |
| Documentation package | Drawings, manuals, records, and FAT reports require review and preparation |
| Customer-witnessed FAT | Scheduling, setup, reporting, and acceptance steps increase cost |
| Third-party inspection | Adds coordination, inspector access, and documentation requirements |
| Packaging requirements | Export crates, glass protection, and special markings add release checks |
Buyers should ask whether the quoted enclosure price includes standard final QC only, or whether a formal FAT, extended function test, project-specific report, witnessed inspection, or third-party inspection is required separately.
ShiRui Pro Tip: If the project is complex, define the inspection scope during quotation—not after production. Inspection cost is much easier to control when test records, documents, witnessing, and acceptance criteria are agreed early.
Key Features & Comparison
A strong projector enclosure shipping inspection should cover every critical release area: projector model, lens model, dimensions, mounting structure, optical window, doors, gaskets, cable entries, cooling, airflow, electrical systems, monitoring, finish, accessories, documentation, and packaging. The best checklist confirms system readiness, not cabinet completion.
Buyer-Focused Final Checklist
Buyers should not rely only on exterior photos. A practical inspection package should prove that the enclosure can be installed, connected, serviced, and operated according to the approved project design.
Based on our internal data and market analysis, here is the breakdown:
| Area | Final Check |
|---|---|
| Projector | Correct brand, exact model, quantity, fit, access, and removal path |
| Lens | Correct model, lens center, projection direction, shift and zoom clearance |
| Optical window | Position, clear aperture, cleanliness, glass condition, and secure installation |
| Doors | Hinges, locks, latches, clearance, opening, closing, and service access |
| Gaskets | Complete installation, no gaps, no cuts, no twisting, proper corner joints |
| Cable entry | Correct location, quantity, hole size, glands, conduit interfaces, blanking plugs |
| Cooling | Fans, filters, AC, heater, circulation components installed as specified |
| Airflow | Intake and exhaust paths clear; no short-circuit airflow or blocked projector vents |
| Controls | Temperature sensors, humidity sensors, controller response, alarms where included |
| Electrical | Wiring, terminal connections, protection devices, grounding, bonding, labels |
| Monitoring | Door status, temperature, humidity, cooling status, leak or smoke alarms if specified |
| Mounting | Pole, wall, ceiling, platform, or structural interfaces match approved drawings |
| Surface | Coating, stainless finish, scratches, chips, exposed metal, weld appearance |
| Accessories | Keys, filters, brackets, cable glands, fasteners, spare parts, installation hardware |
| Documentation | Drawings, wiring diagrams, manuals, QC records, FAT records where required |
| Packaging | Optical glass protected, internal parts secured, crate/pallet inspected, shipping marks correct |
| Final QC Inspection | Formal FAT |
|---|---|
| Manufacturer’s release inspection | Customer-agreed acceptance process |
| Usually based on standard QC plus project requirements | Based on a defined FAT procedure |
| May be internal only | May be witnessed by customer or third party |
| Confirms readiness for shipment | Confirms acceptance against agreed test scope |
| Records only actual checks performed | Often includes structured reports and sign-off |
ShiRui Pro Tip: For custom outdoor enclosures, we encourage buyers to request inspection photos of the interior, optical window, cooling system, electrical panel, cable entries, mounting interface, accessories, and packaging—not only the front view.
Cost & Buying Factors
When buying custom outdoor projector enclosures, the inspection scope should be treated as part of the procurement decision. The lowest enclosure price may not include projector-fit confirmation, detailed documentation, witnessed FAT, special packaging, spare-parts verification, or project-specific electrical and thermal checks.
Procurement Questions Before Release
Procurement teams should clarify inspection expectations before purchase order release, especially for outdoor AV projects with tight installation windows. The goal is to avoid disputes at shipment time and ensure the factory prepares the correct records and packaging.
Key buying questions include:
- Is the inspection based on the latest approved drawing revision?
- Has the exact projector model been confirmed, not only brightness or lumen class?
- Has the exact lens model been confirmed?
- Will the real projector be available for fit testing, or will the check be drawing-based?
- Are lens shift, zoom clearance, and optical clear aperture included in the review?
- What cooling components are included, and what functions will be powered on before shipment?
- Are airflow direction and filter installation included in the checklist?
- Are heating, humidity control, condensation-control, or monitoring functions included?
- Are electrical inspection records required?
- Is formal IP documentation required, and does it apply to the supplied configuration?
- Are mounting brackets, cable glands, keys, filters, and spare parts listed in the packing list?
- Are final photos required before packing?
- What protection will be used for the optical window and external cooling equipment?
- Is this a standard final QC inspection, customer-witnessed FAT, or third-party inspection?
For batch shipments, buyers should also verify model quantities, accessory quantities, serial numbers where applicable, crate identification, destination labels, and packing lists. Different configurations should not be mixed without clear identification.
ShiRui Pro Tip: In custom projects, the most important buying factor is clarity. If the drawing, checklist, packing list, and acceptance scope are clear before production, the final release process becomes faster and much safer.
Conclusion
Before an outdoor projector enclosure is shipped, the manufacturer and buyer should verify mechanical dimensions, projector compatibility, optical alignment, cooling, airflow, controls, electrical systems, sealing, mounting interfaces, accessories, documentation, cleaning, and packaging. A structured inspection prevents avoidable problems from reaching the project site.
Final Release Principle
A custom outdoor projector enclosure should not be released simply because fabrication is complete. The final release should confirm that the enclosure is ready for installation and matches the approved project design as a complete system.
The final release review should confirm:
- Engineering approval is complete.
- Manufacturing is complete.
- Dimensional and mechanical checks are complete.
- Projector and lens compatibility have been reviewed.
- Optical-window position and clear aperture have been verified.
- Doors, gaskets, cable entries, and unused openings have been inspected.
- Cooling, airflow, temperature control, and heating functions have been checked where included.
- Electrical wiring, grounding, bonding, protection devices, and controls have been inspected.
- Monitoring, alarm, leak, smoke, door, humidity, or other sensors have been checked where specified.
- Mounting interfaces, brackets, accessories, keys, filters, and spare parts are complete.
- Drawings, manuals, records, and packing lists are complete.
- Interior and exterior cleaning are complete.
- Optical glass, external cooling equipment, and internal components are protected for transport.
- Packaging, orientation marks, lifting information, and shipping identification are correct.
For project-specific support, ShiRui can help prepare a practical projector enclosure pre shipment checklist based on the approved enclosure configuration, exact projector model, exact lens model, installation method, cooling design, and documentation requirements.
ShiRui Pro Tip: My final advice is simple: do not ship uncertainty. If a problem can be found and corrected in the factory, it should not be allowed to become a site installation problem.